Making a Versatile 1909 Guimpe

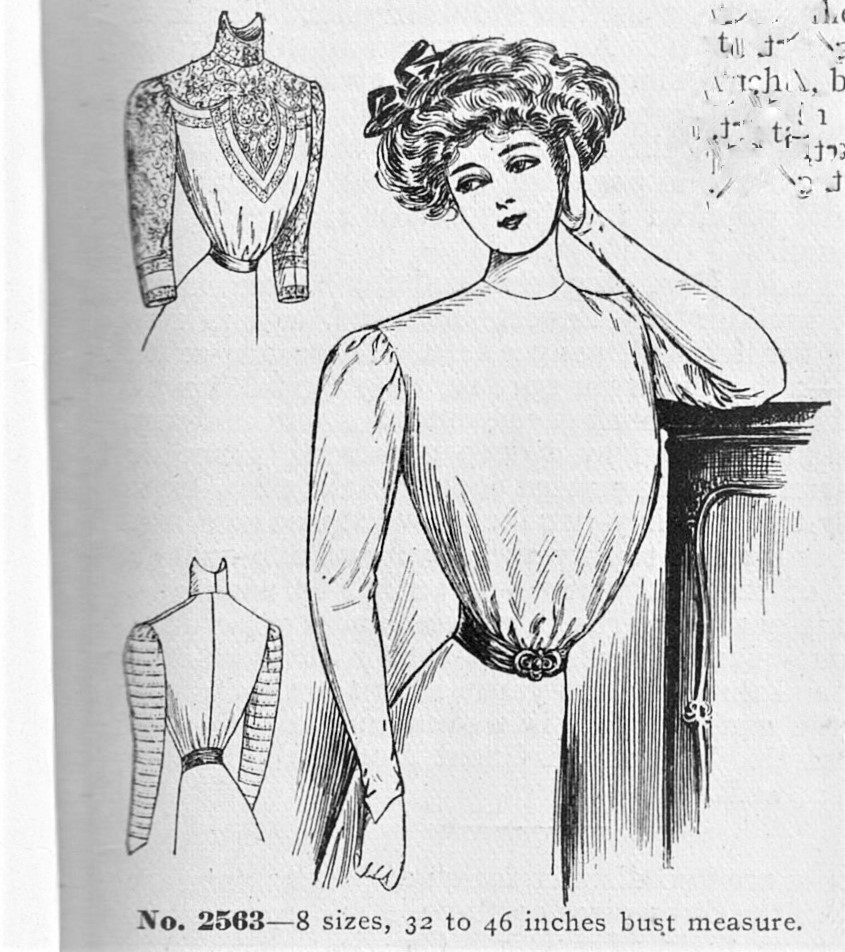
McCall’s Magazine for June 1909 shows a pattern for a Guimpe, also called an Underwaist or a Lining – or a Slip! To modern people this might be confusing; I know it was for me, at first. But as I have been making my own Edwardian wardrobe, I have begun to see the need for a pretty, fitted garment to wear under square-necked dresses and tailored jackets.

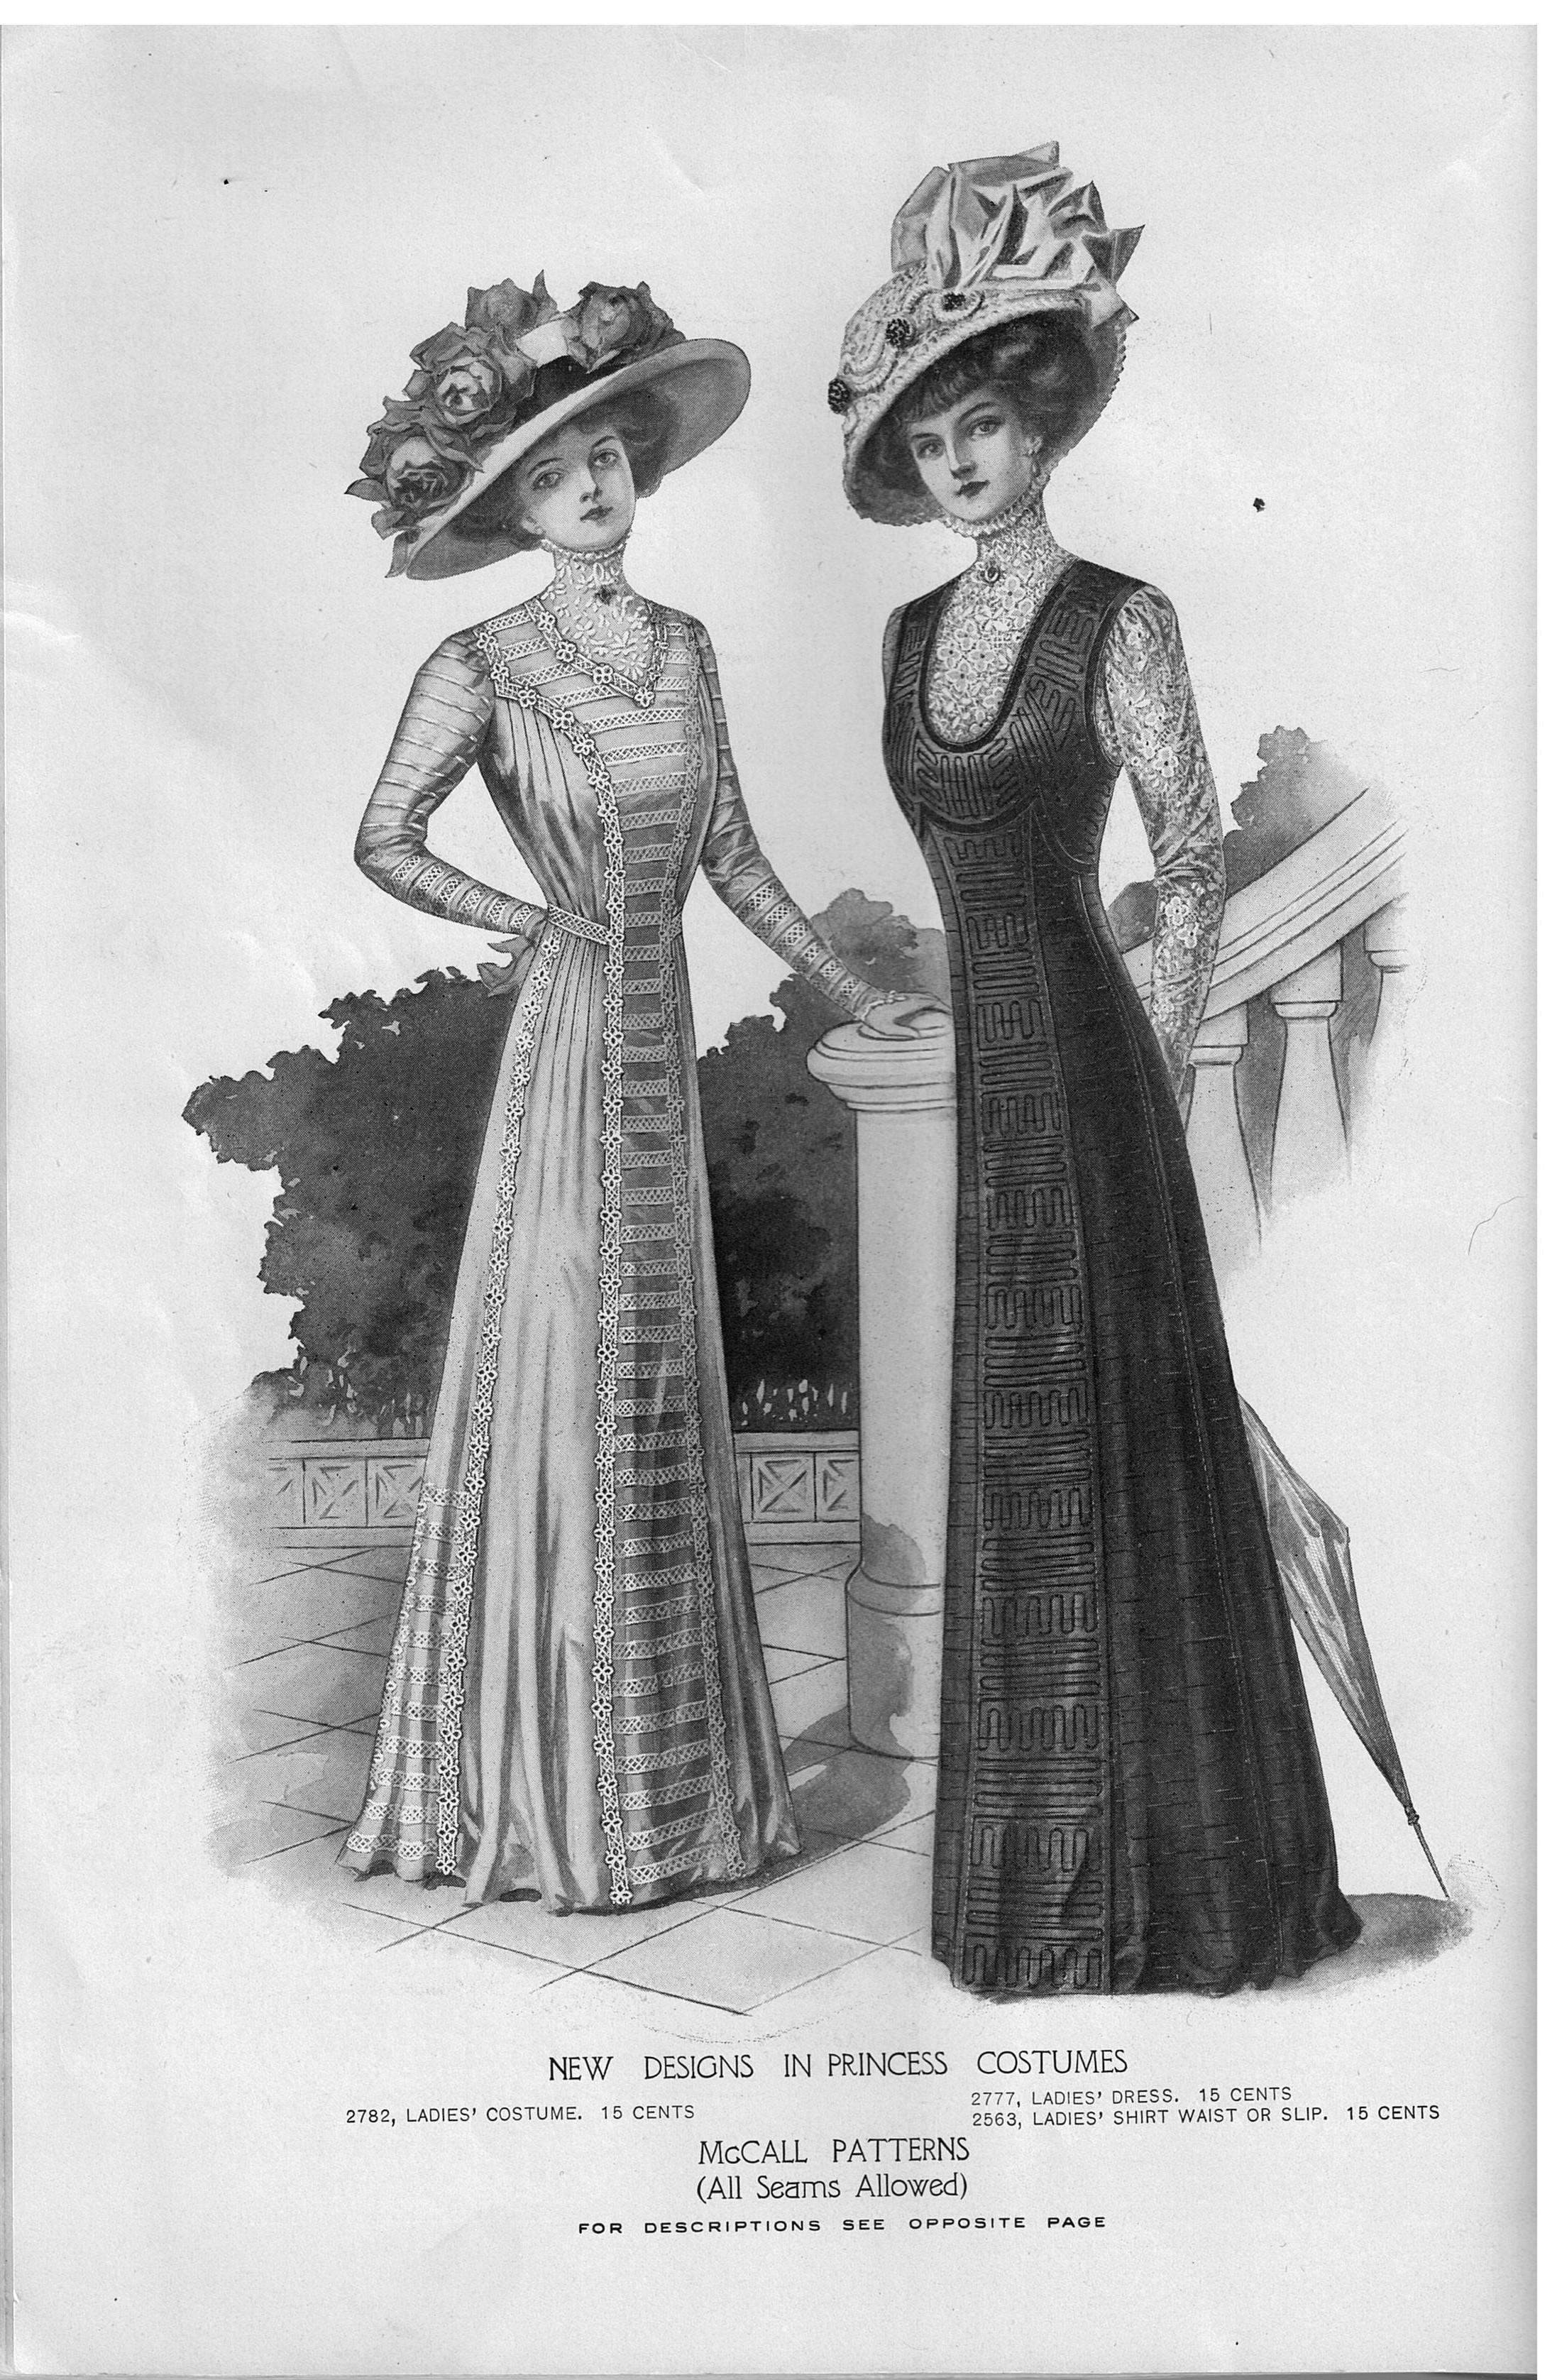
0 New Designs in Princess Costumes guimpe

Here is the description from the magazine:

No. 2563 (15 cents). – Sleeveless waists and gowns, and those having all sorts of open necks, besides the skirts with “skeleton” waists, all of which are en regle at present, demand a guimpe or under waist of some kind. This slip has been designed especially to meet this need. It may be made of lining or silk, and faced at the neck in any desired outline with net, lace, chiffon or embroidery, which is to show through the open neck of the outside waist. Again, it may be used as the foundation for any individual style of shirt waist, the tucks being stitched in the materials before cutting by the pattern. Two styles of sleeves are given – the pretty tucked style, which is popular, and a plain leg-o’-mutton sleeve, which may be trimmed in any original way one’s fancy may dictate. It may also be used as a slip – of daintily colored lawn or China silk – to be worn under a thin lingerie waist to impart warmth. …

How I Made my Own Guimpe

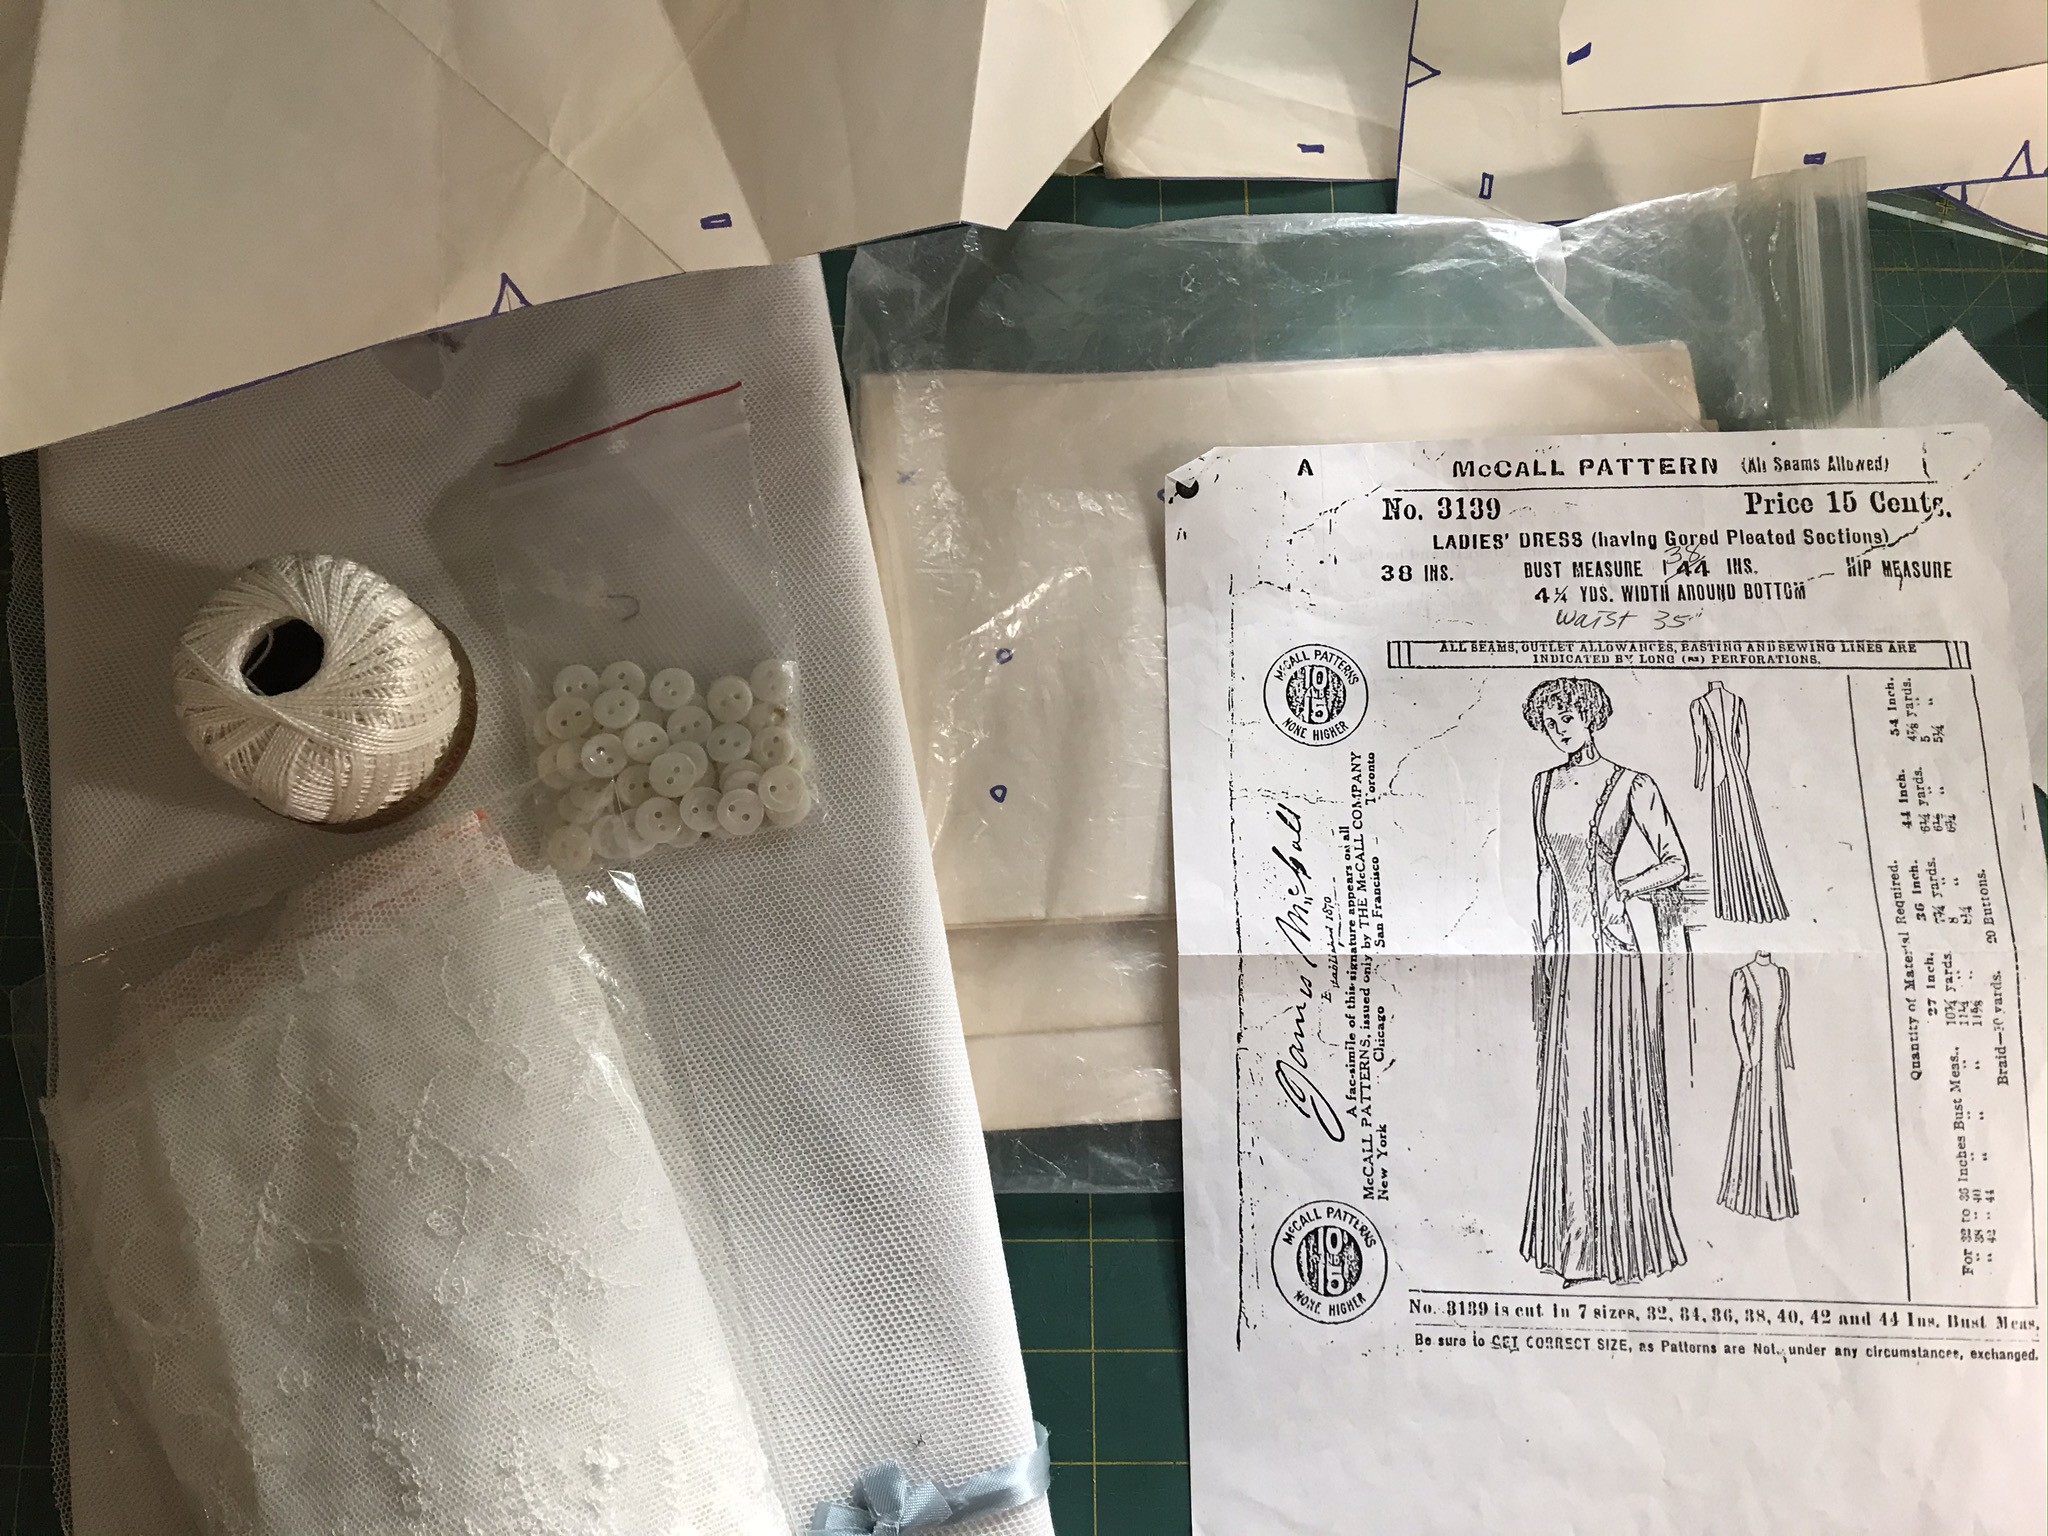
I didn’t have an Guimpe or Lining pattern on hand (I have the feeling that McCall’s 2563 from 1909 is no longer available!) But I did have one of Past Pattern’s Attic Copies version of McCall’s 3139, which was published in 1910. I have used it before, so I knew that I could make it work for my new Guimpe – or Underwaist. I knew that I would piece the body together from both cotton lawn and tucked net. I wanted to embroider the yoke in a coordinating design. I have seen this type of decoration in period catalogs and antique pieces, and I hoped to replicate it. So, along with the pattern, I assembled my materials.

1 IMG_4451

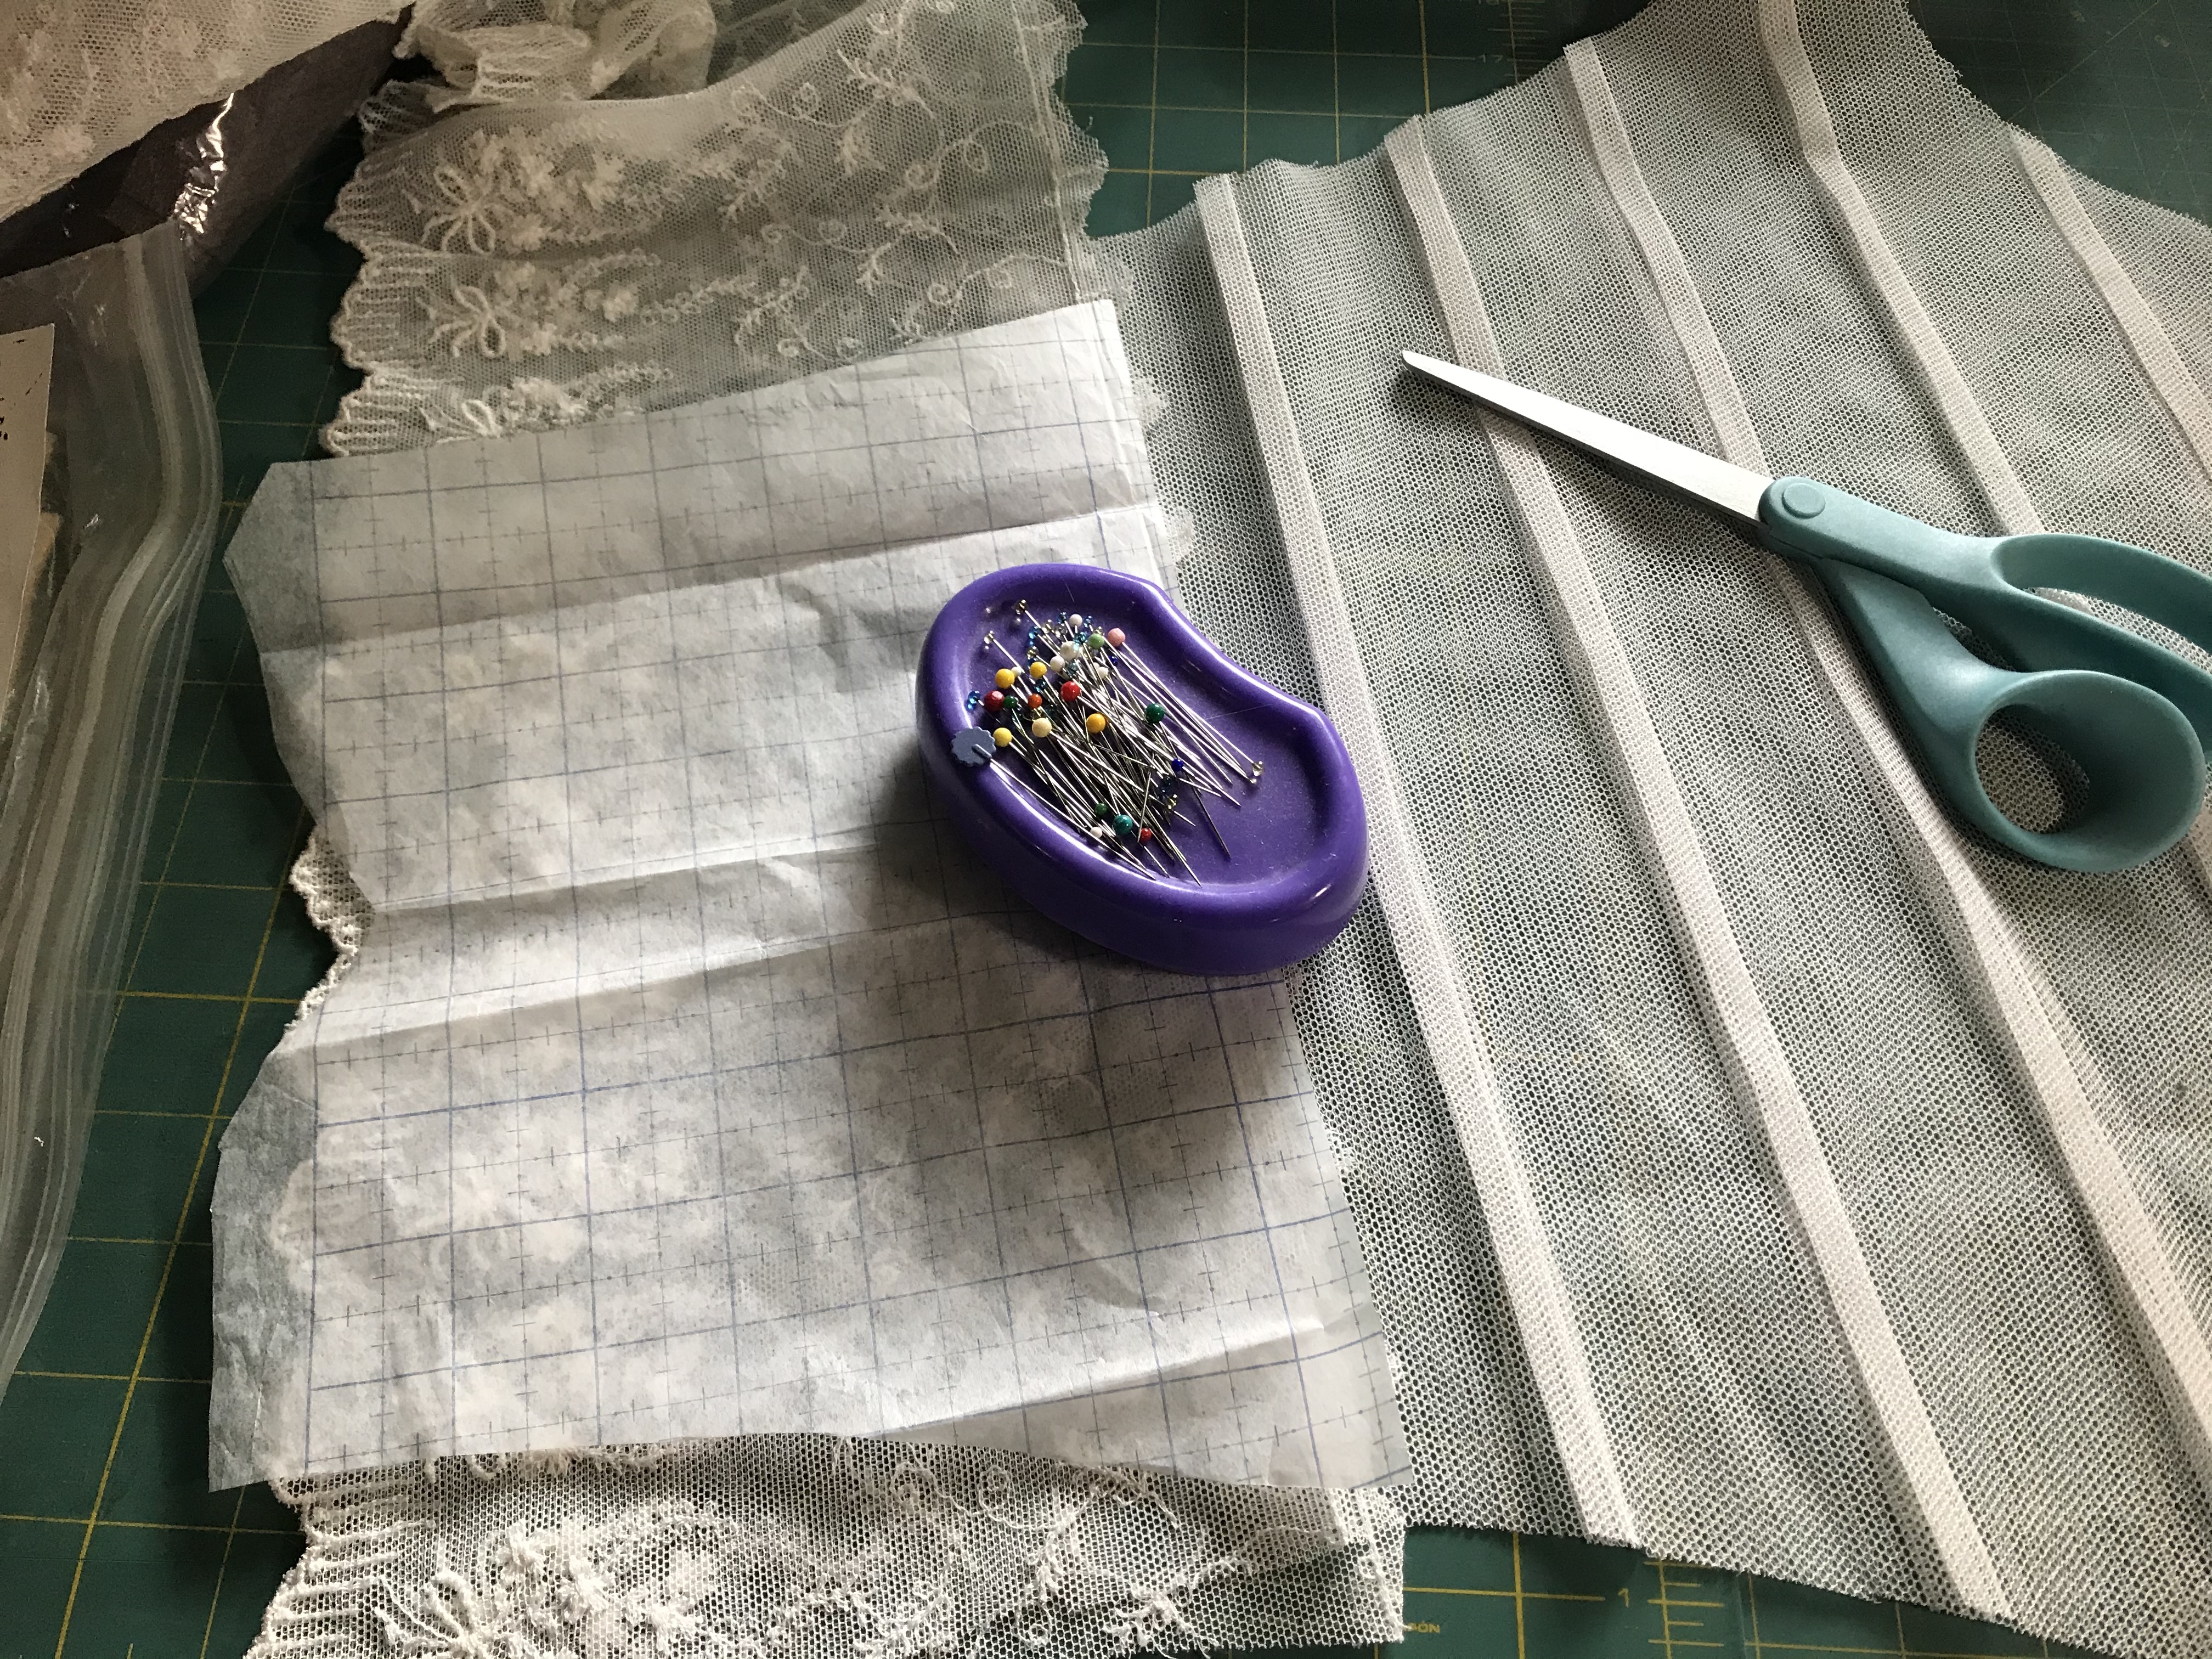
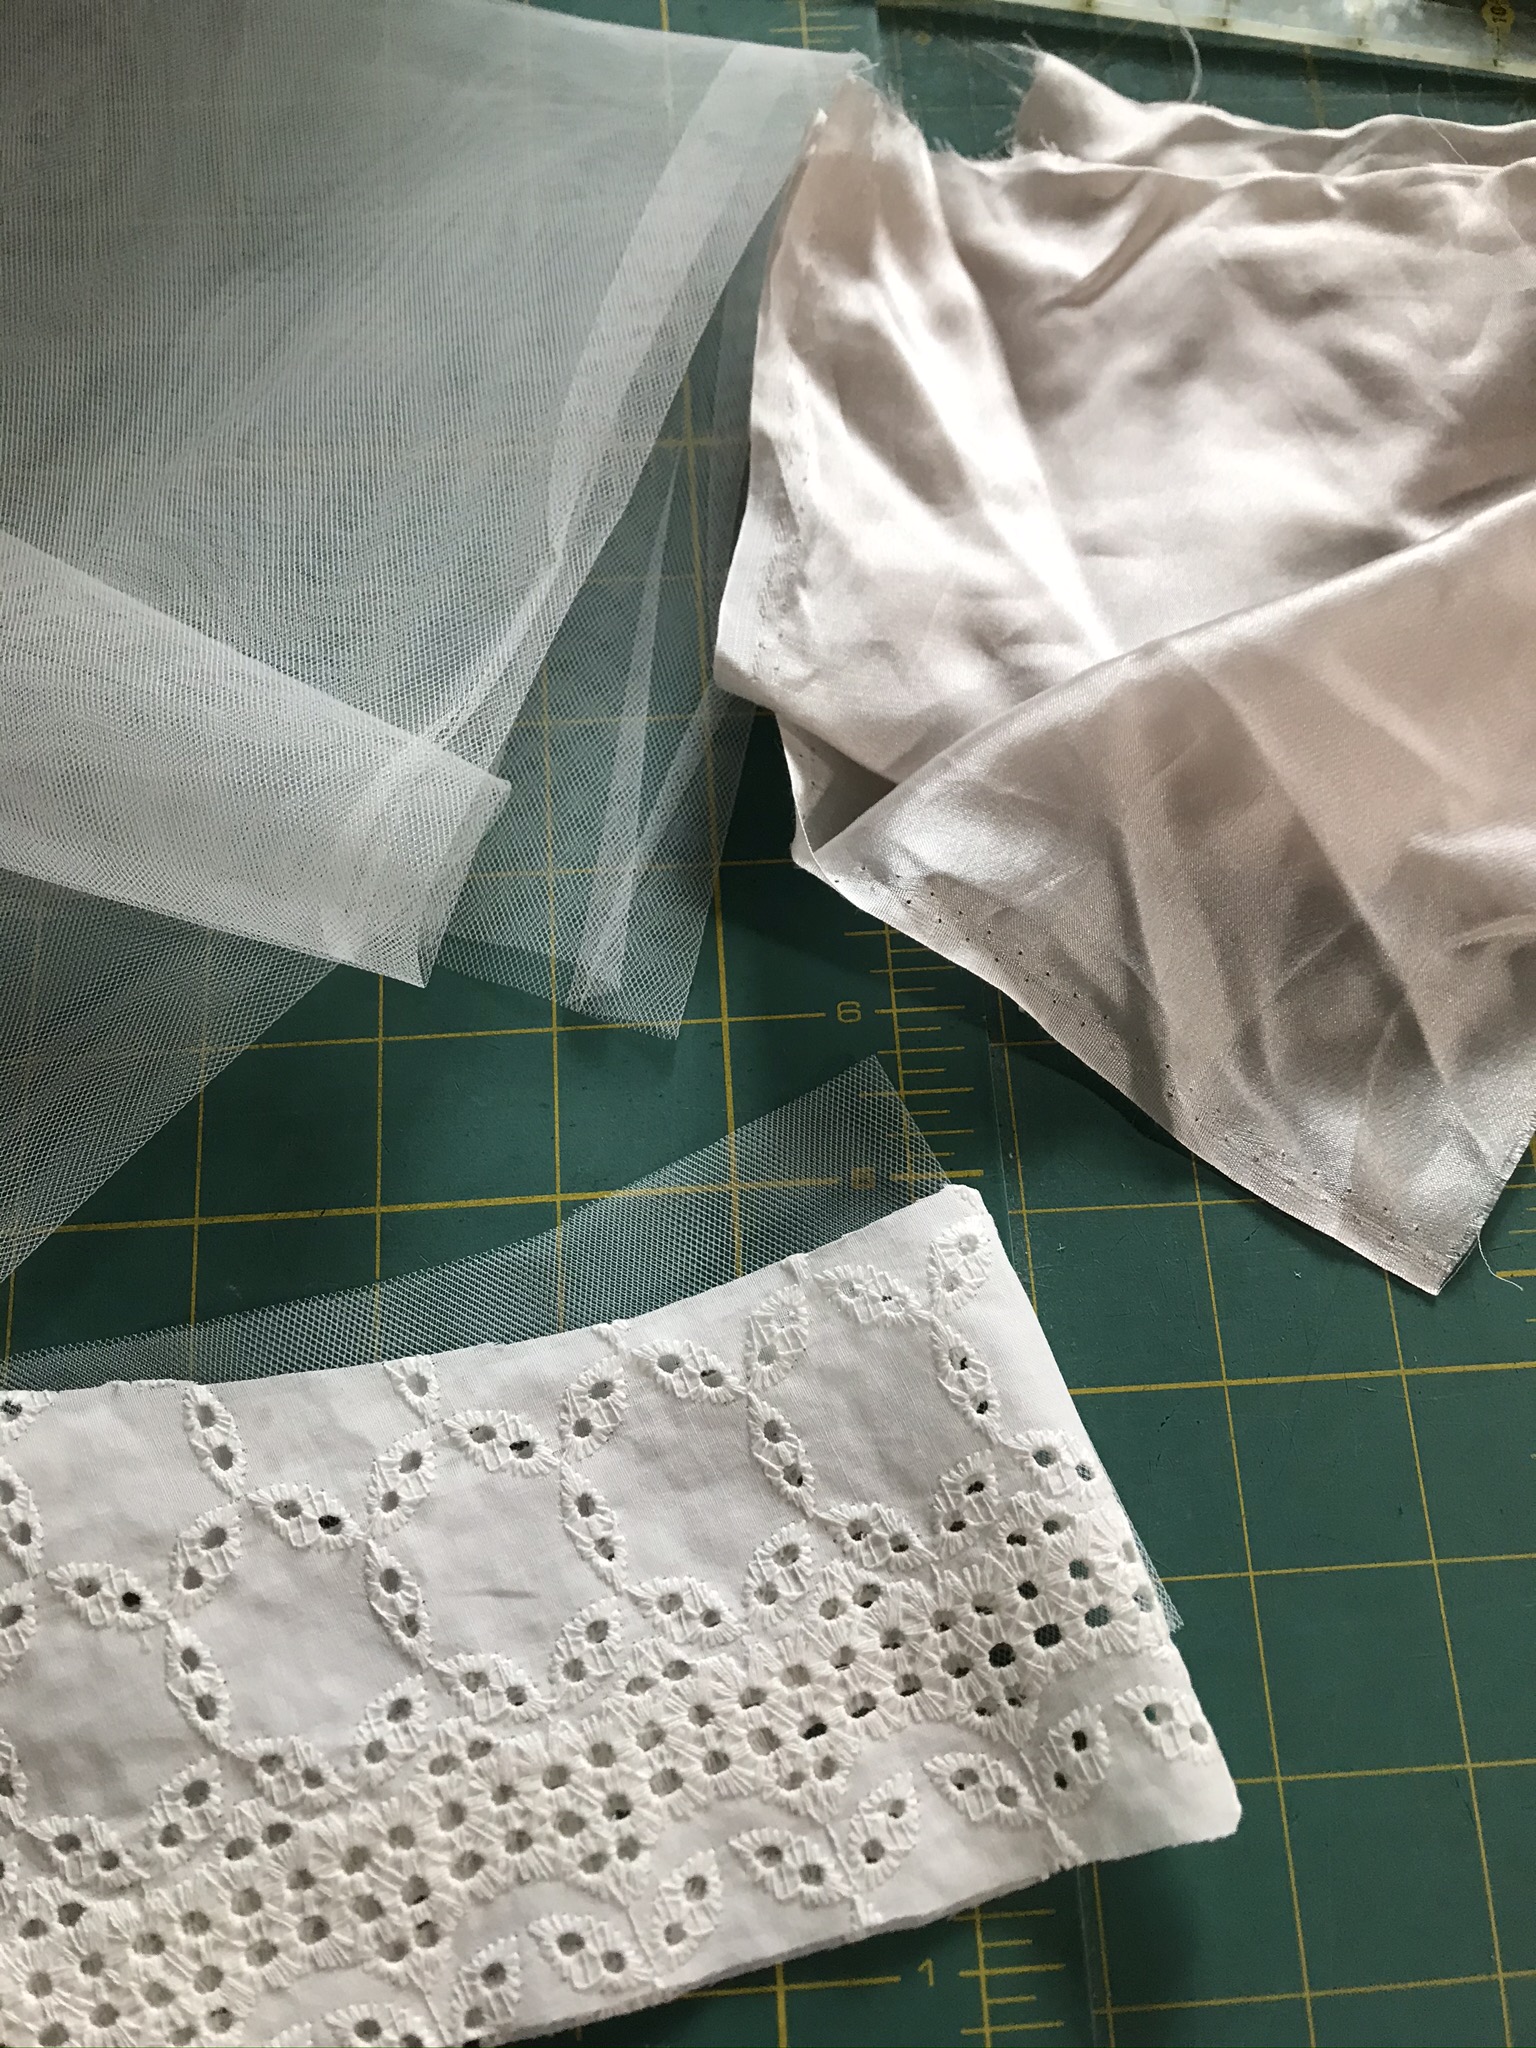
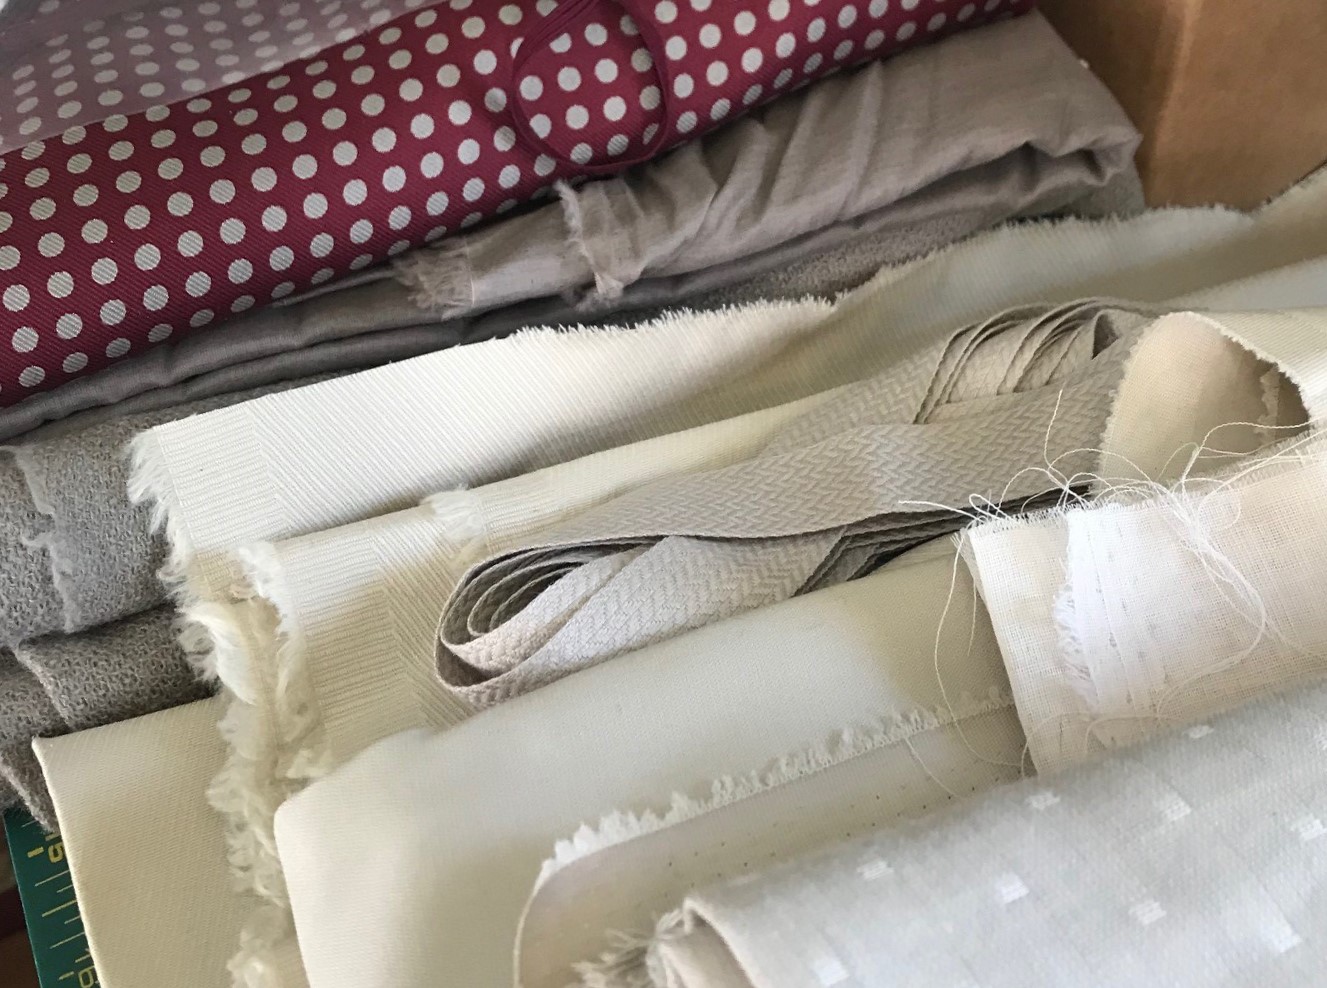
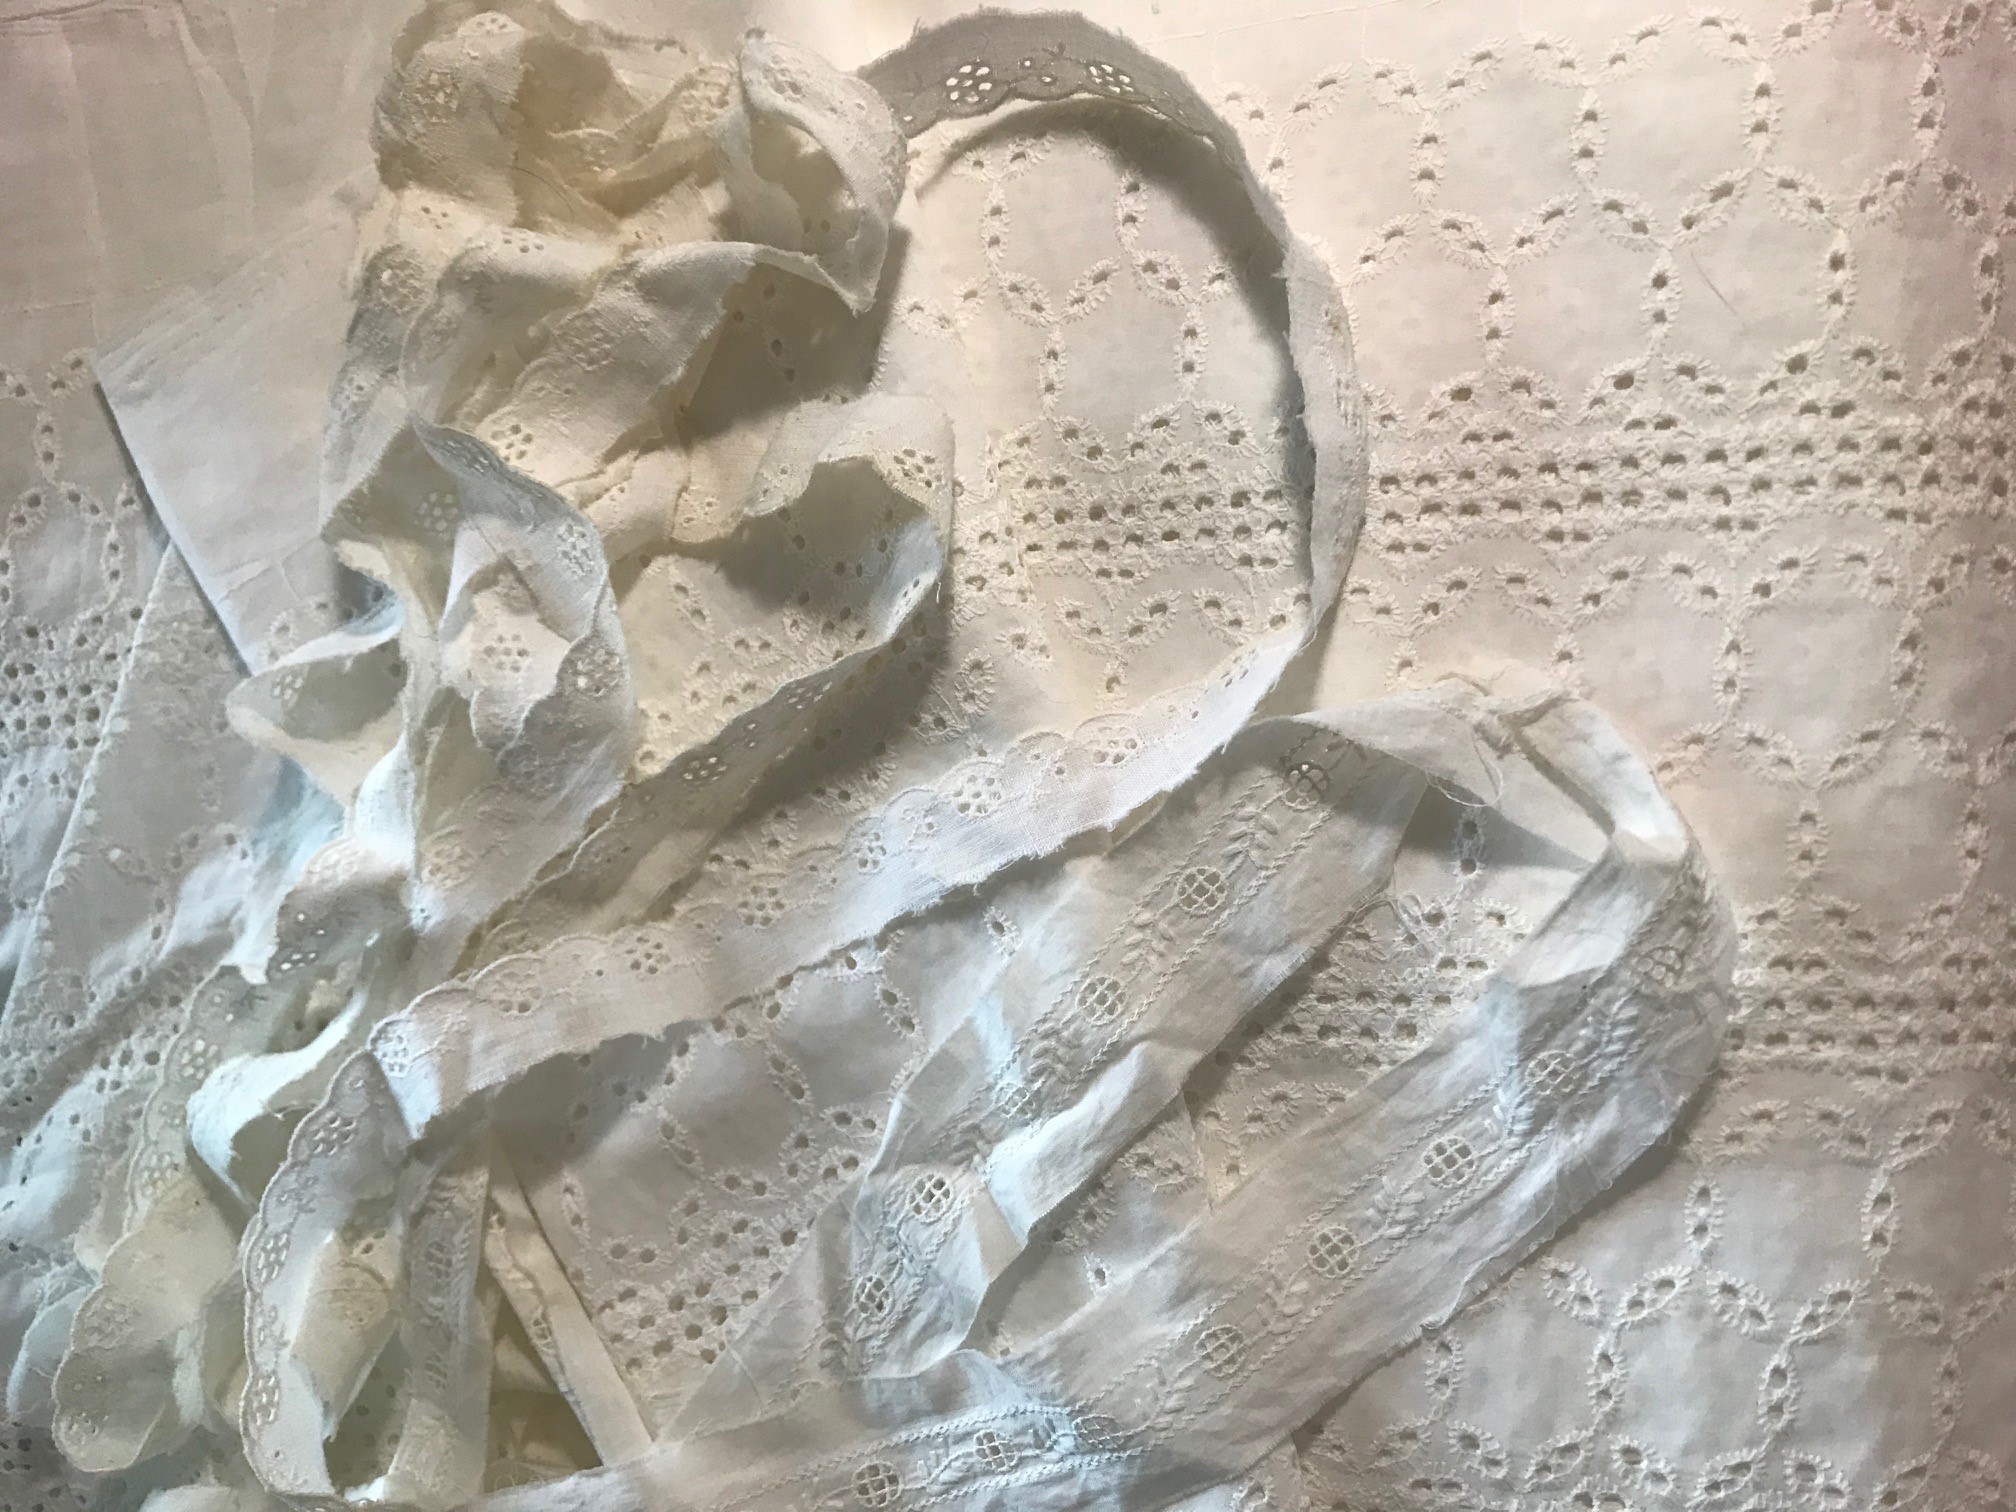
I assembled my cotton lining fabric, the sheer netting, embroidery thread, buttons, and some beautiful reproduction lace, all in the same shade of off white. The net I used is imported English cotton net. Some years ago, I invested a substantial sum to buy bolts this beautiful material in both white and off-white, and I continue to enjoy using it on replica projects large and small.

3 IMG_4450

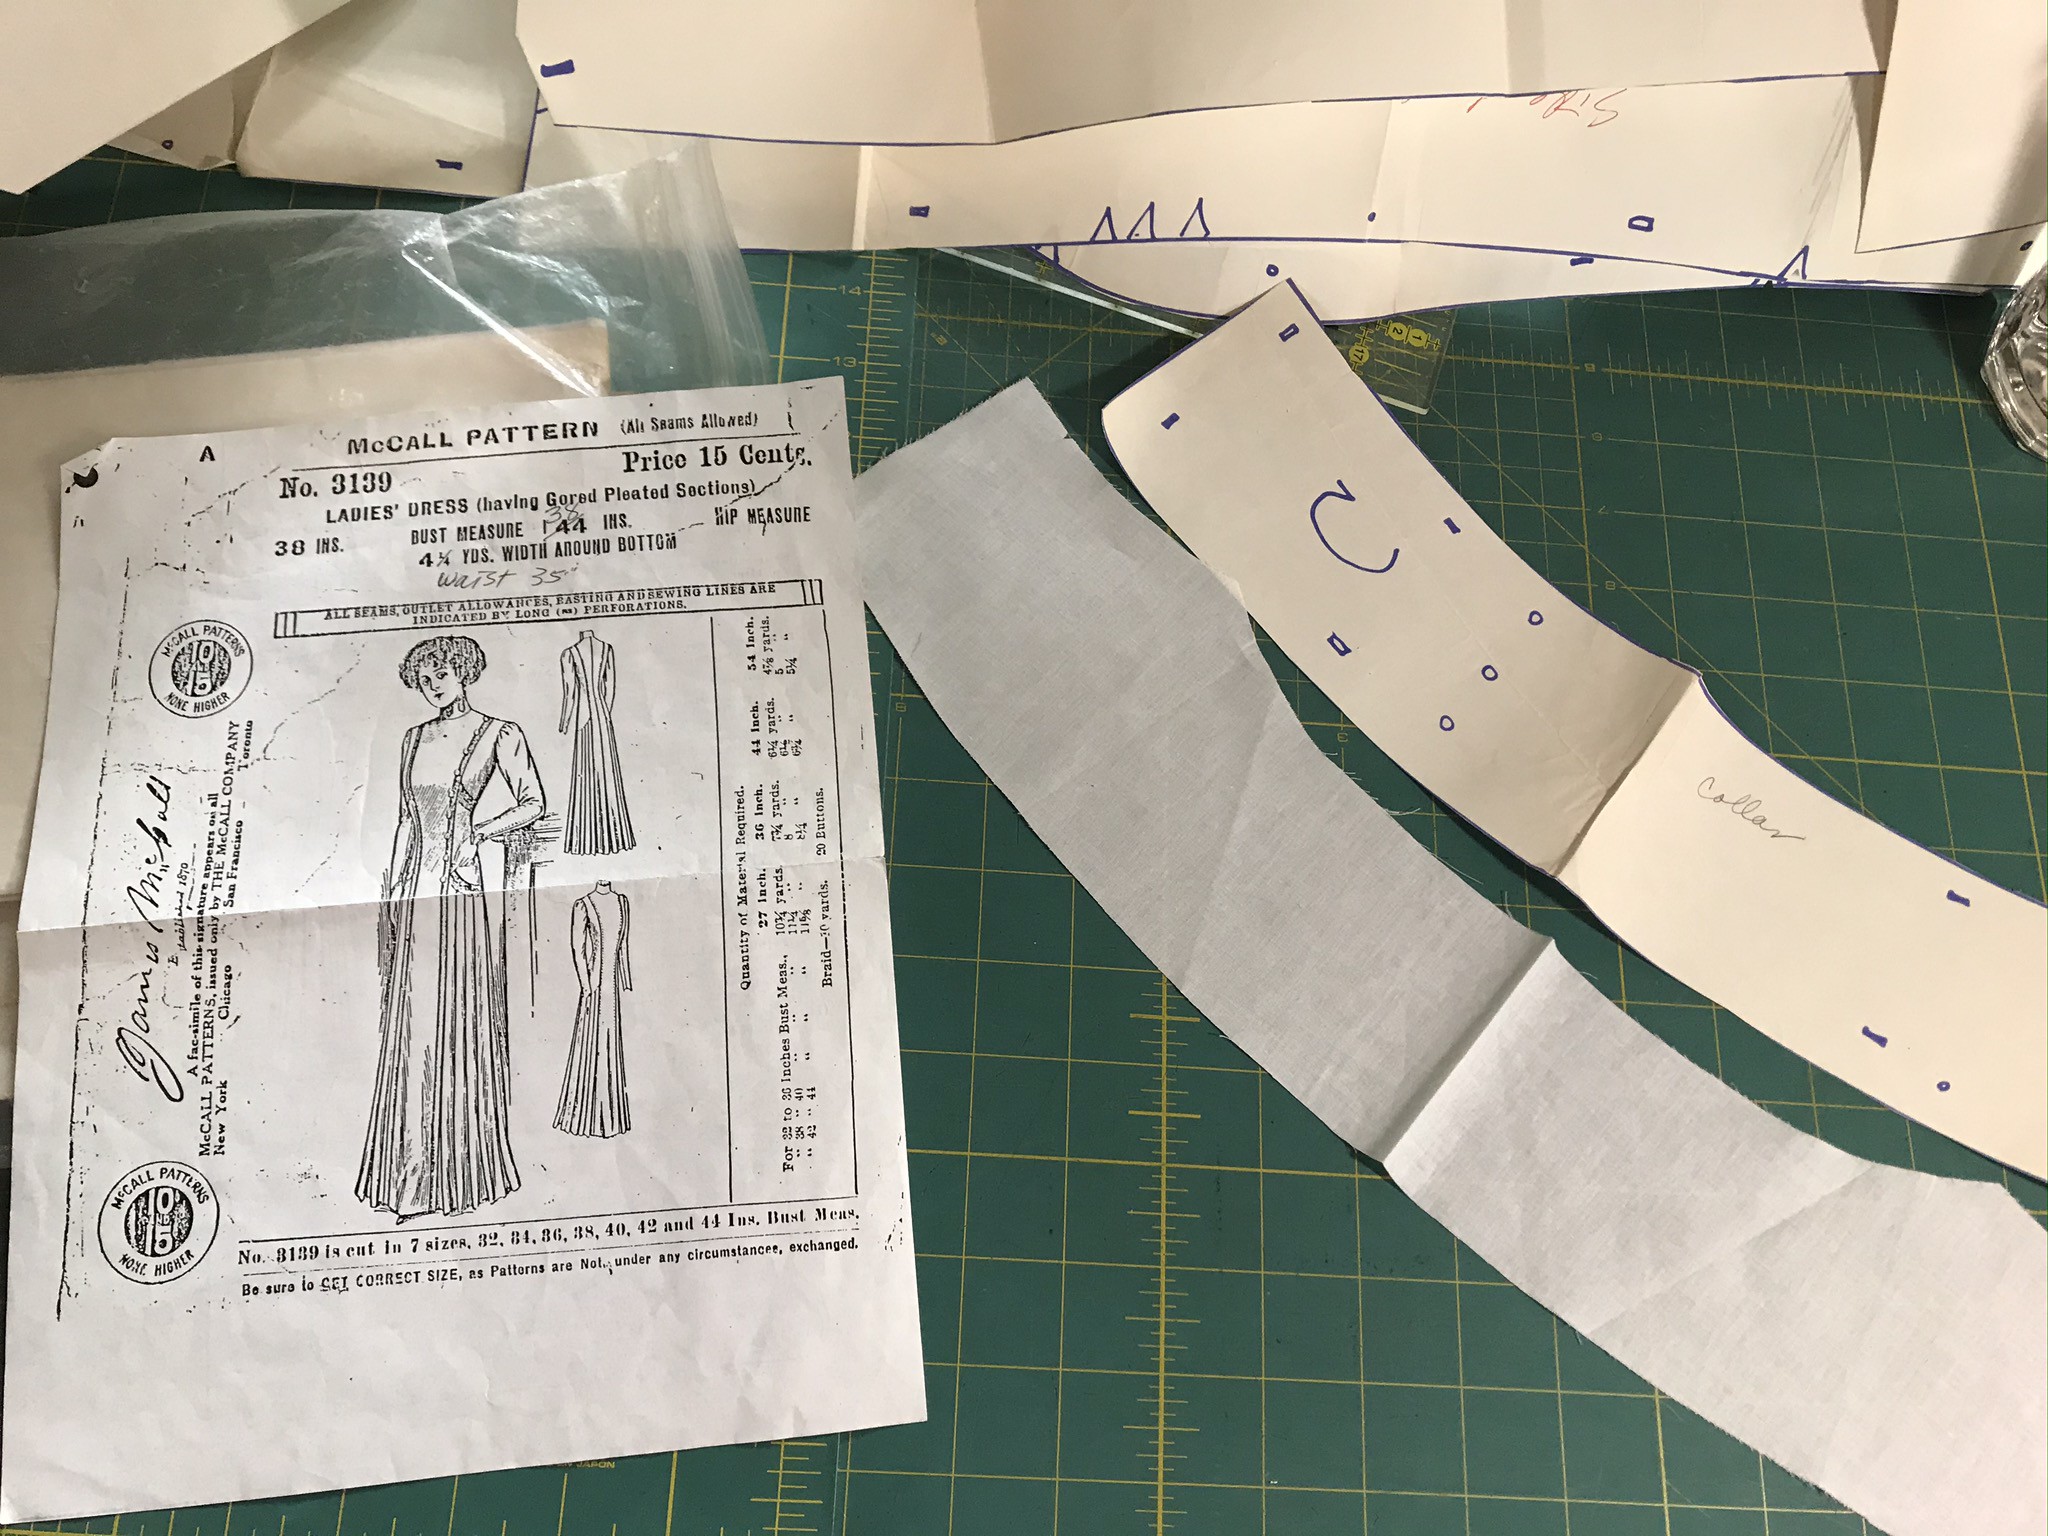
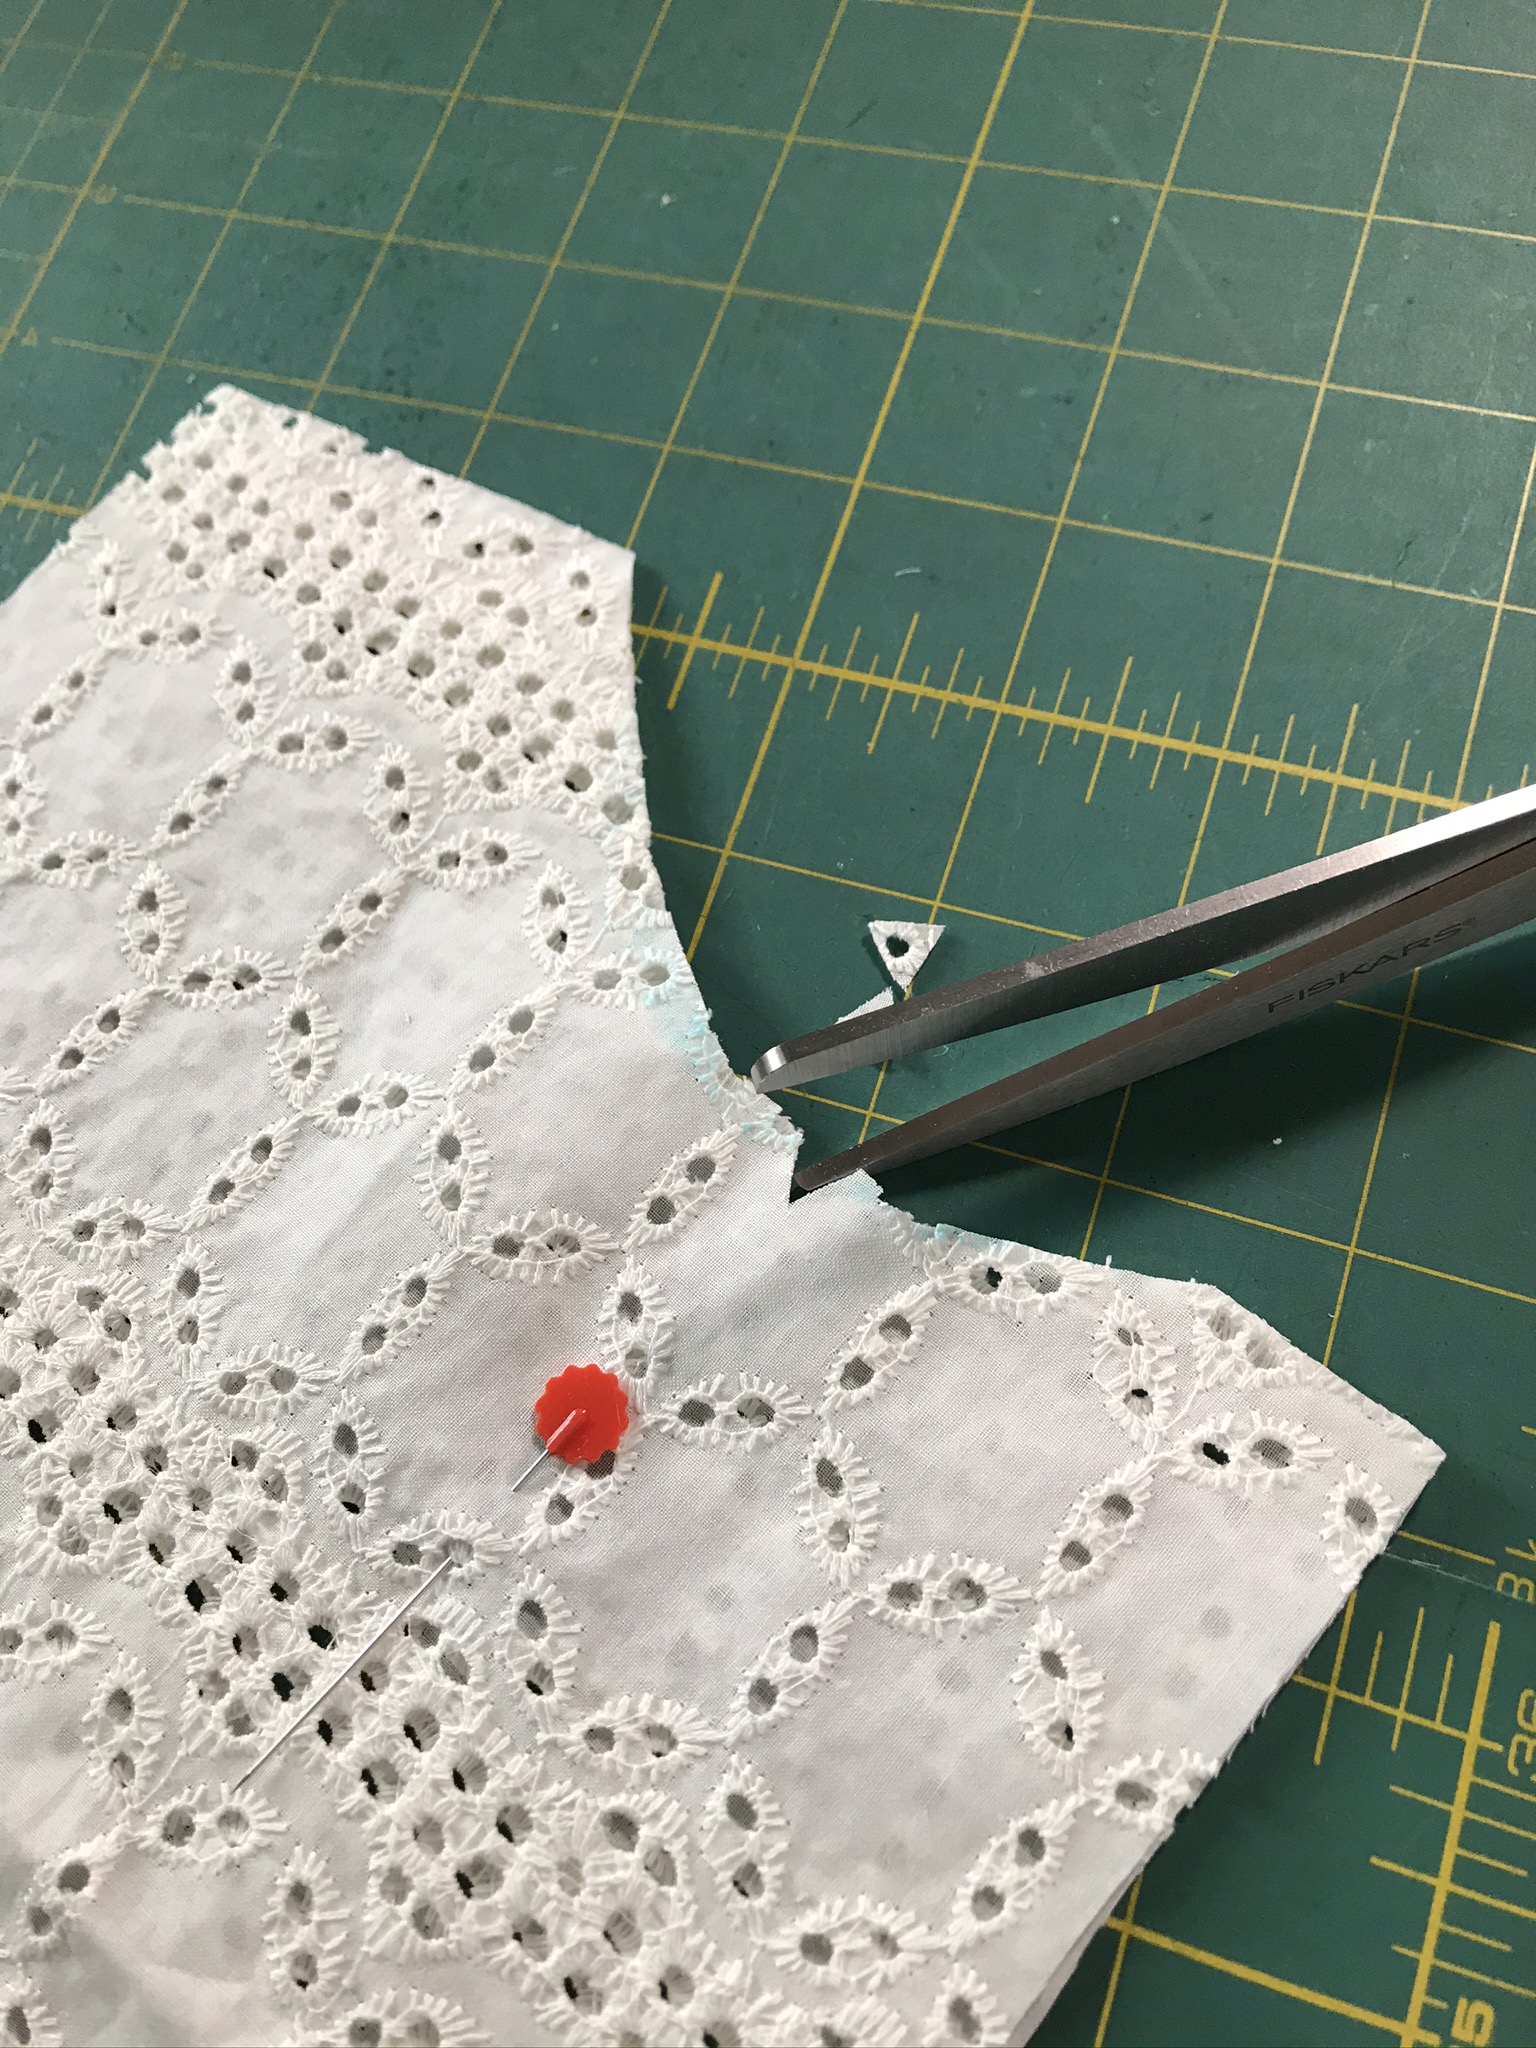
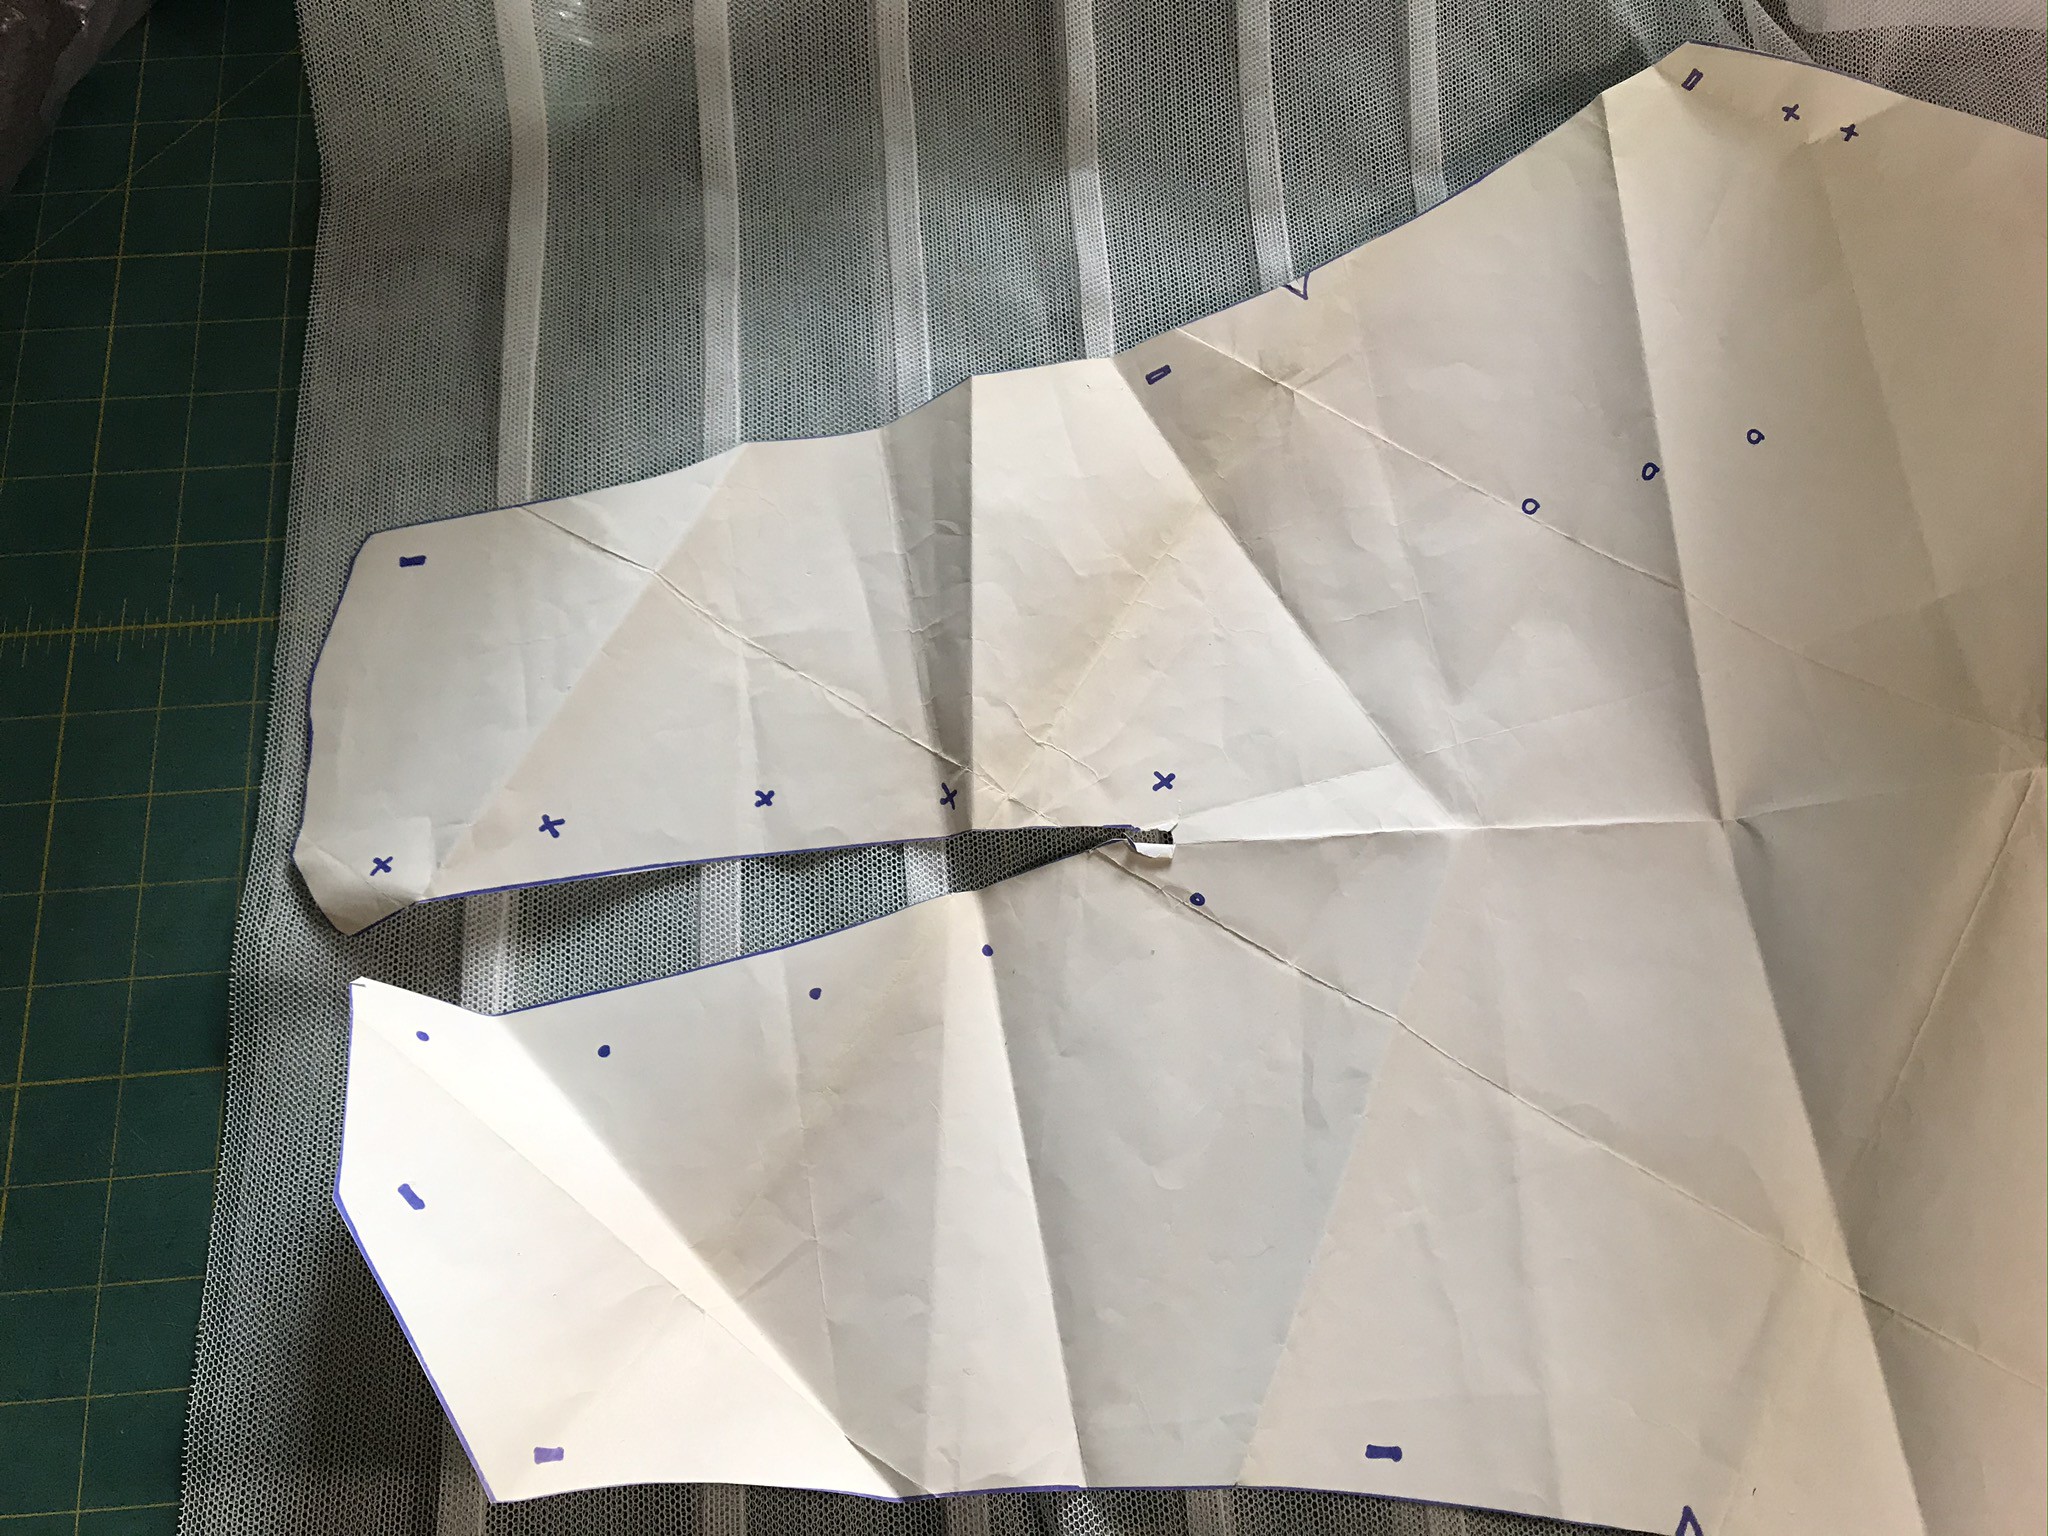
I used the Attic Copies pattern to cut out my new Under Waist, including the collar. I planned to make the entire collar of the sheer net and lace, but I wanted to have a fabric version for fitting. I double checked measurements and fit before cutting in to that valuable tucked net!

2 IMG_4452

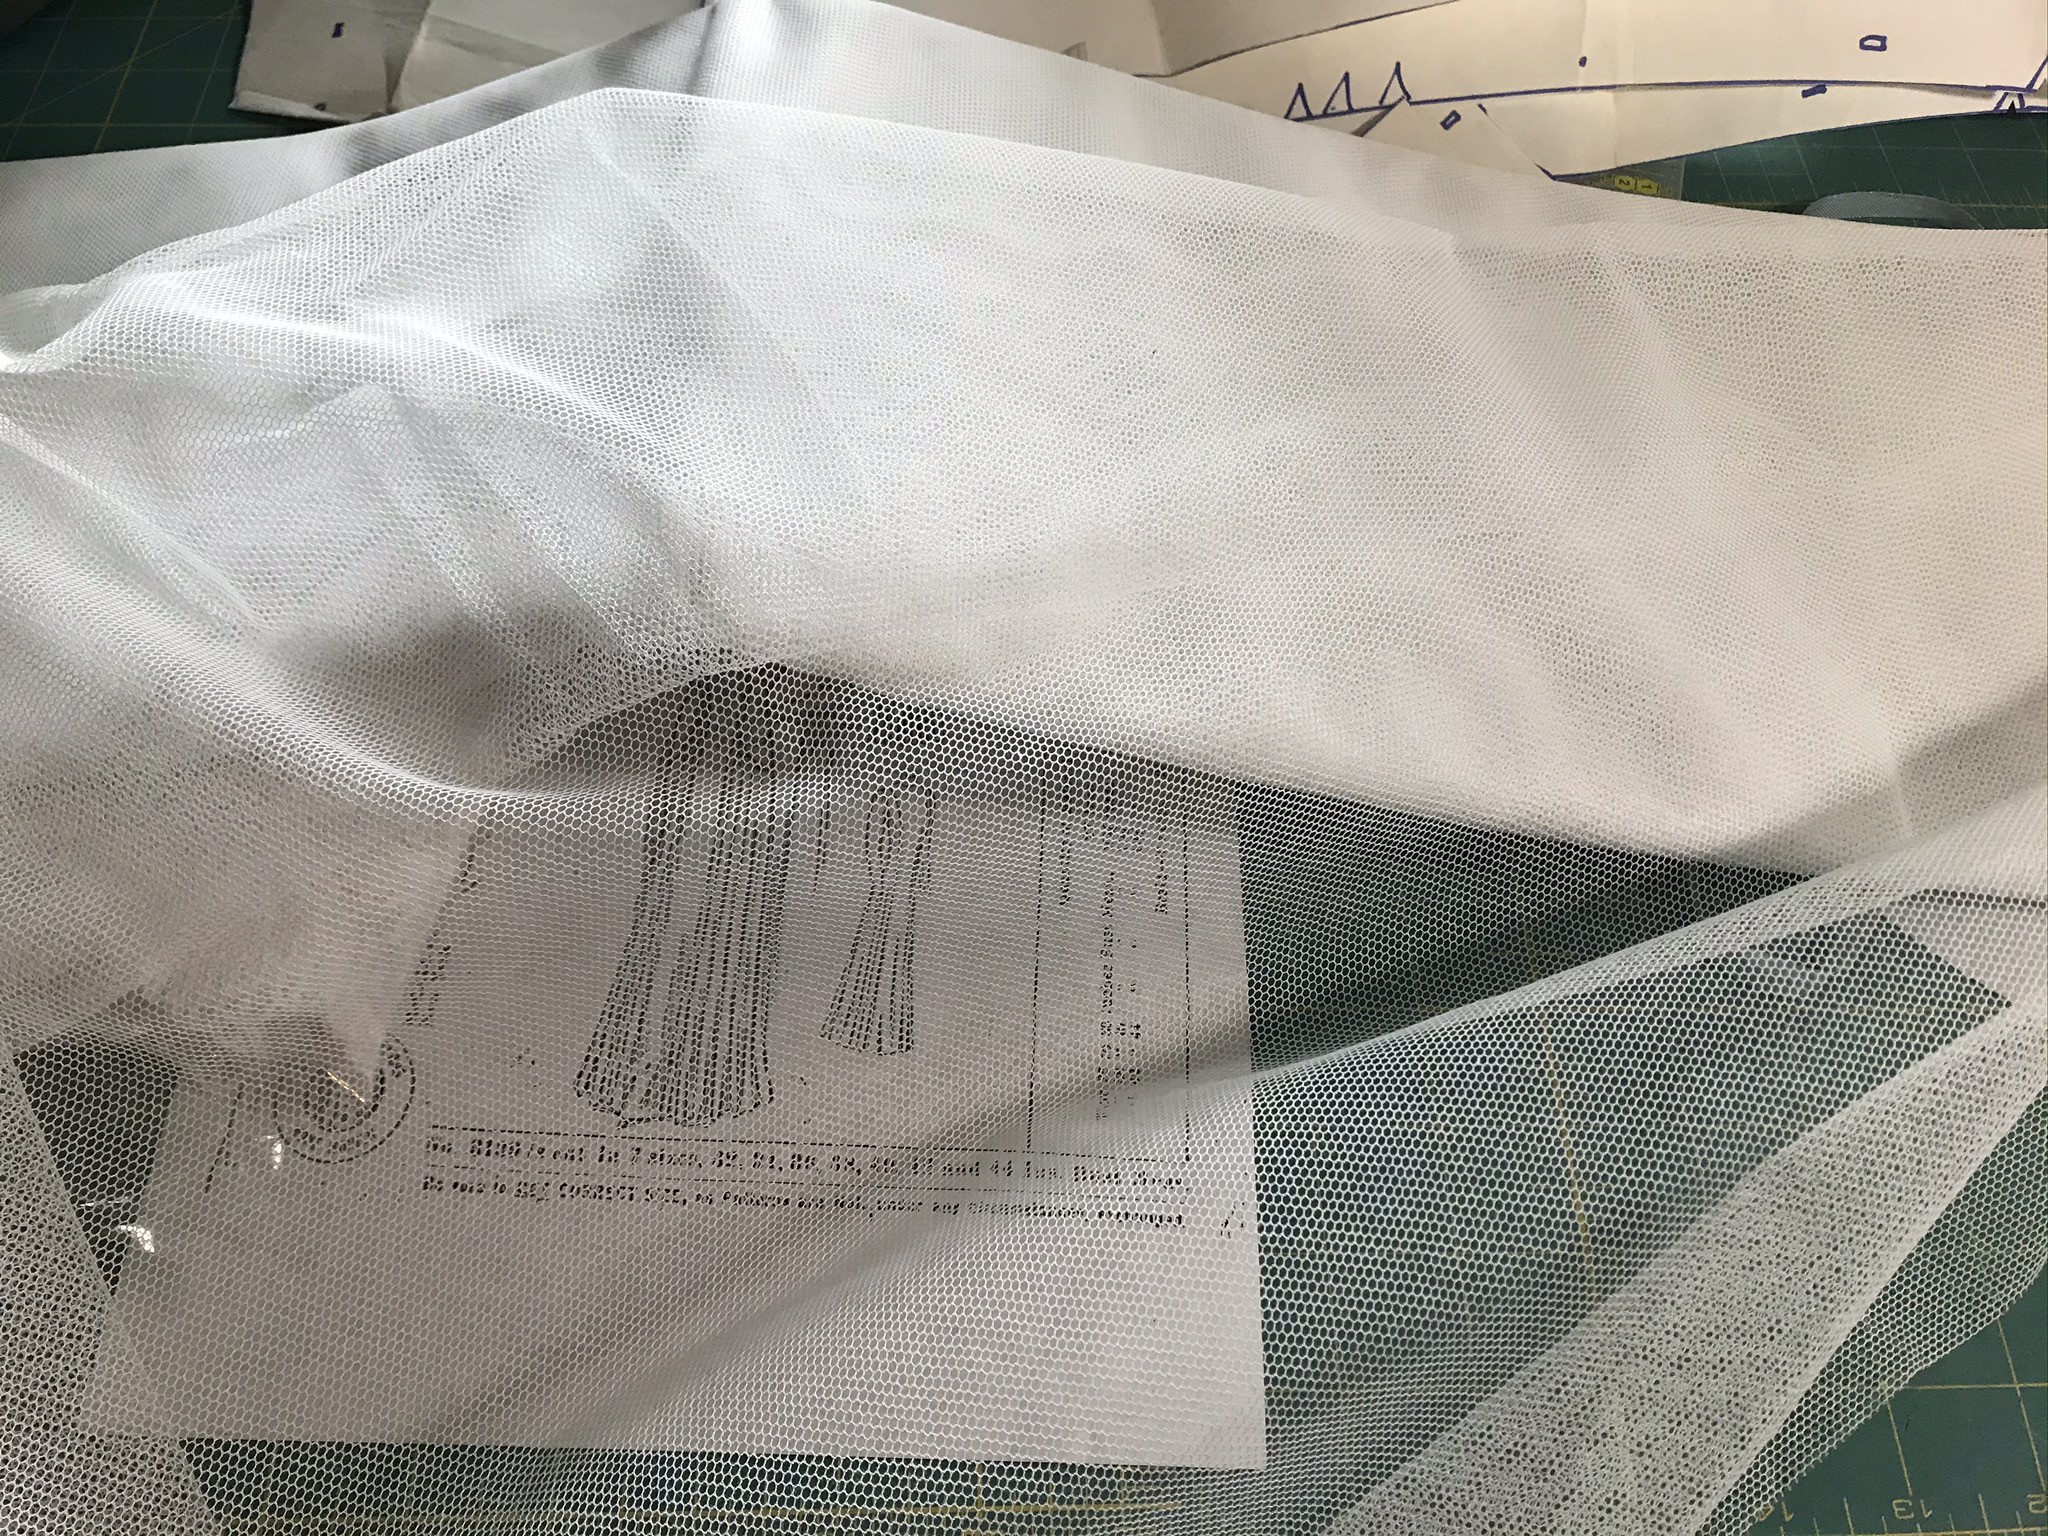
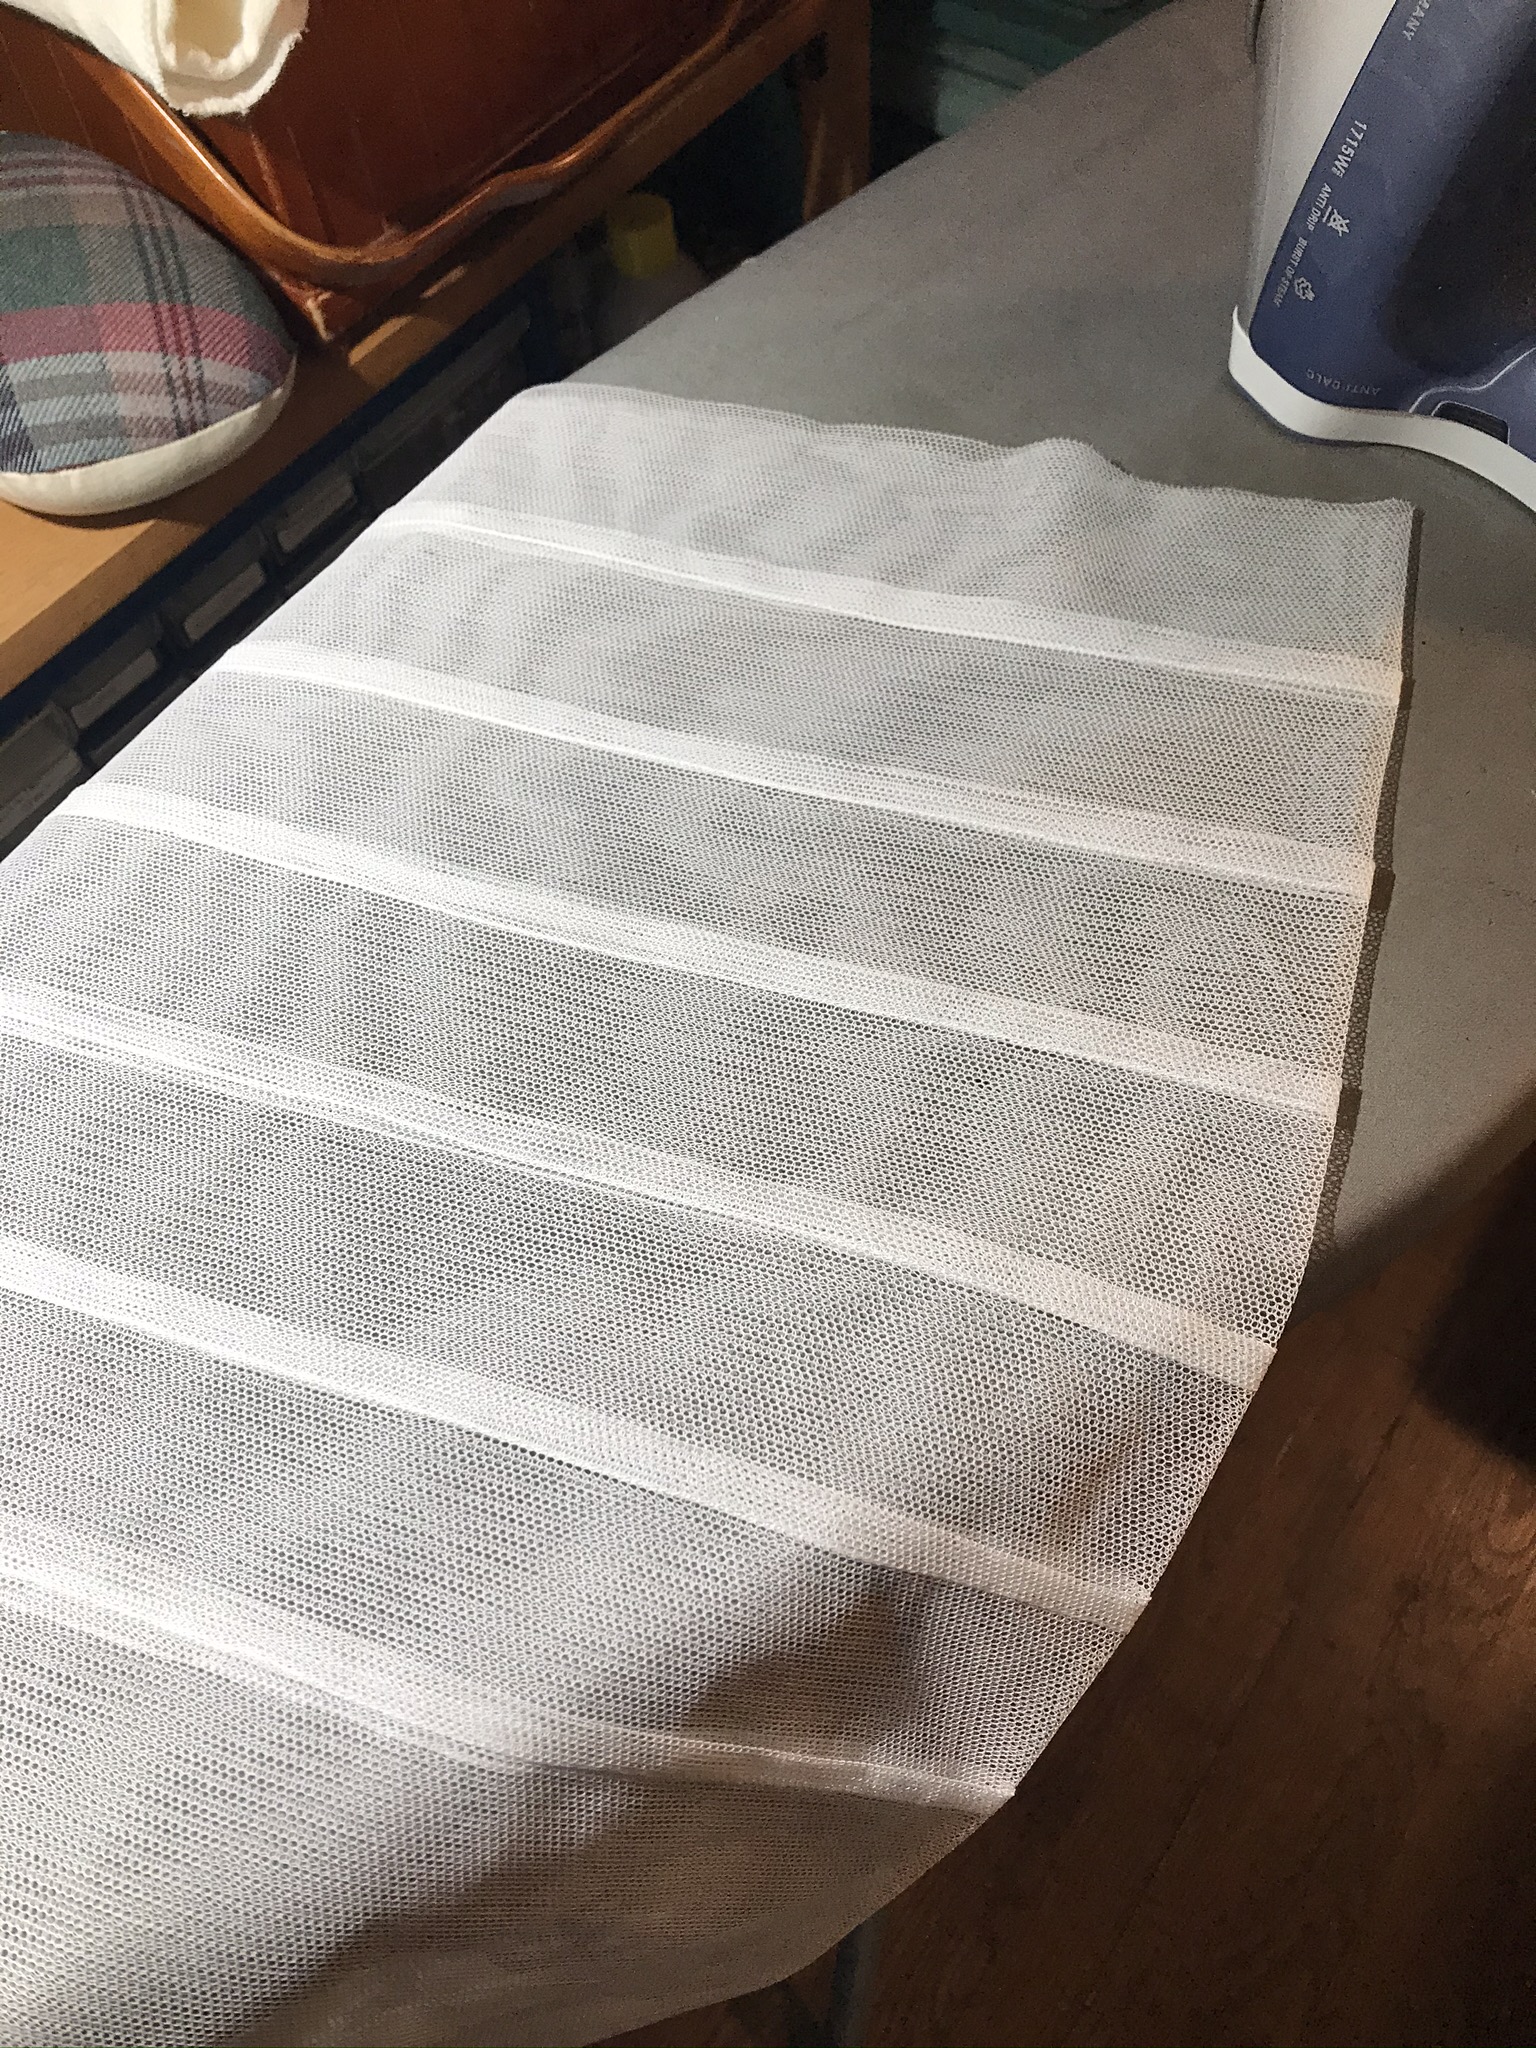
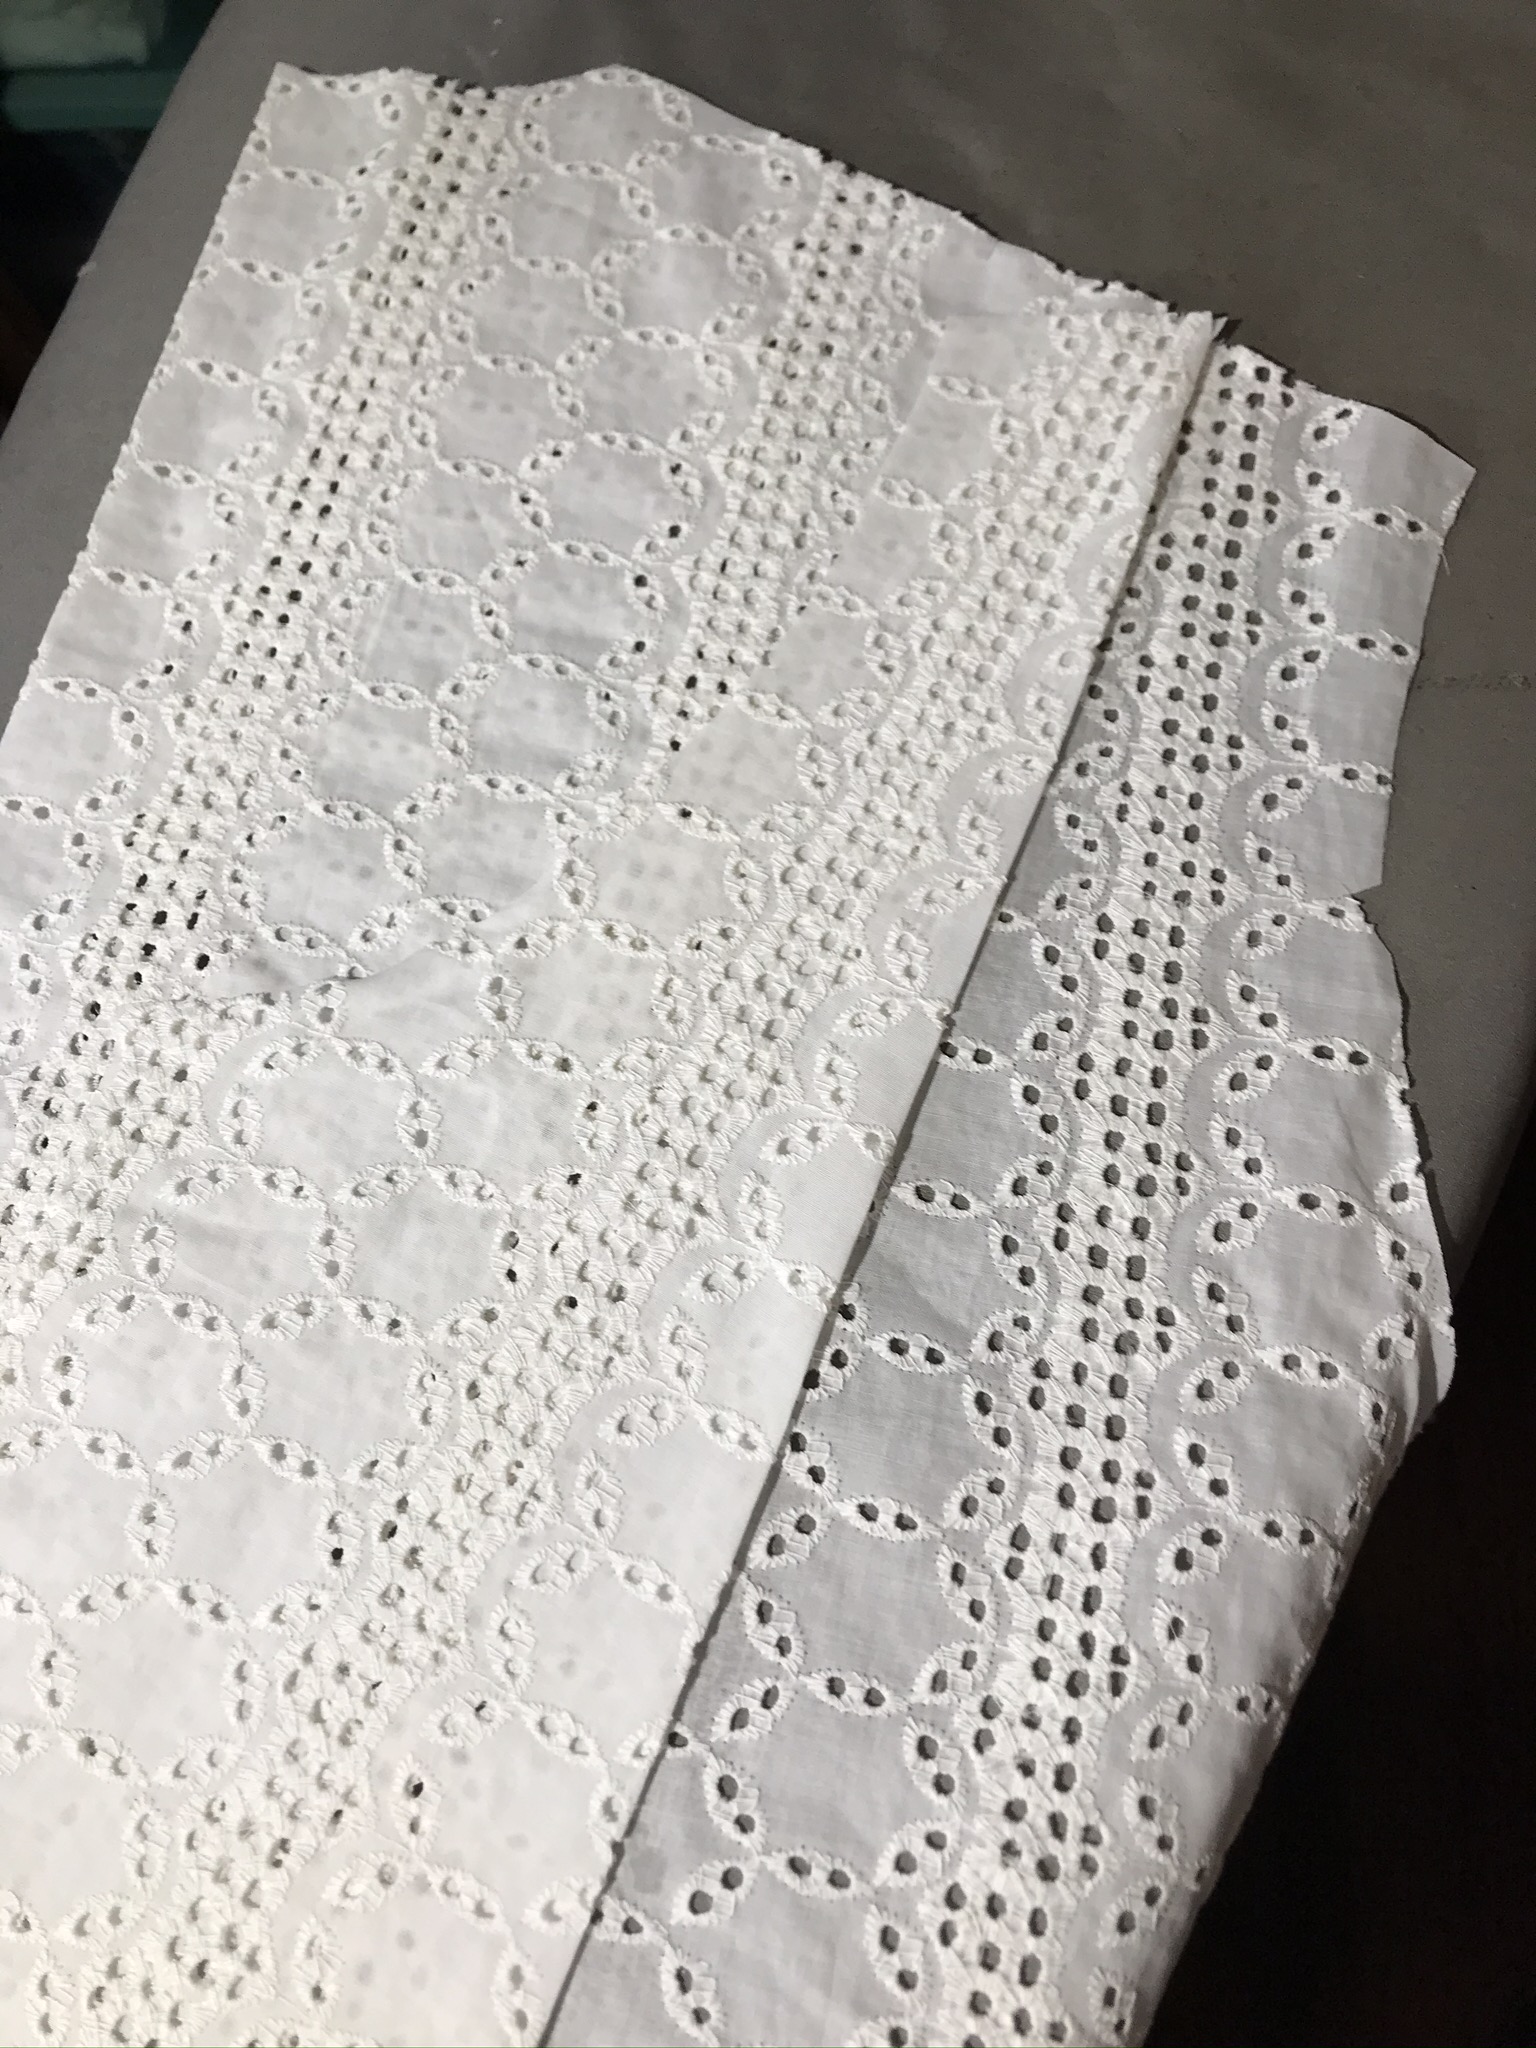
I planned to make the yoke and the upper sleeves of tucked net and the lower sleeves of my coordinating lace. I made the tucks in my net fabric before laying out my pattern. Here is where precise pressing and stitching are so important!
5


6 IMG_4457I knew that the lower section of the sleeve would be a solid section of lace. I didn’t want to add the intricate fastenings that were part of the 1910 pattern. Instead, I allowed enough wearing ease that I can pull the sleeves over my hands without snaps or buttons.

8 IMG_4459

The Guimpe, Finished

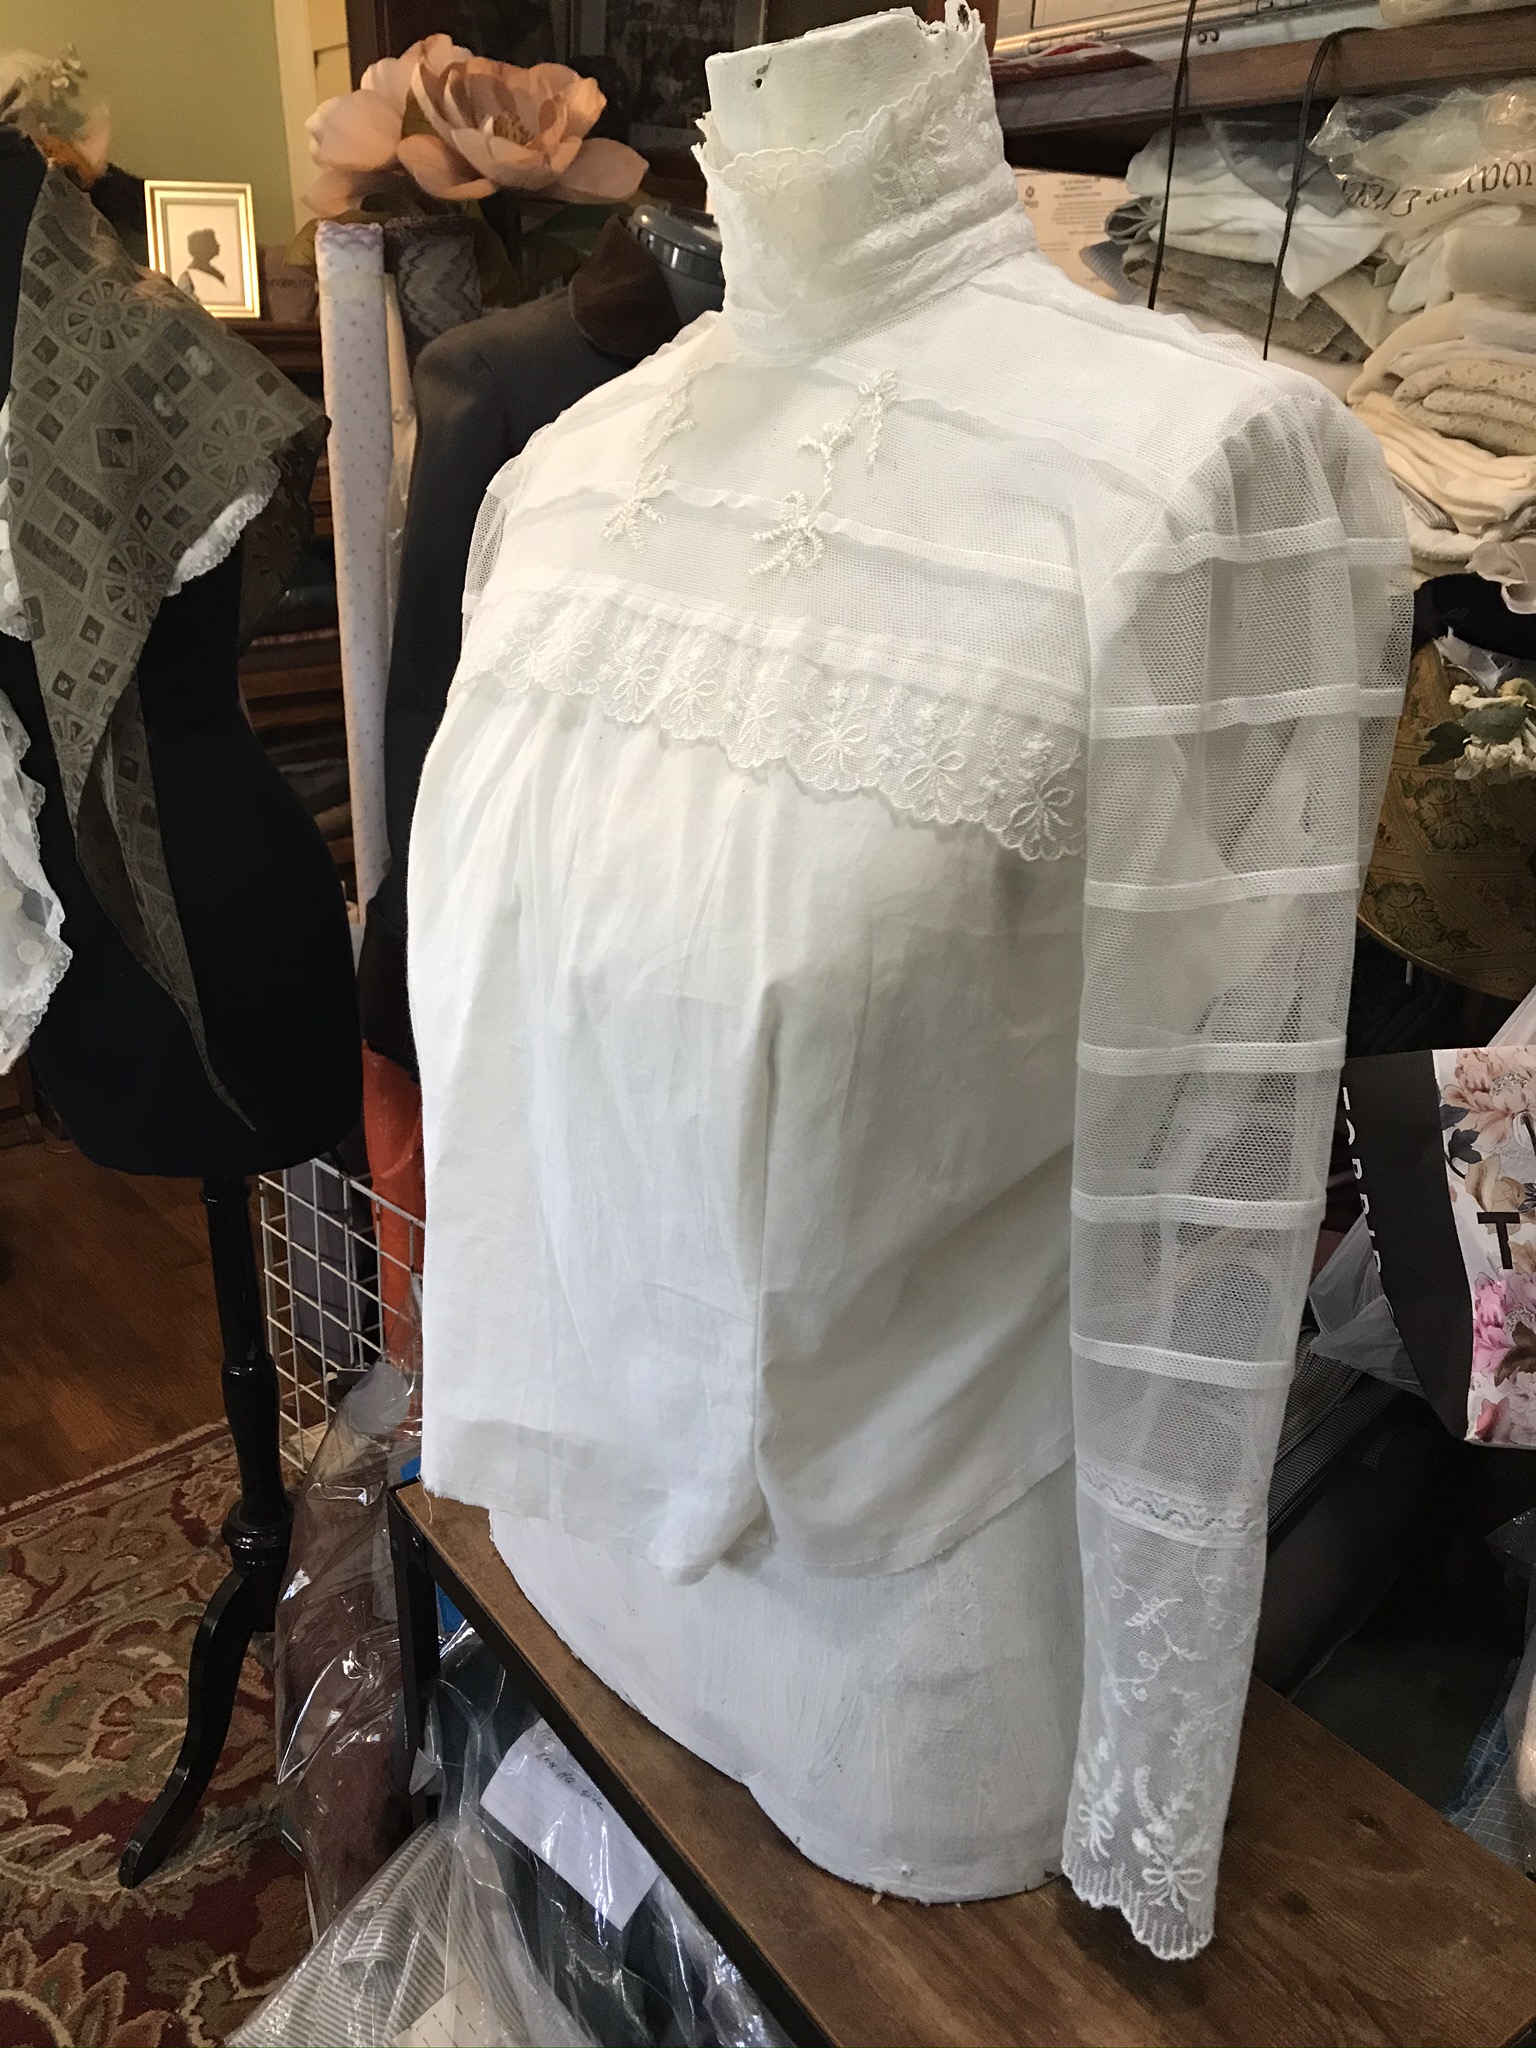
I was pleased overall, with the general shape of the new Under Waist.

9 IMG_5789

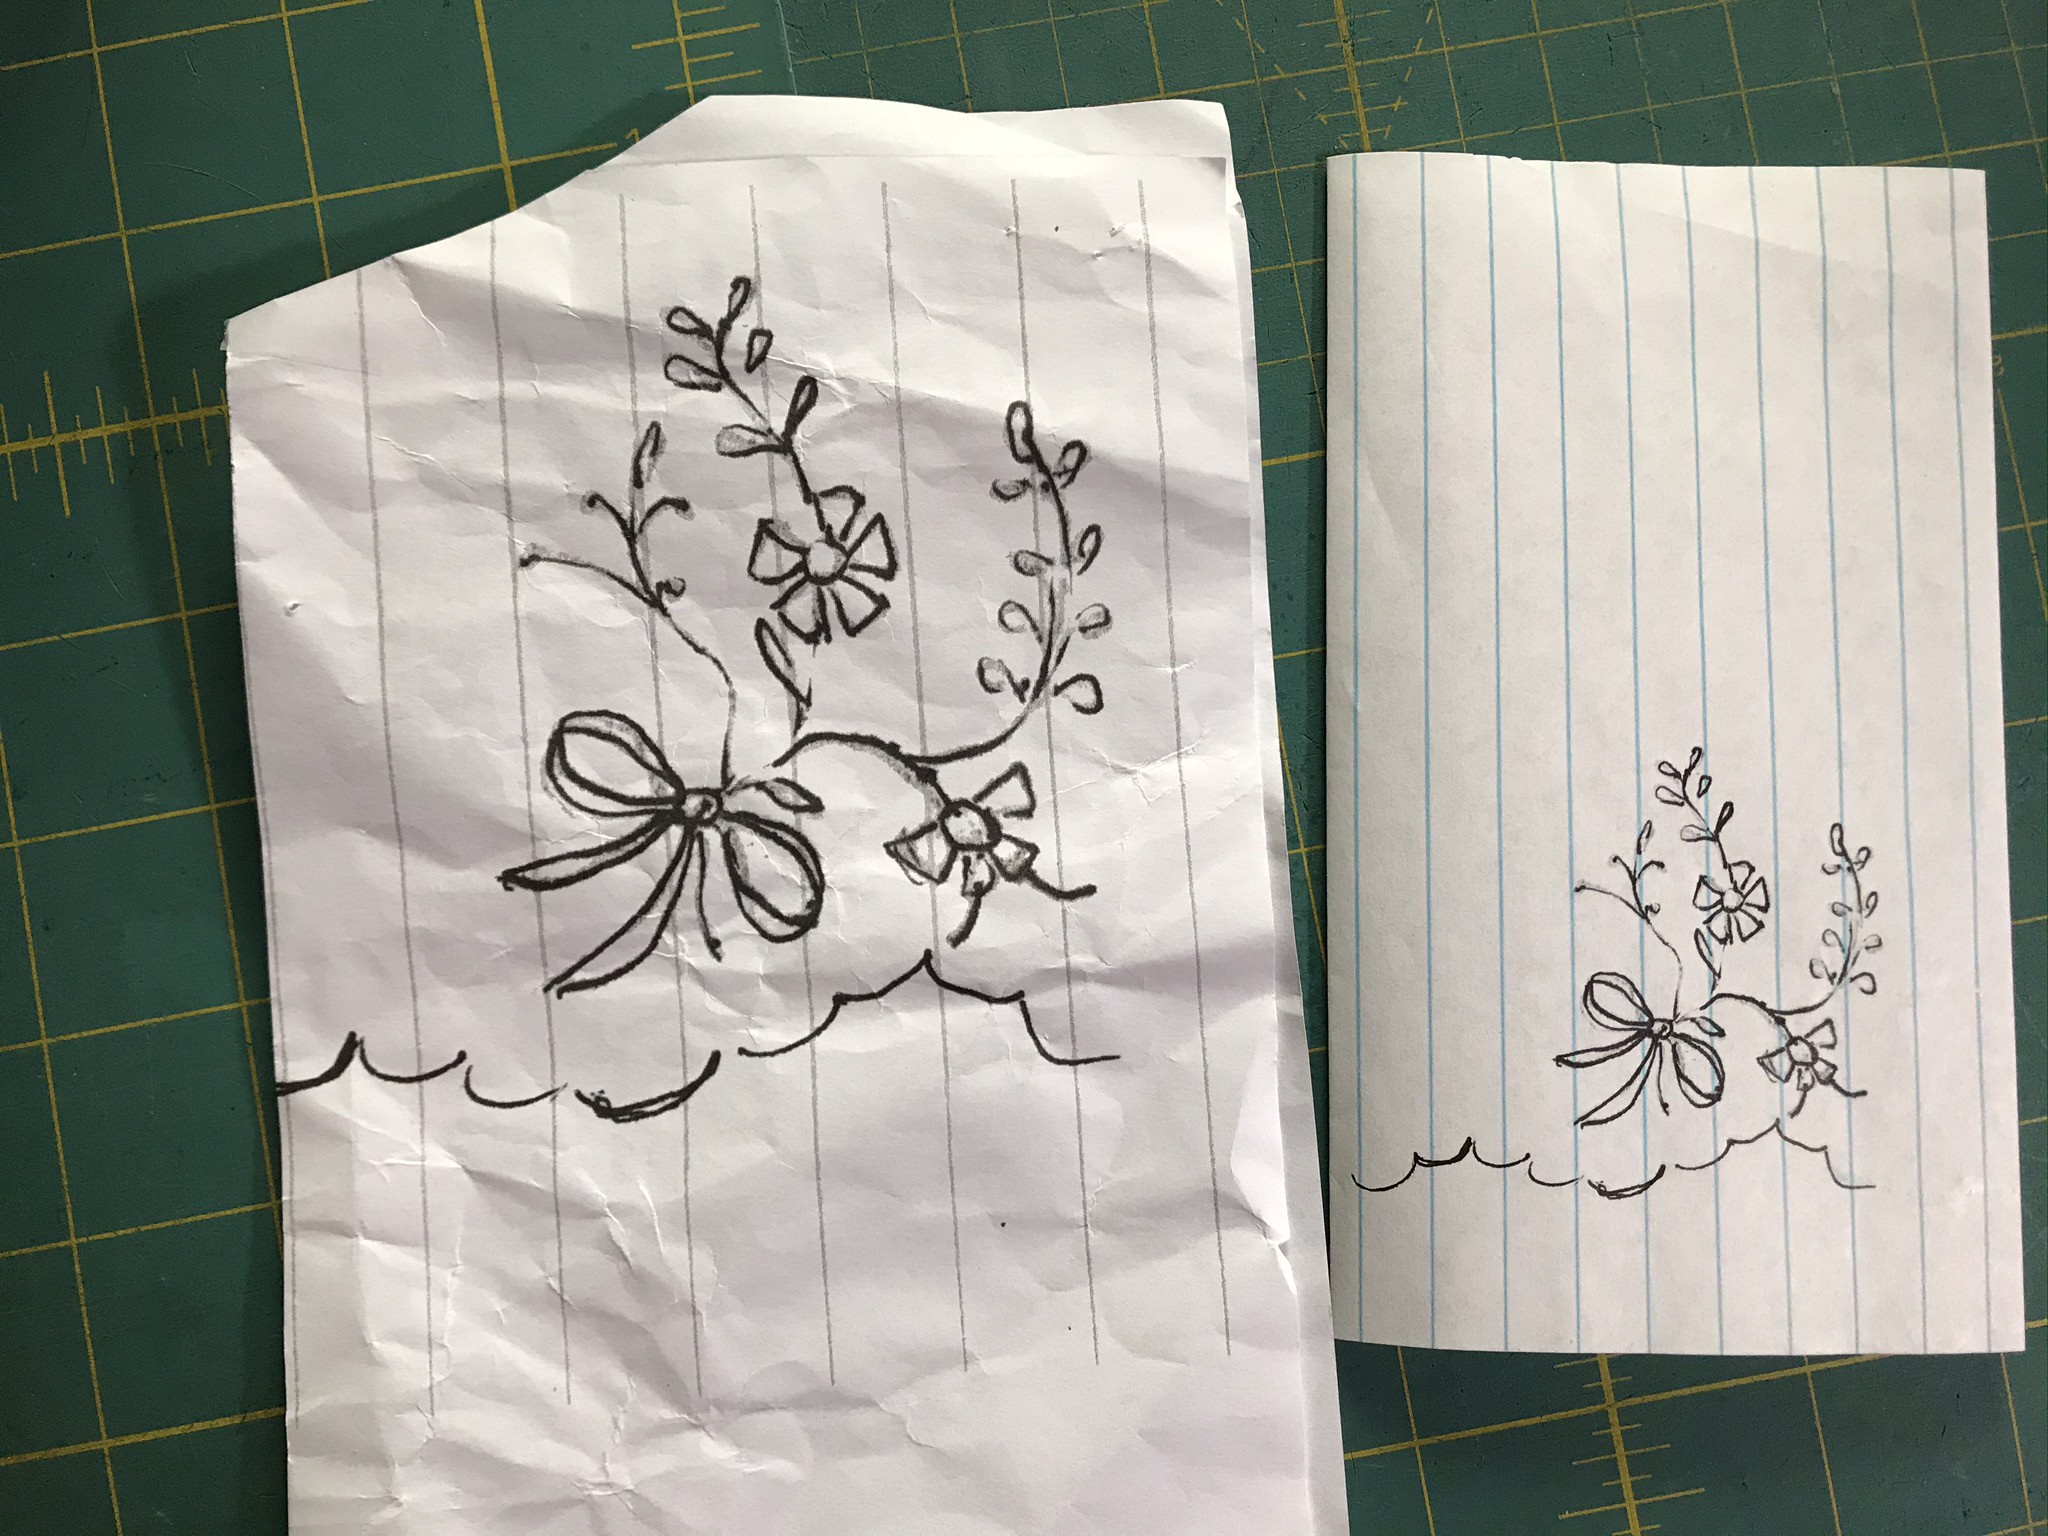
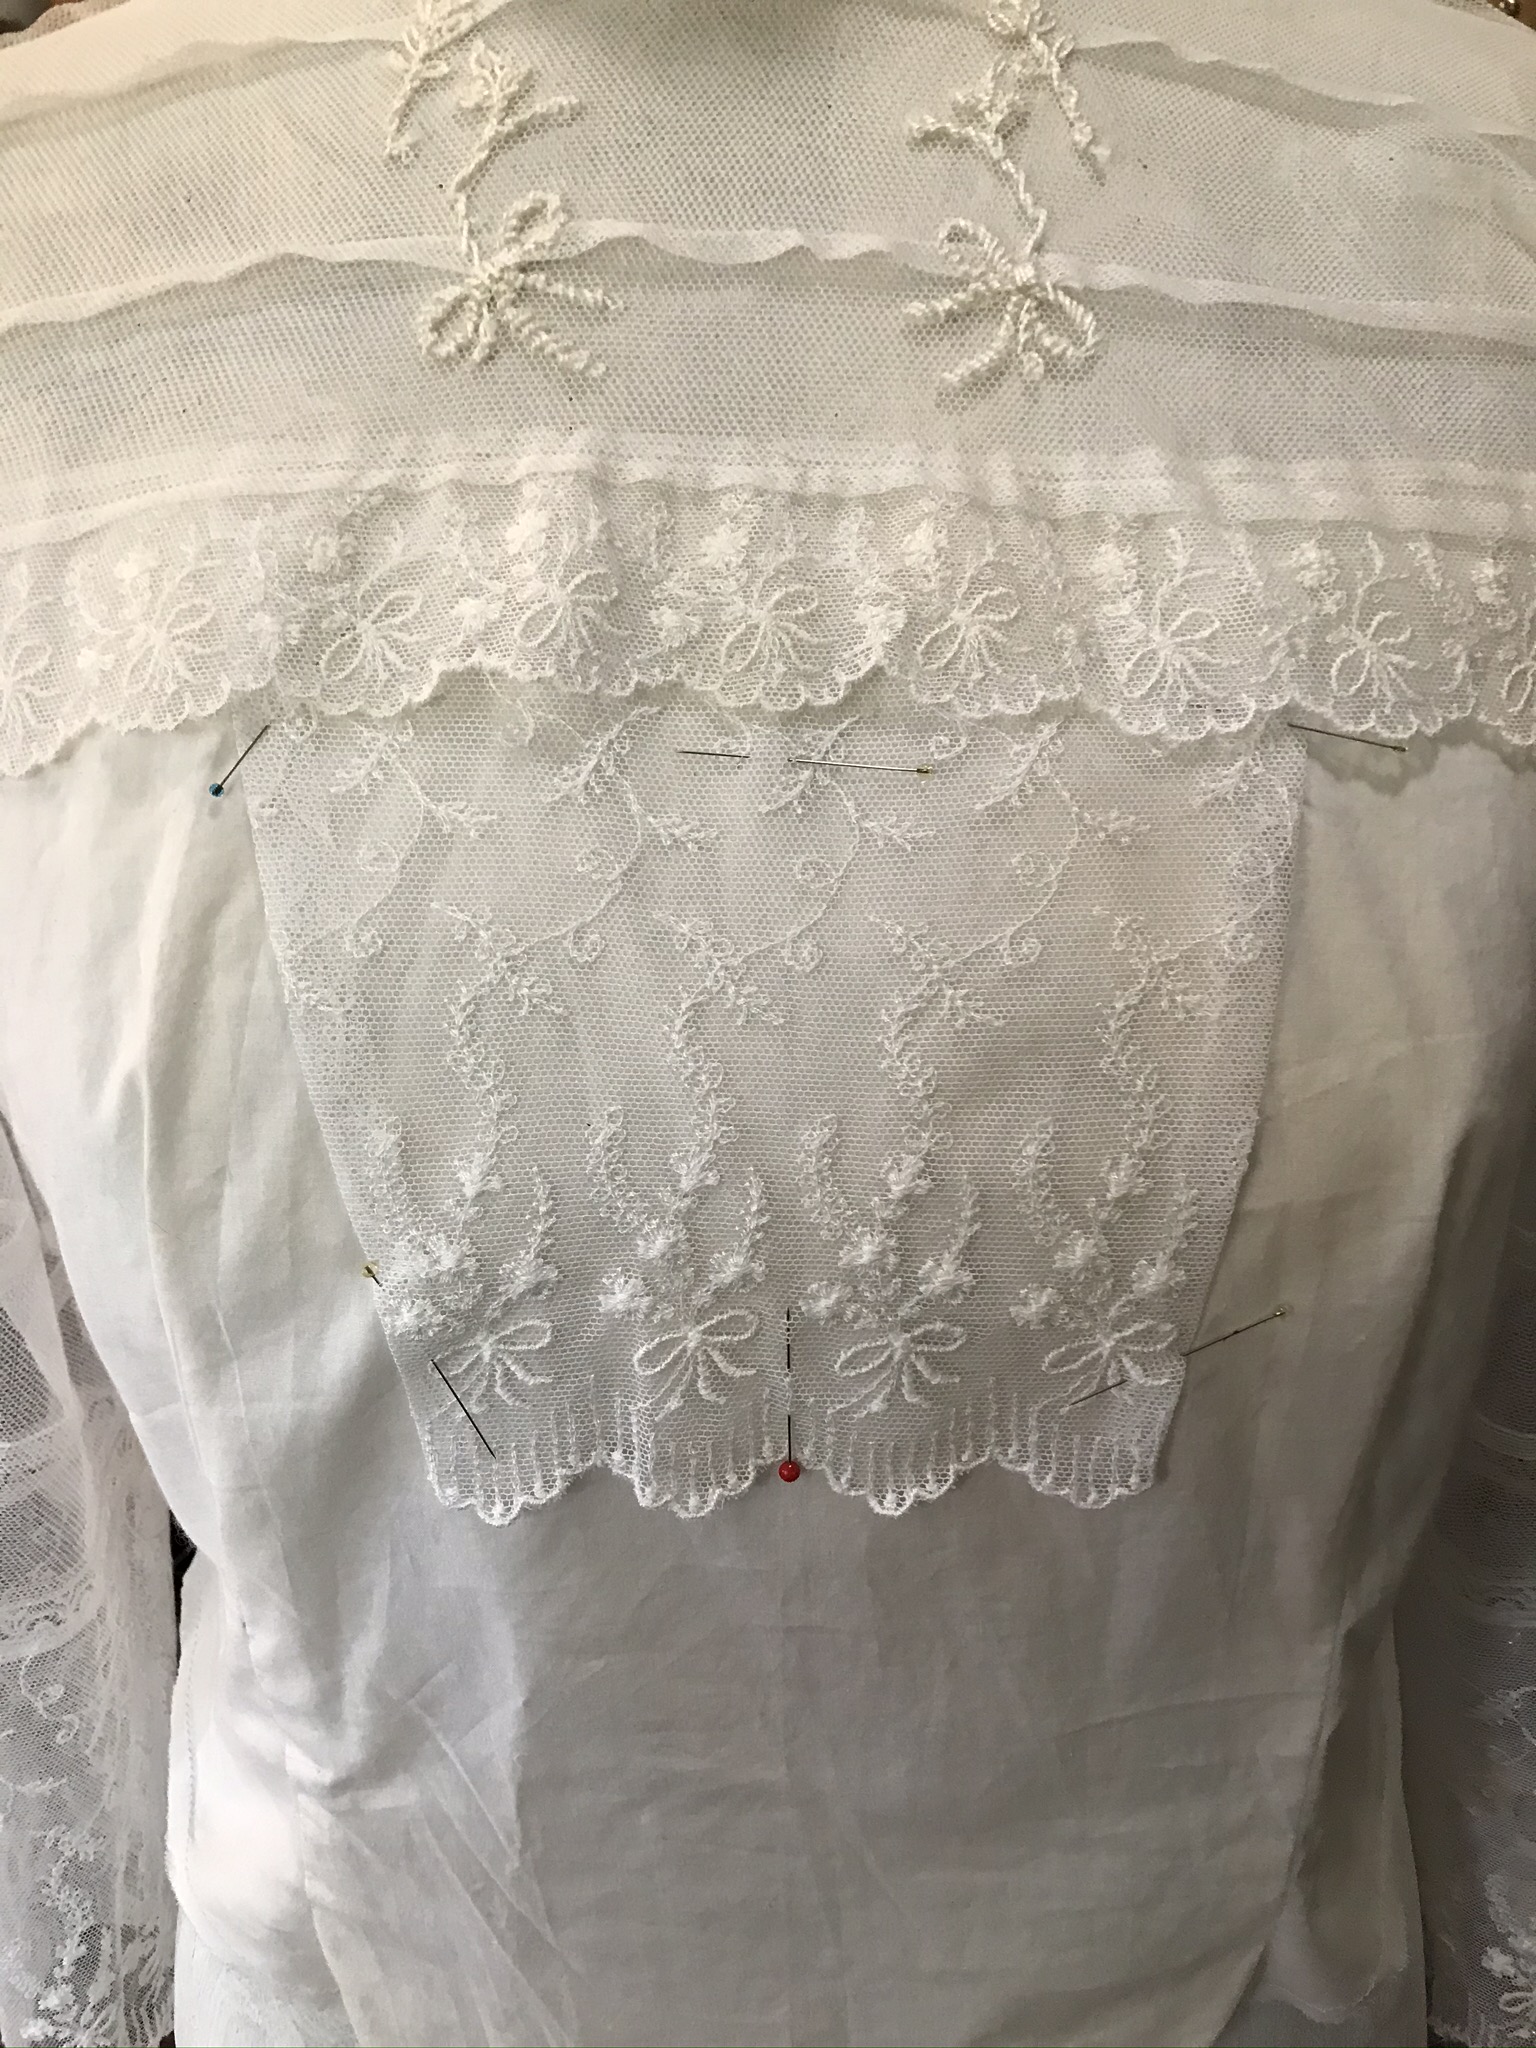
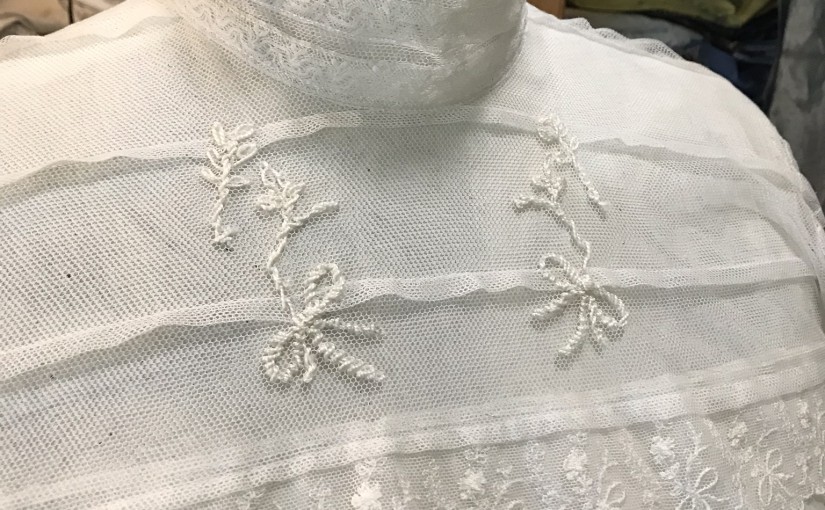
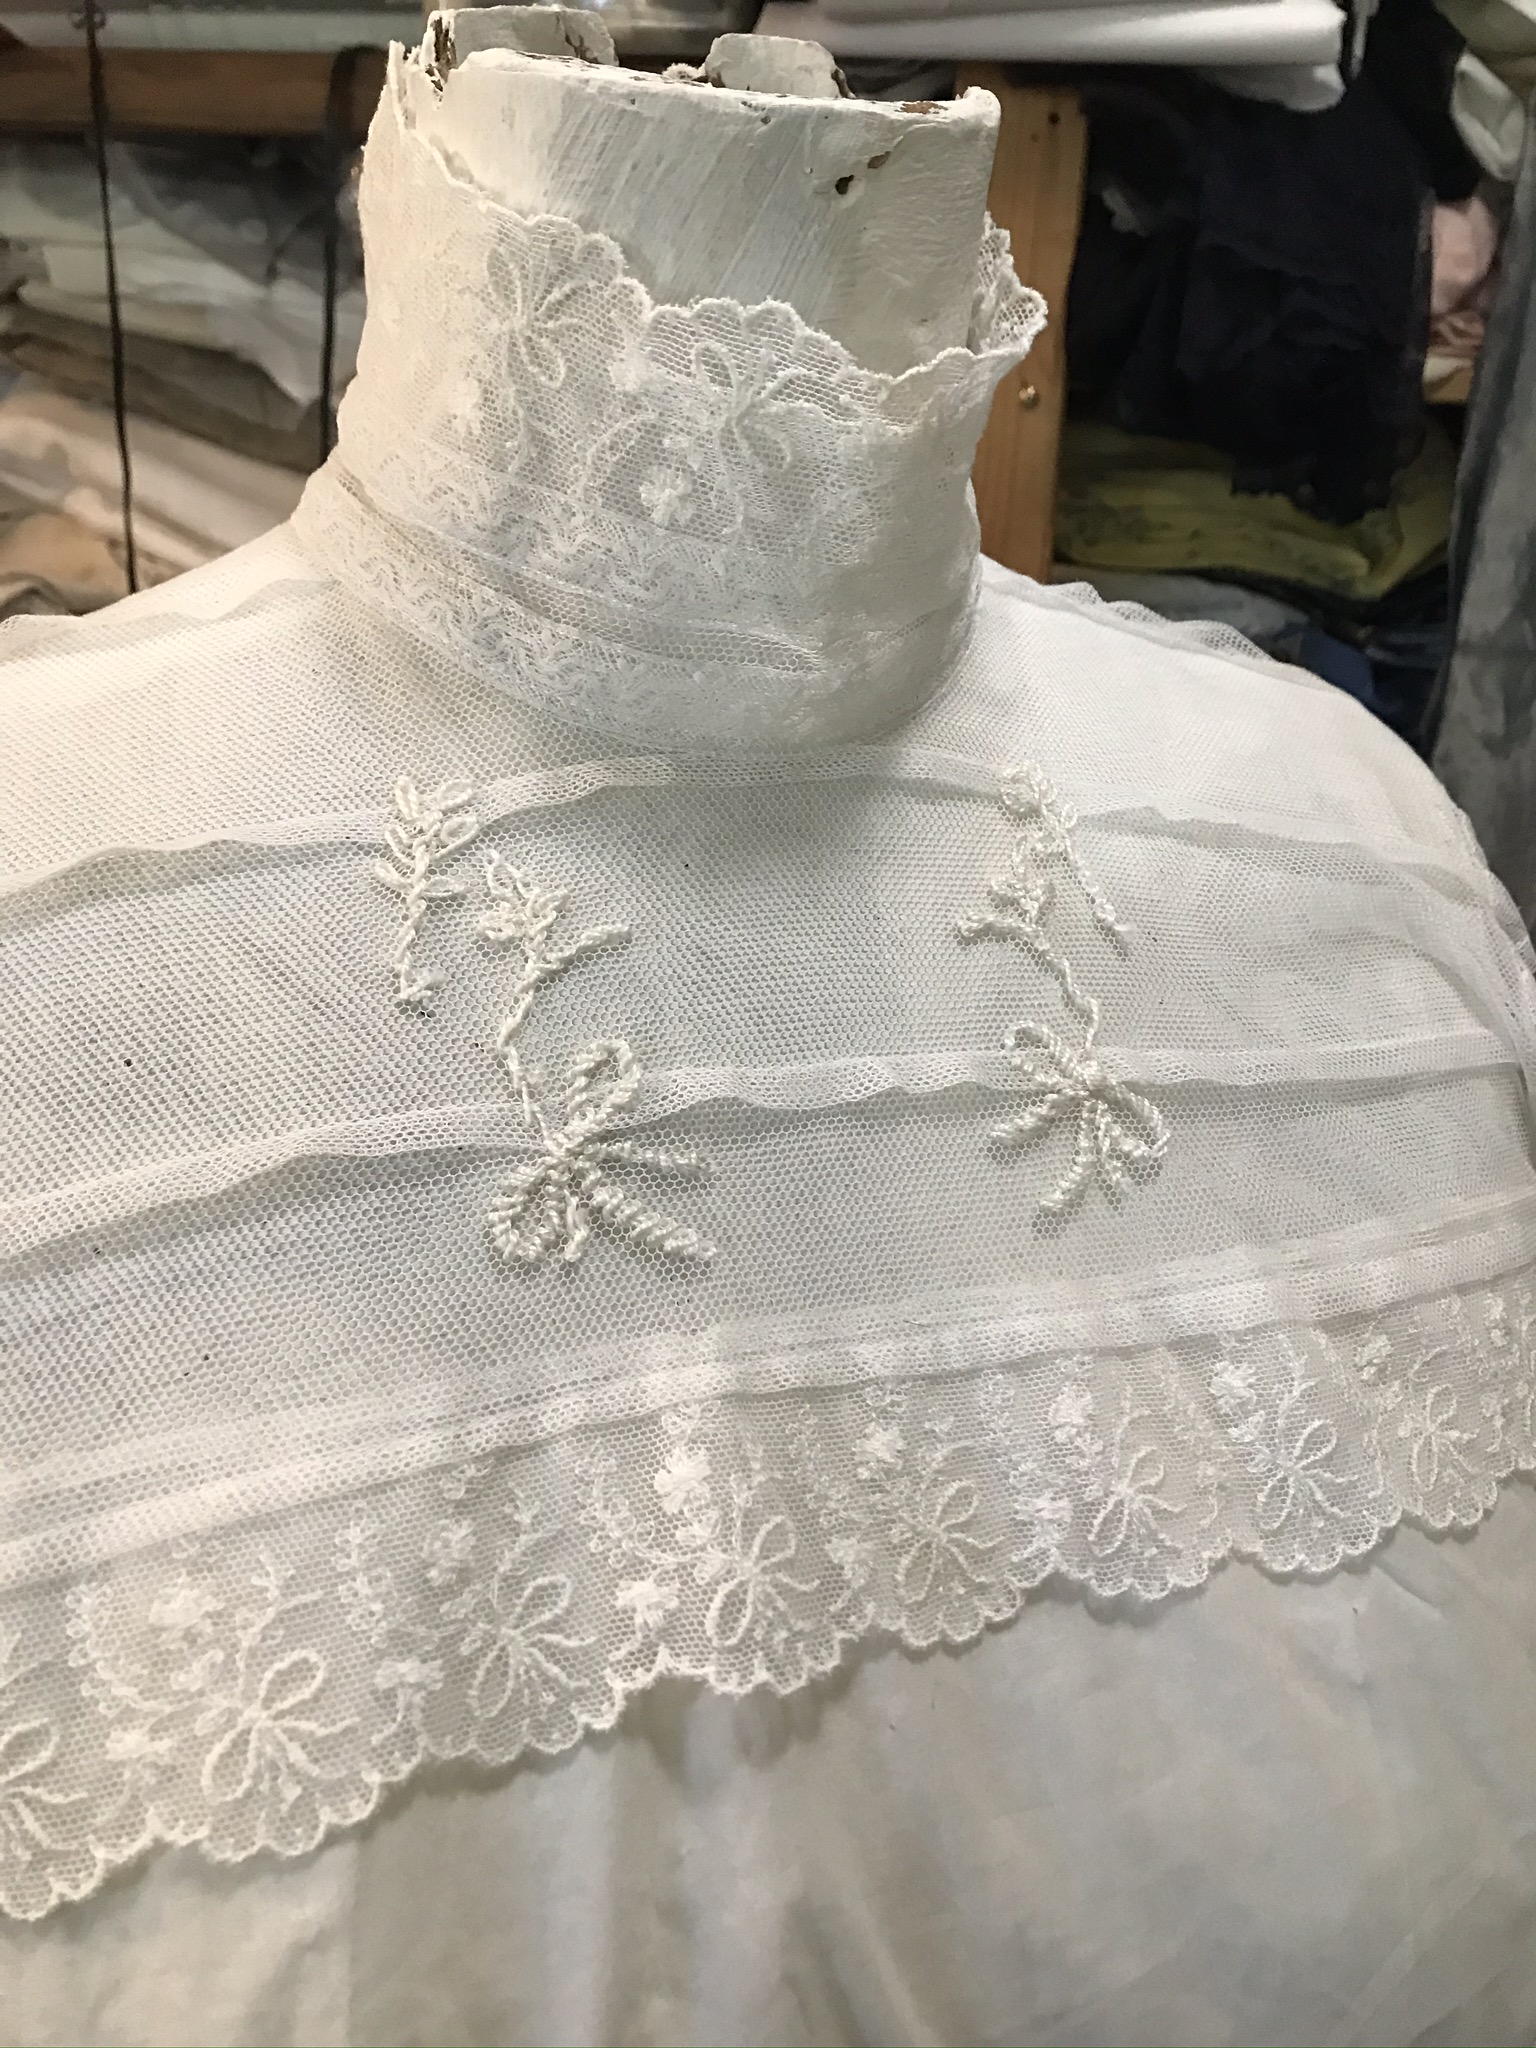
For the embroidery motifs, I traced the shape of the floral spray from my lace. Then I enlarged the design using modern technology: the copier on my computer printer. I was able to pin my paper pattern behind the sheer yoke and embroider the design.
10 IMG_5839


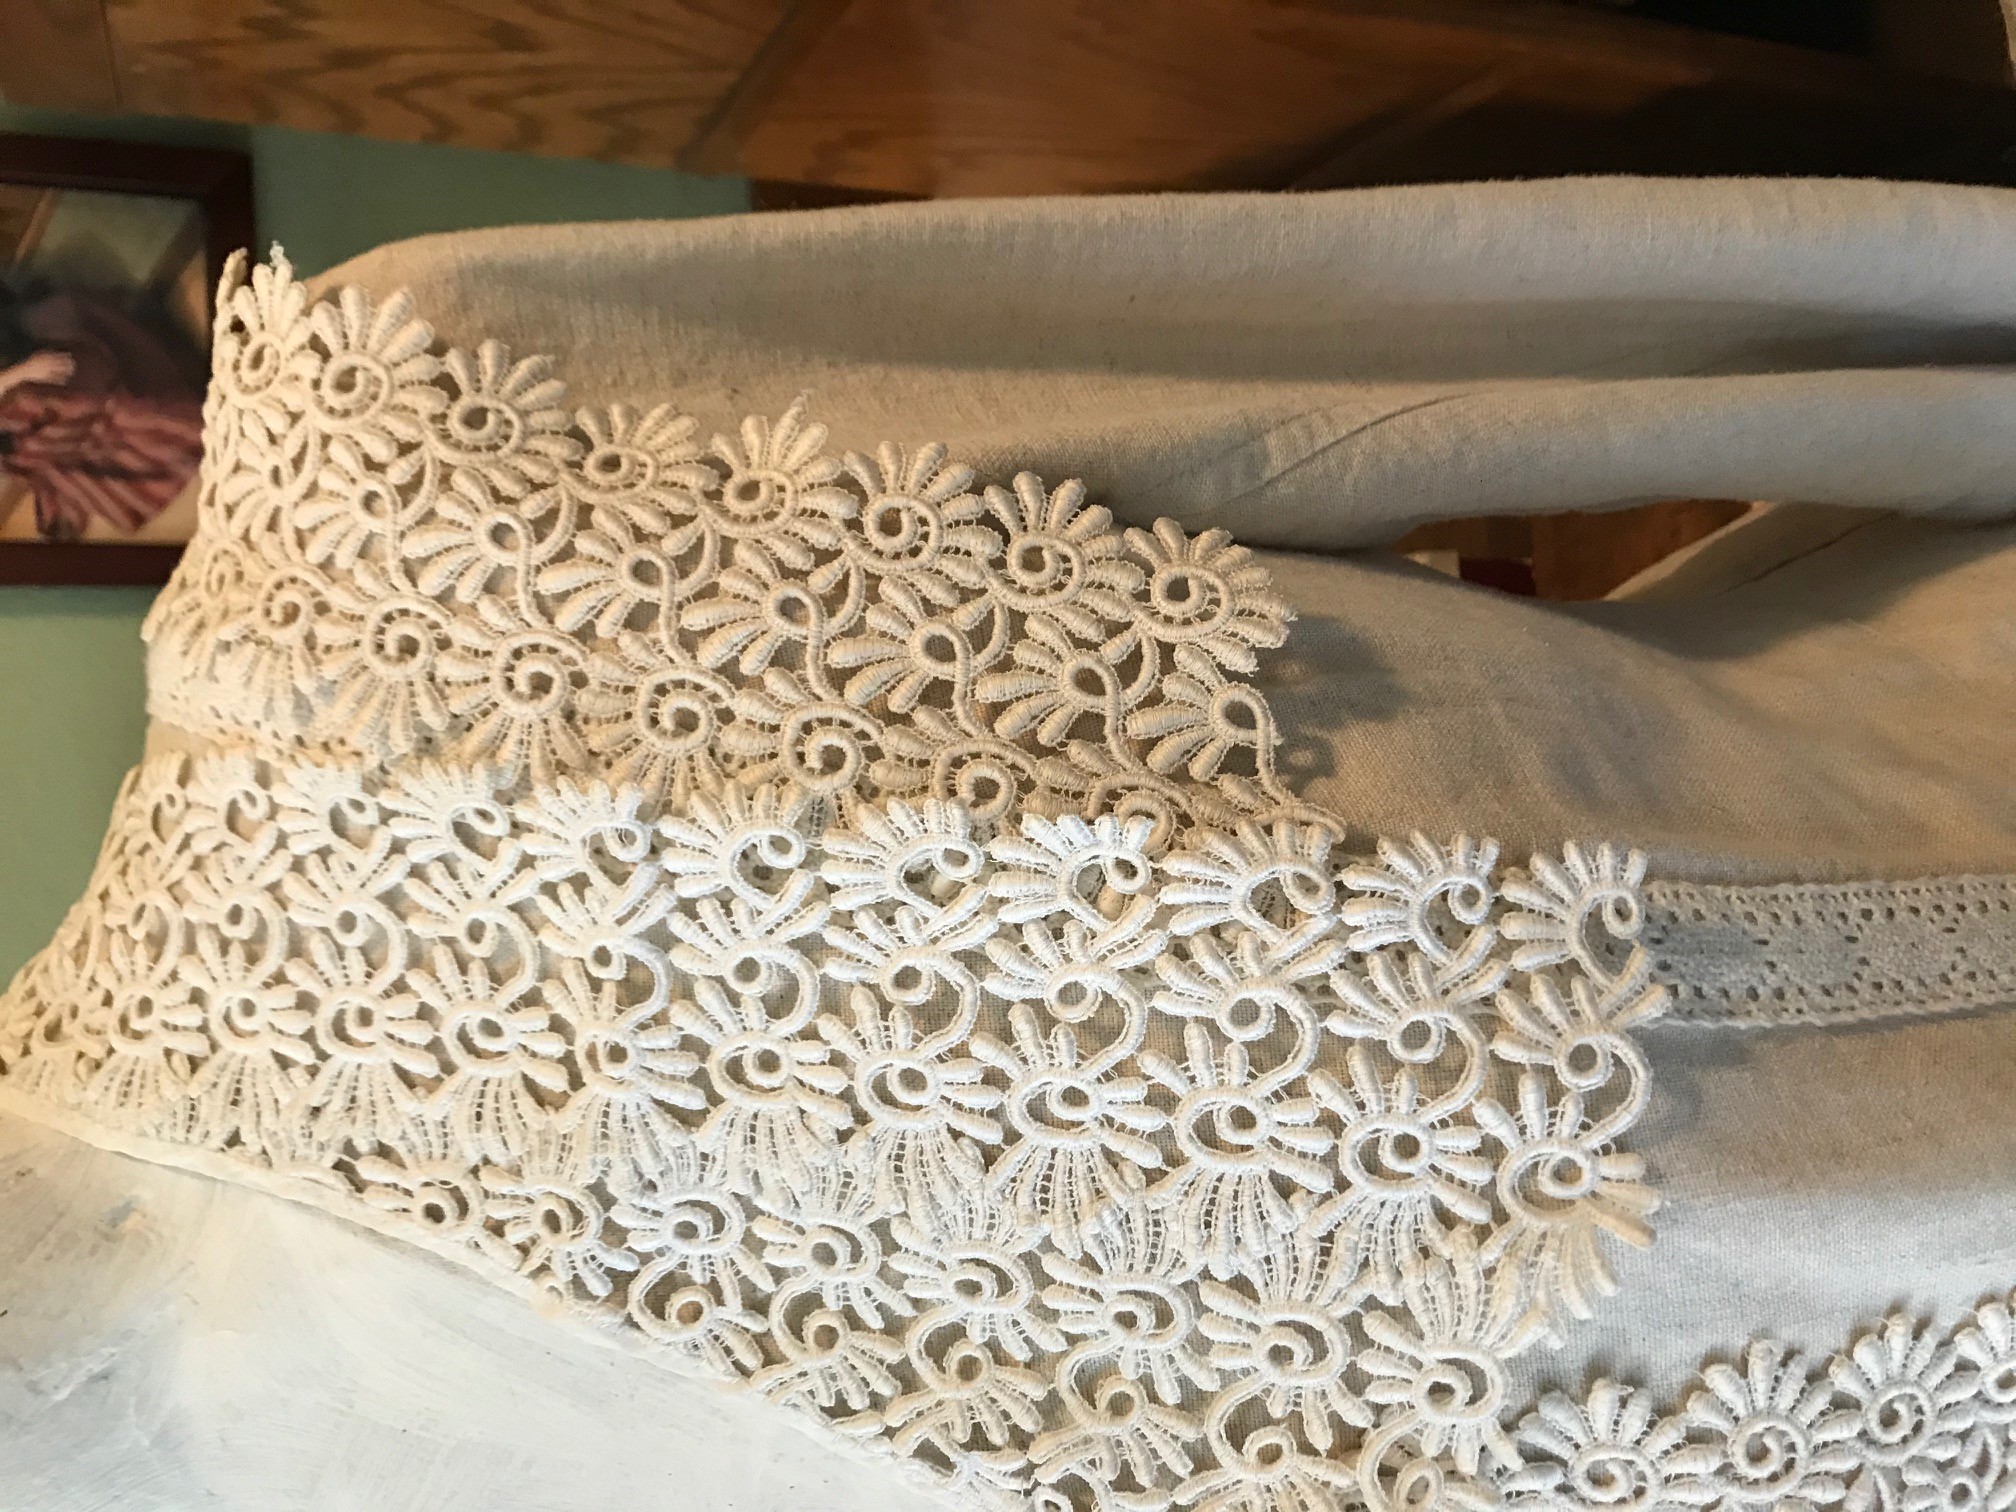
11b IMG_5793Sometime after I finished the new Guimpe, I started to admire other dress styles from 1909, including some that had deep vee necks. Or I might someday want to wear a jacket with a vee shaped neck opening. My high, wide yoke wouldn’t work under one of those. As they might have said in a 1909 article, it would not “look well.” Fortunately, I had more or the wide lace available, so I was able to cut a section and add it to the Guimpe.

12 IMG_5796

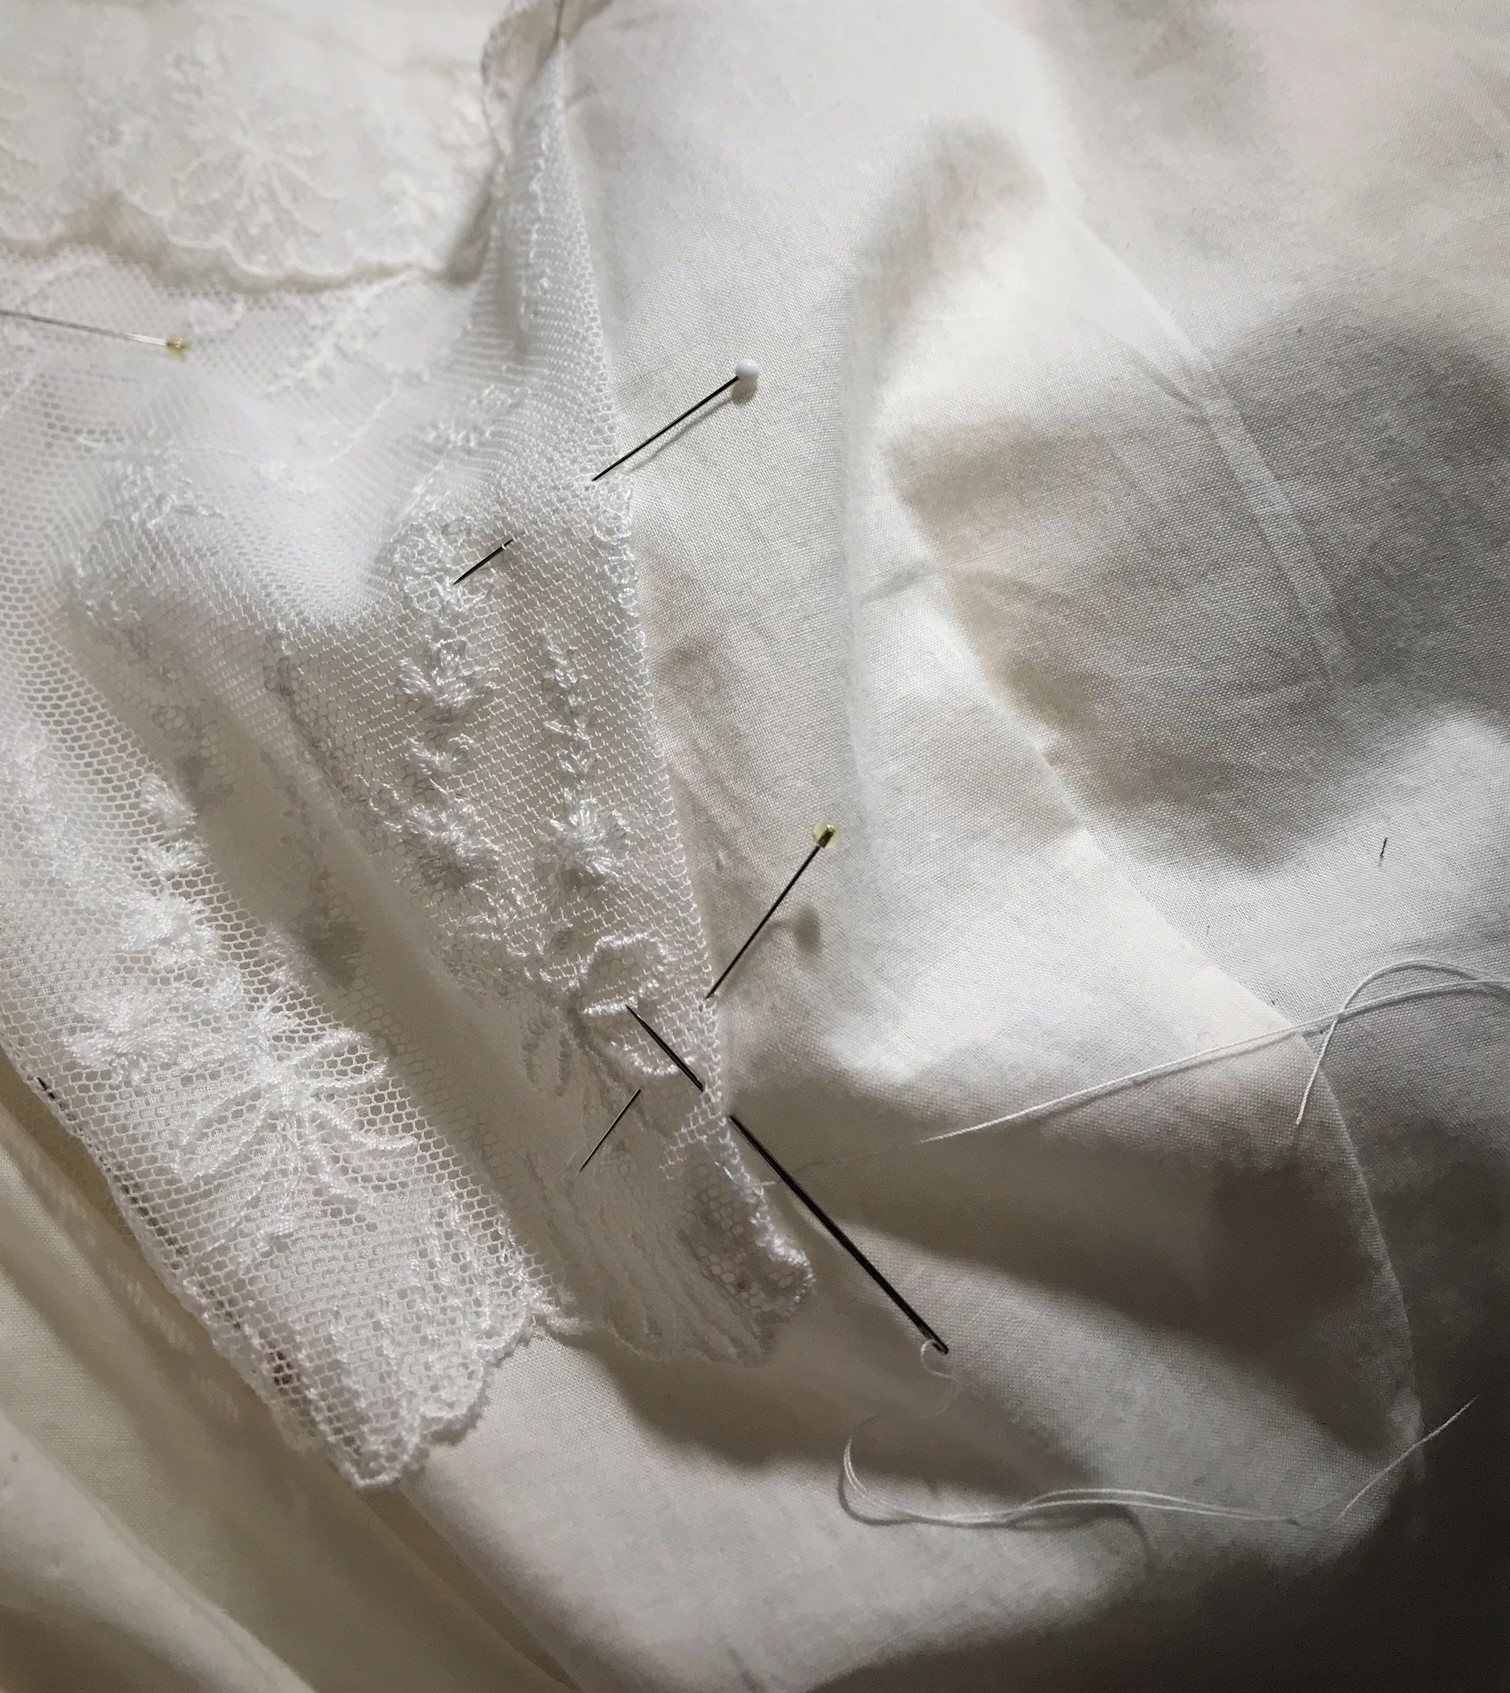
I hand stitched the new section to the body of the Guimpe. I decided not to cut away the cotton fabric underneath, although that would have been an option in 1909.

13 IMG_5819

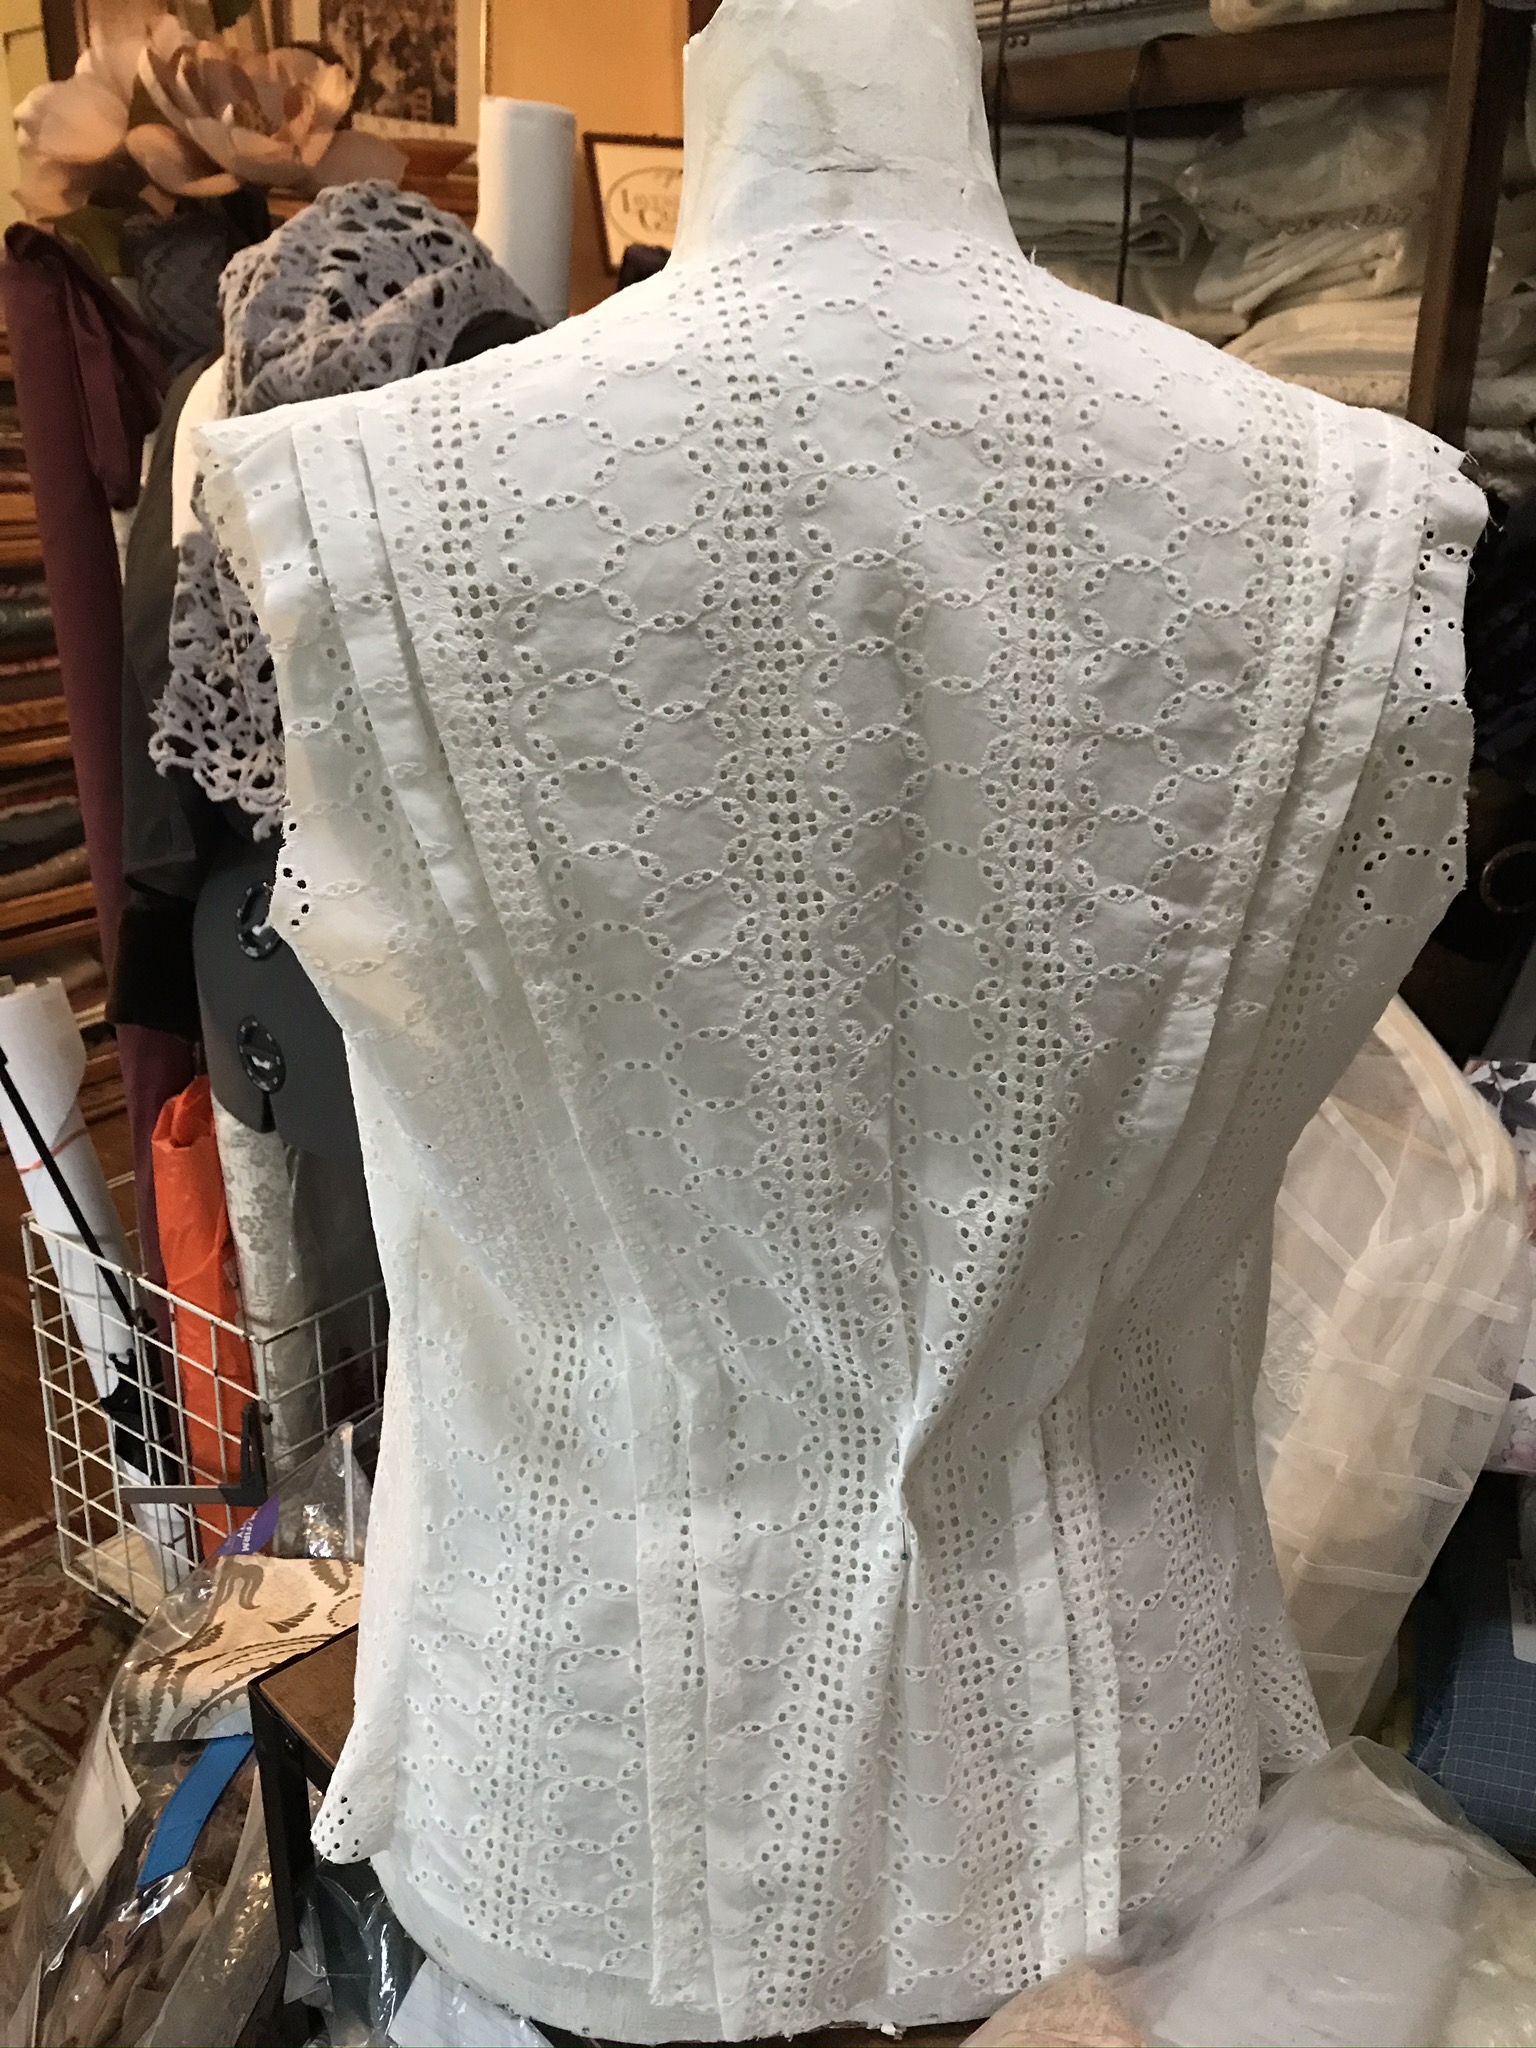
Here is the finished Under Waist on my mannequin. The several types of materials and trims blended nicely to create an authentic looking, but simple Guimpe.

Finished!

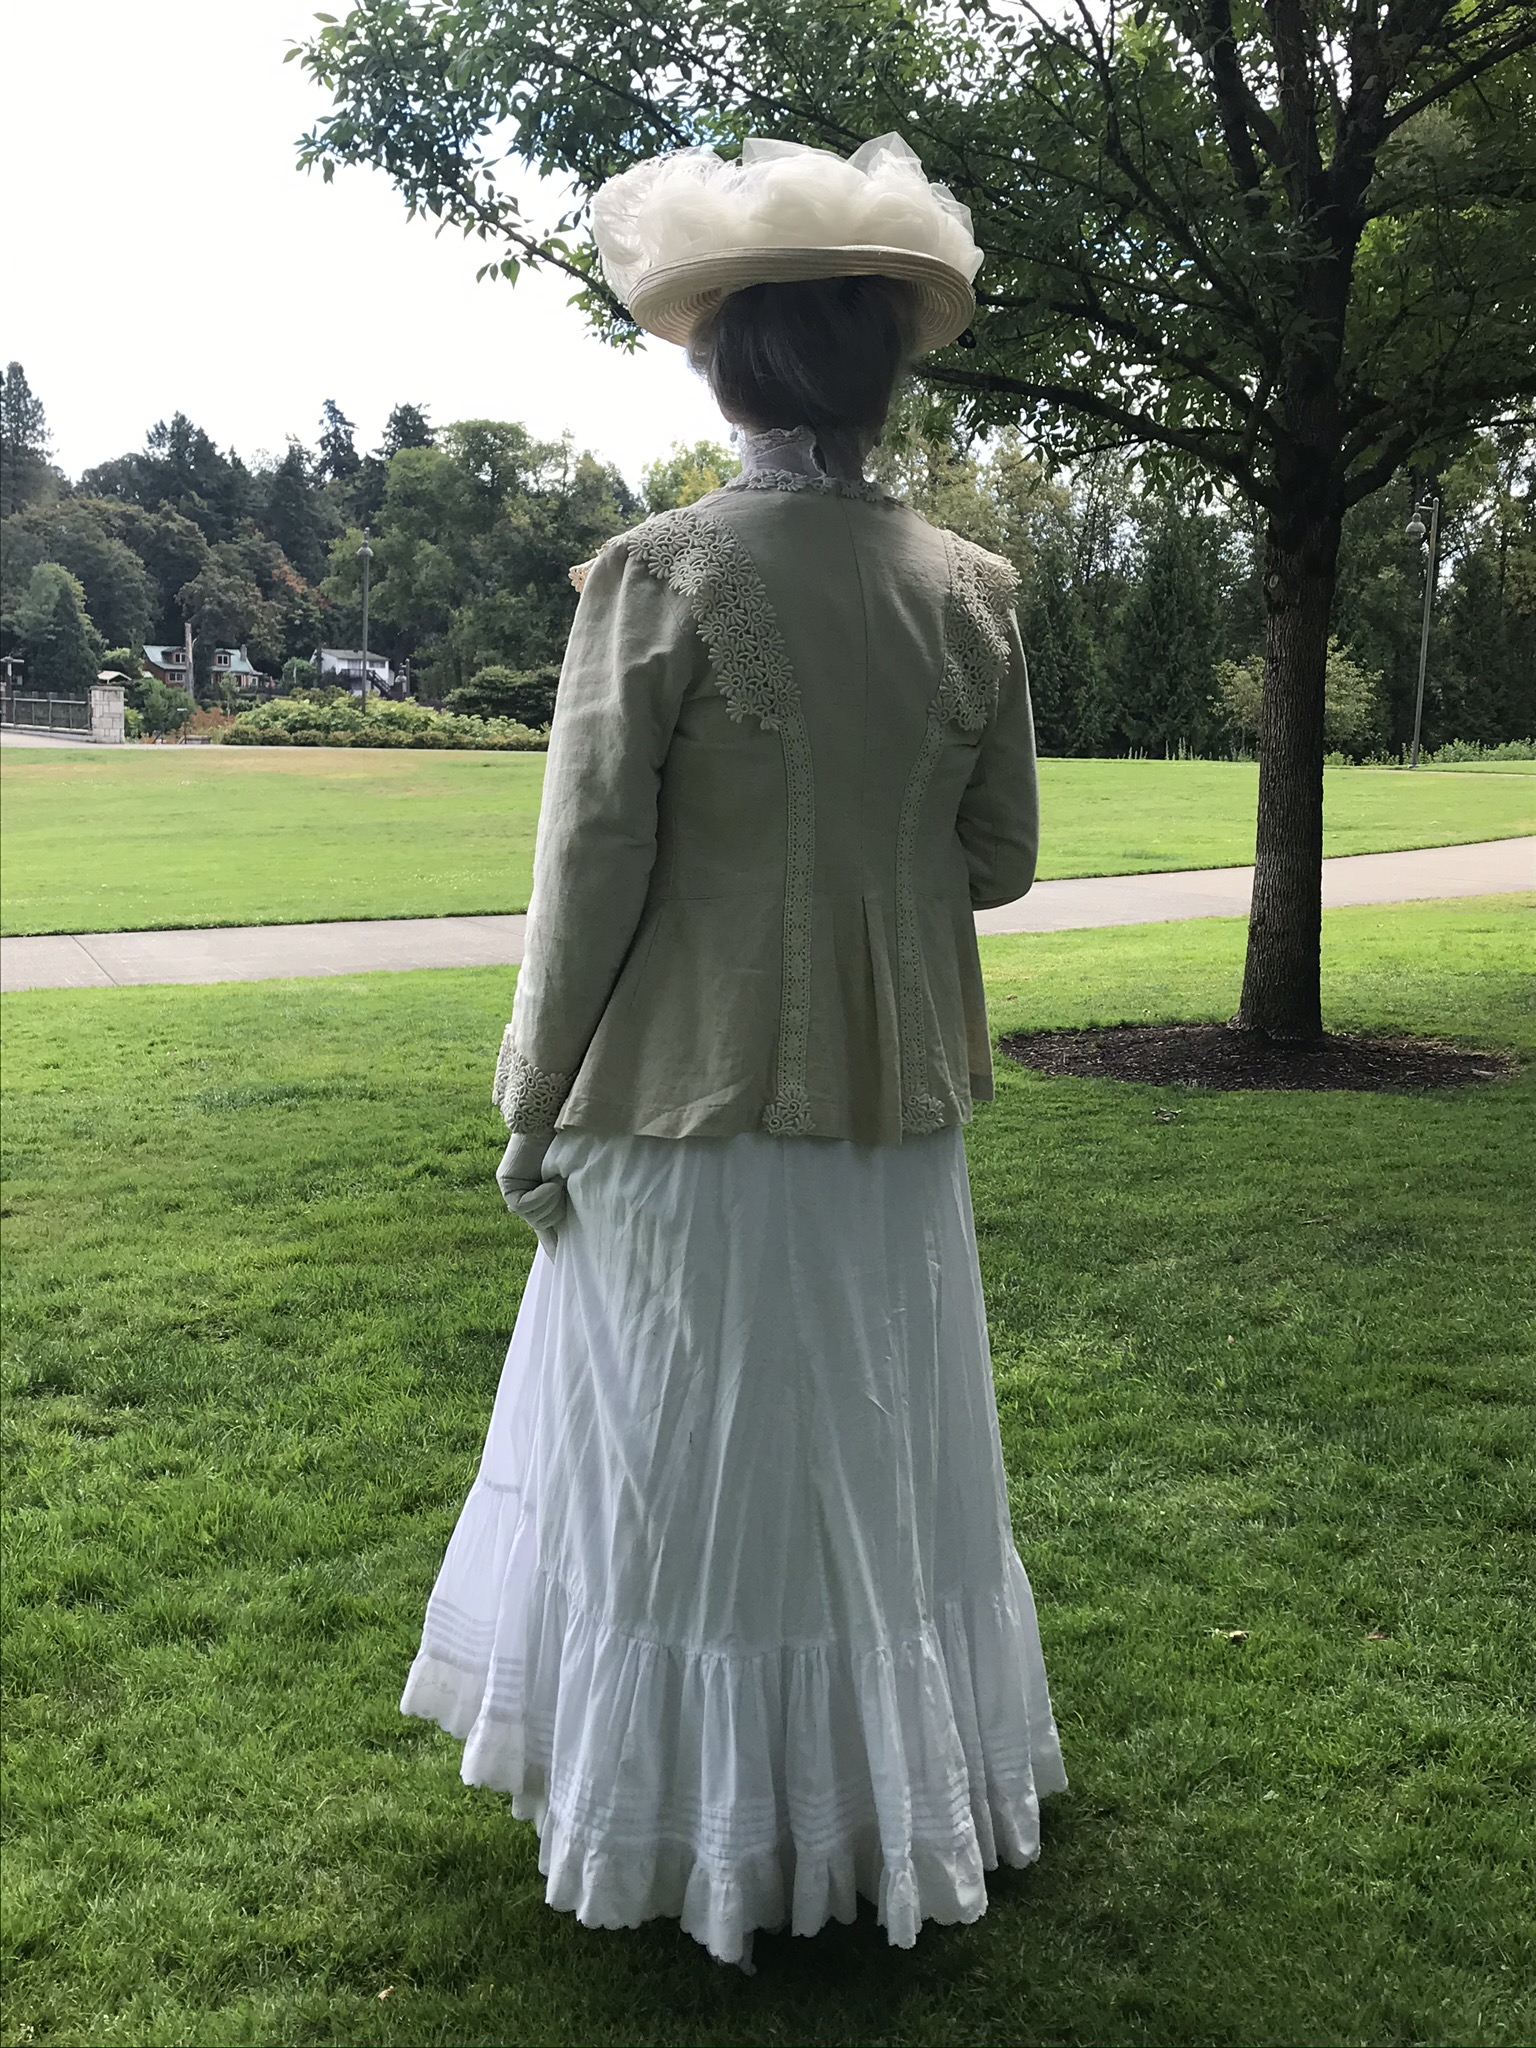
18 back view IMG_4911 17 side view IMG_4912 19 Front IMG_4914

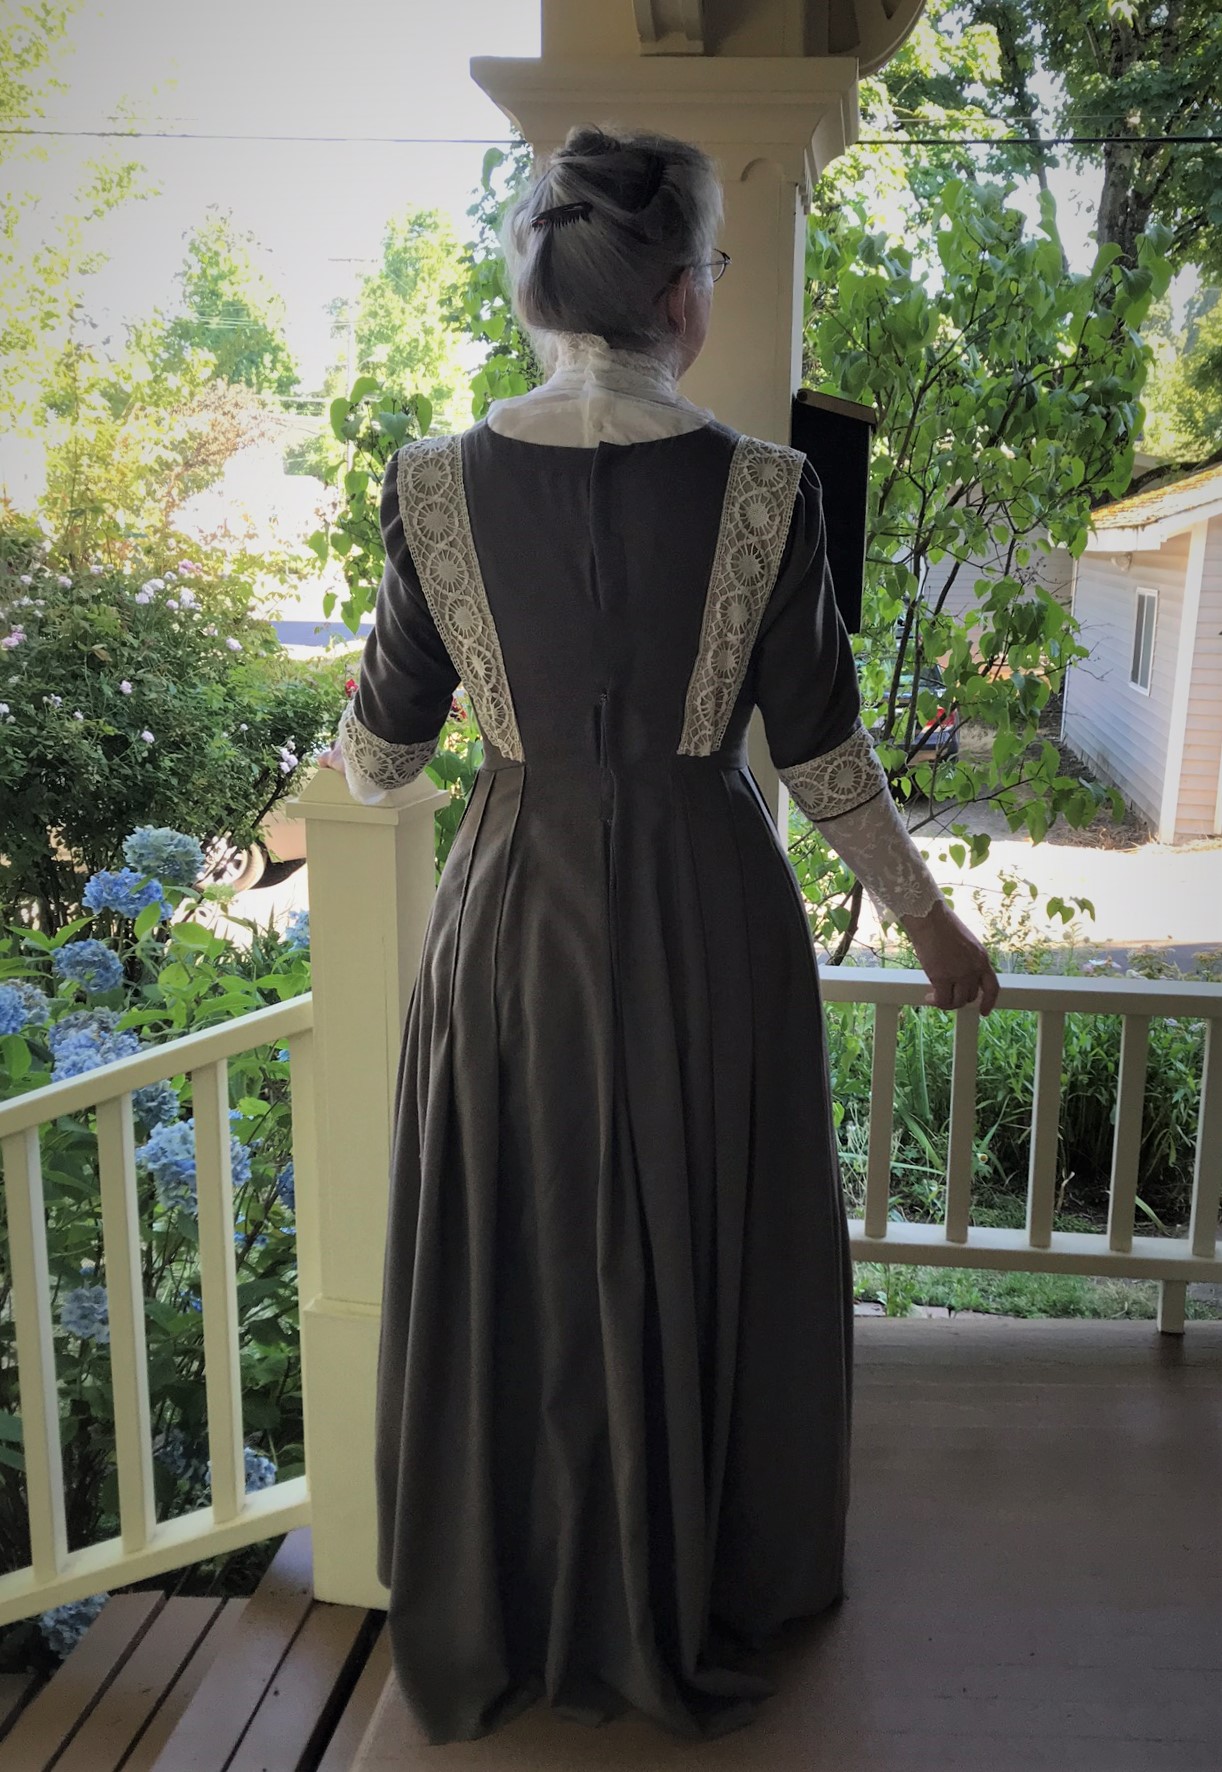
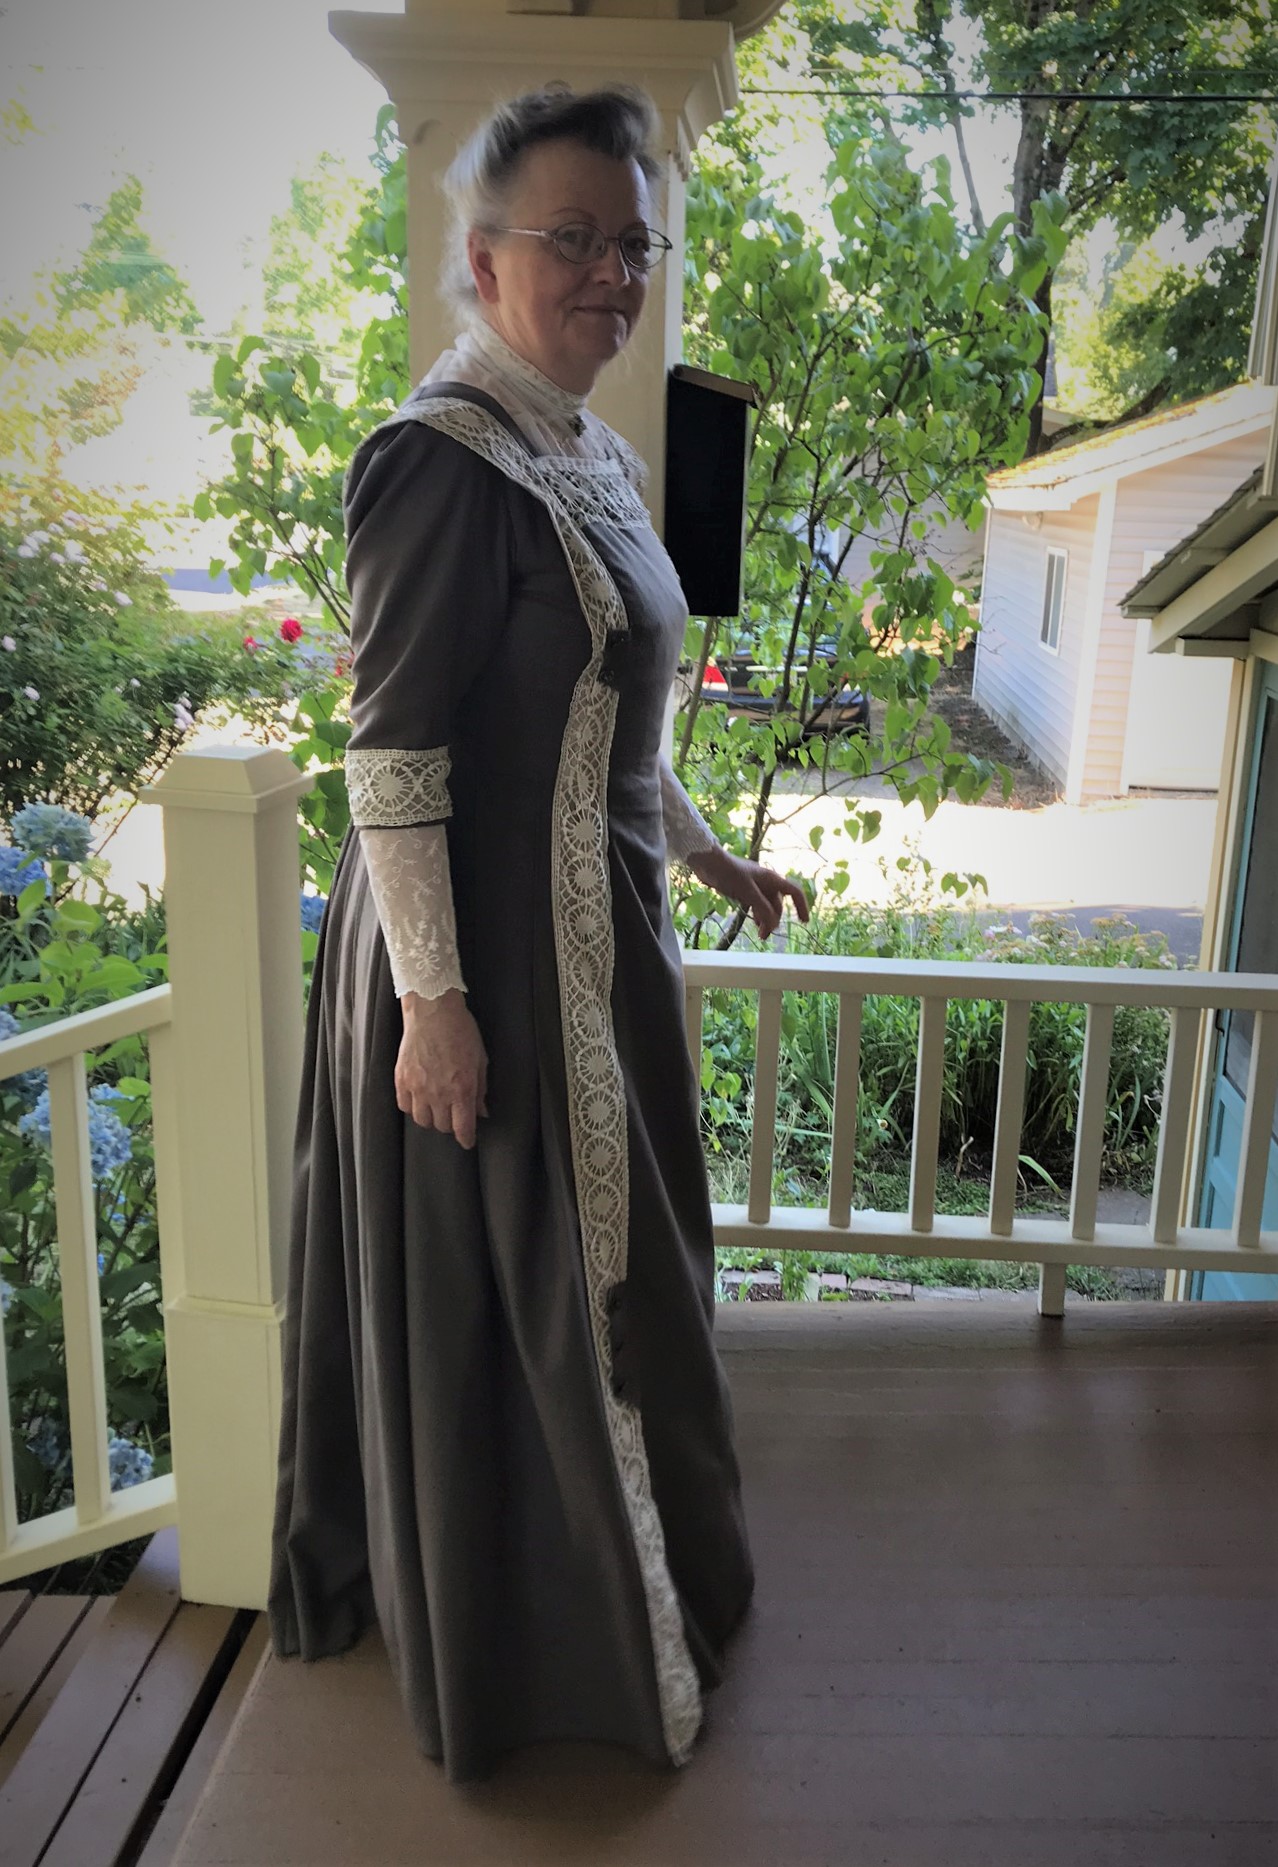
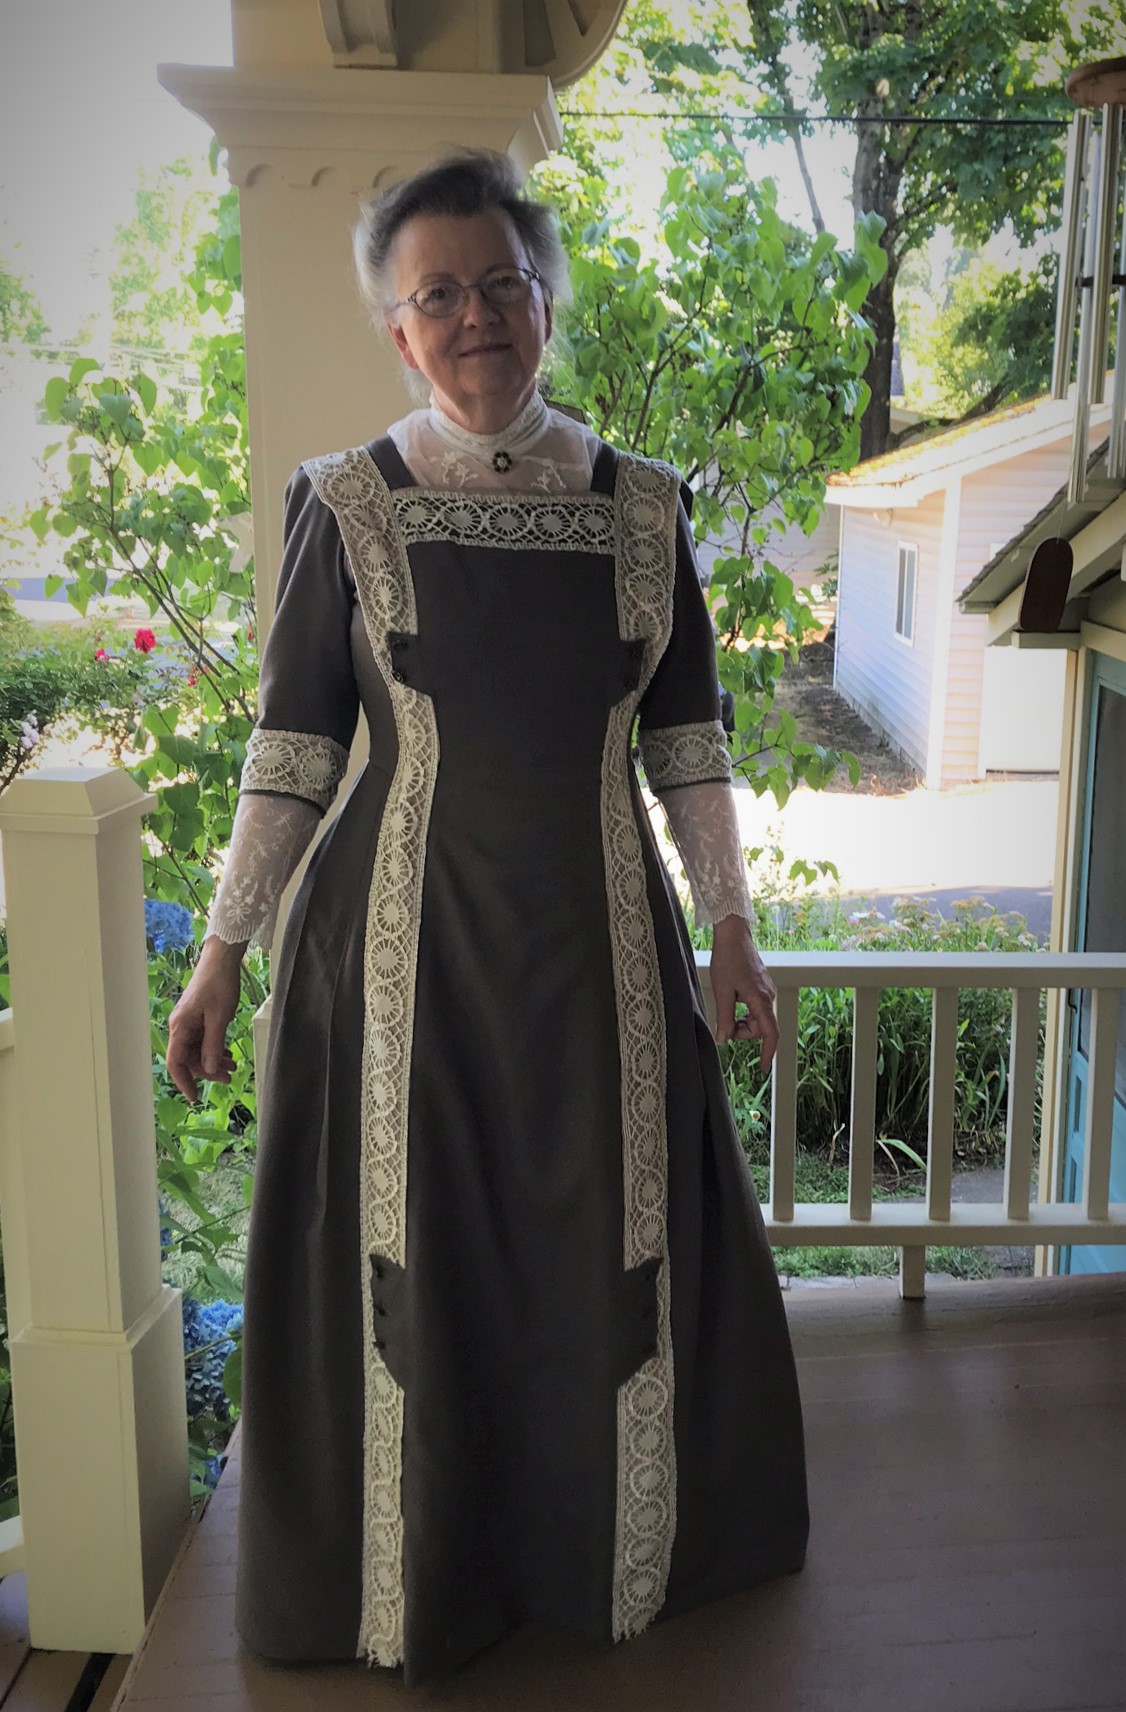
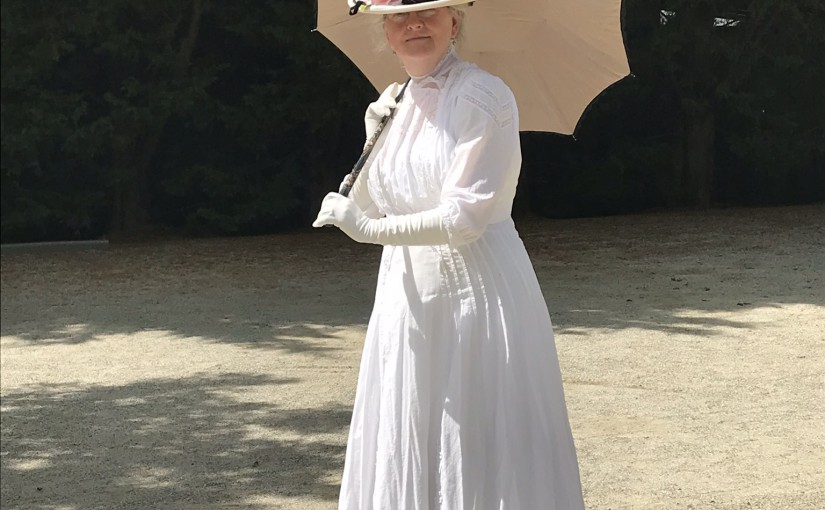
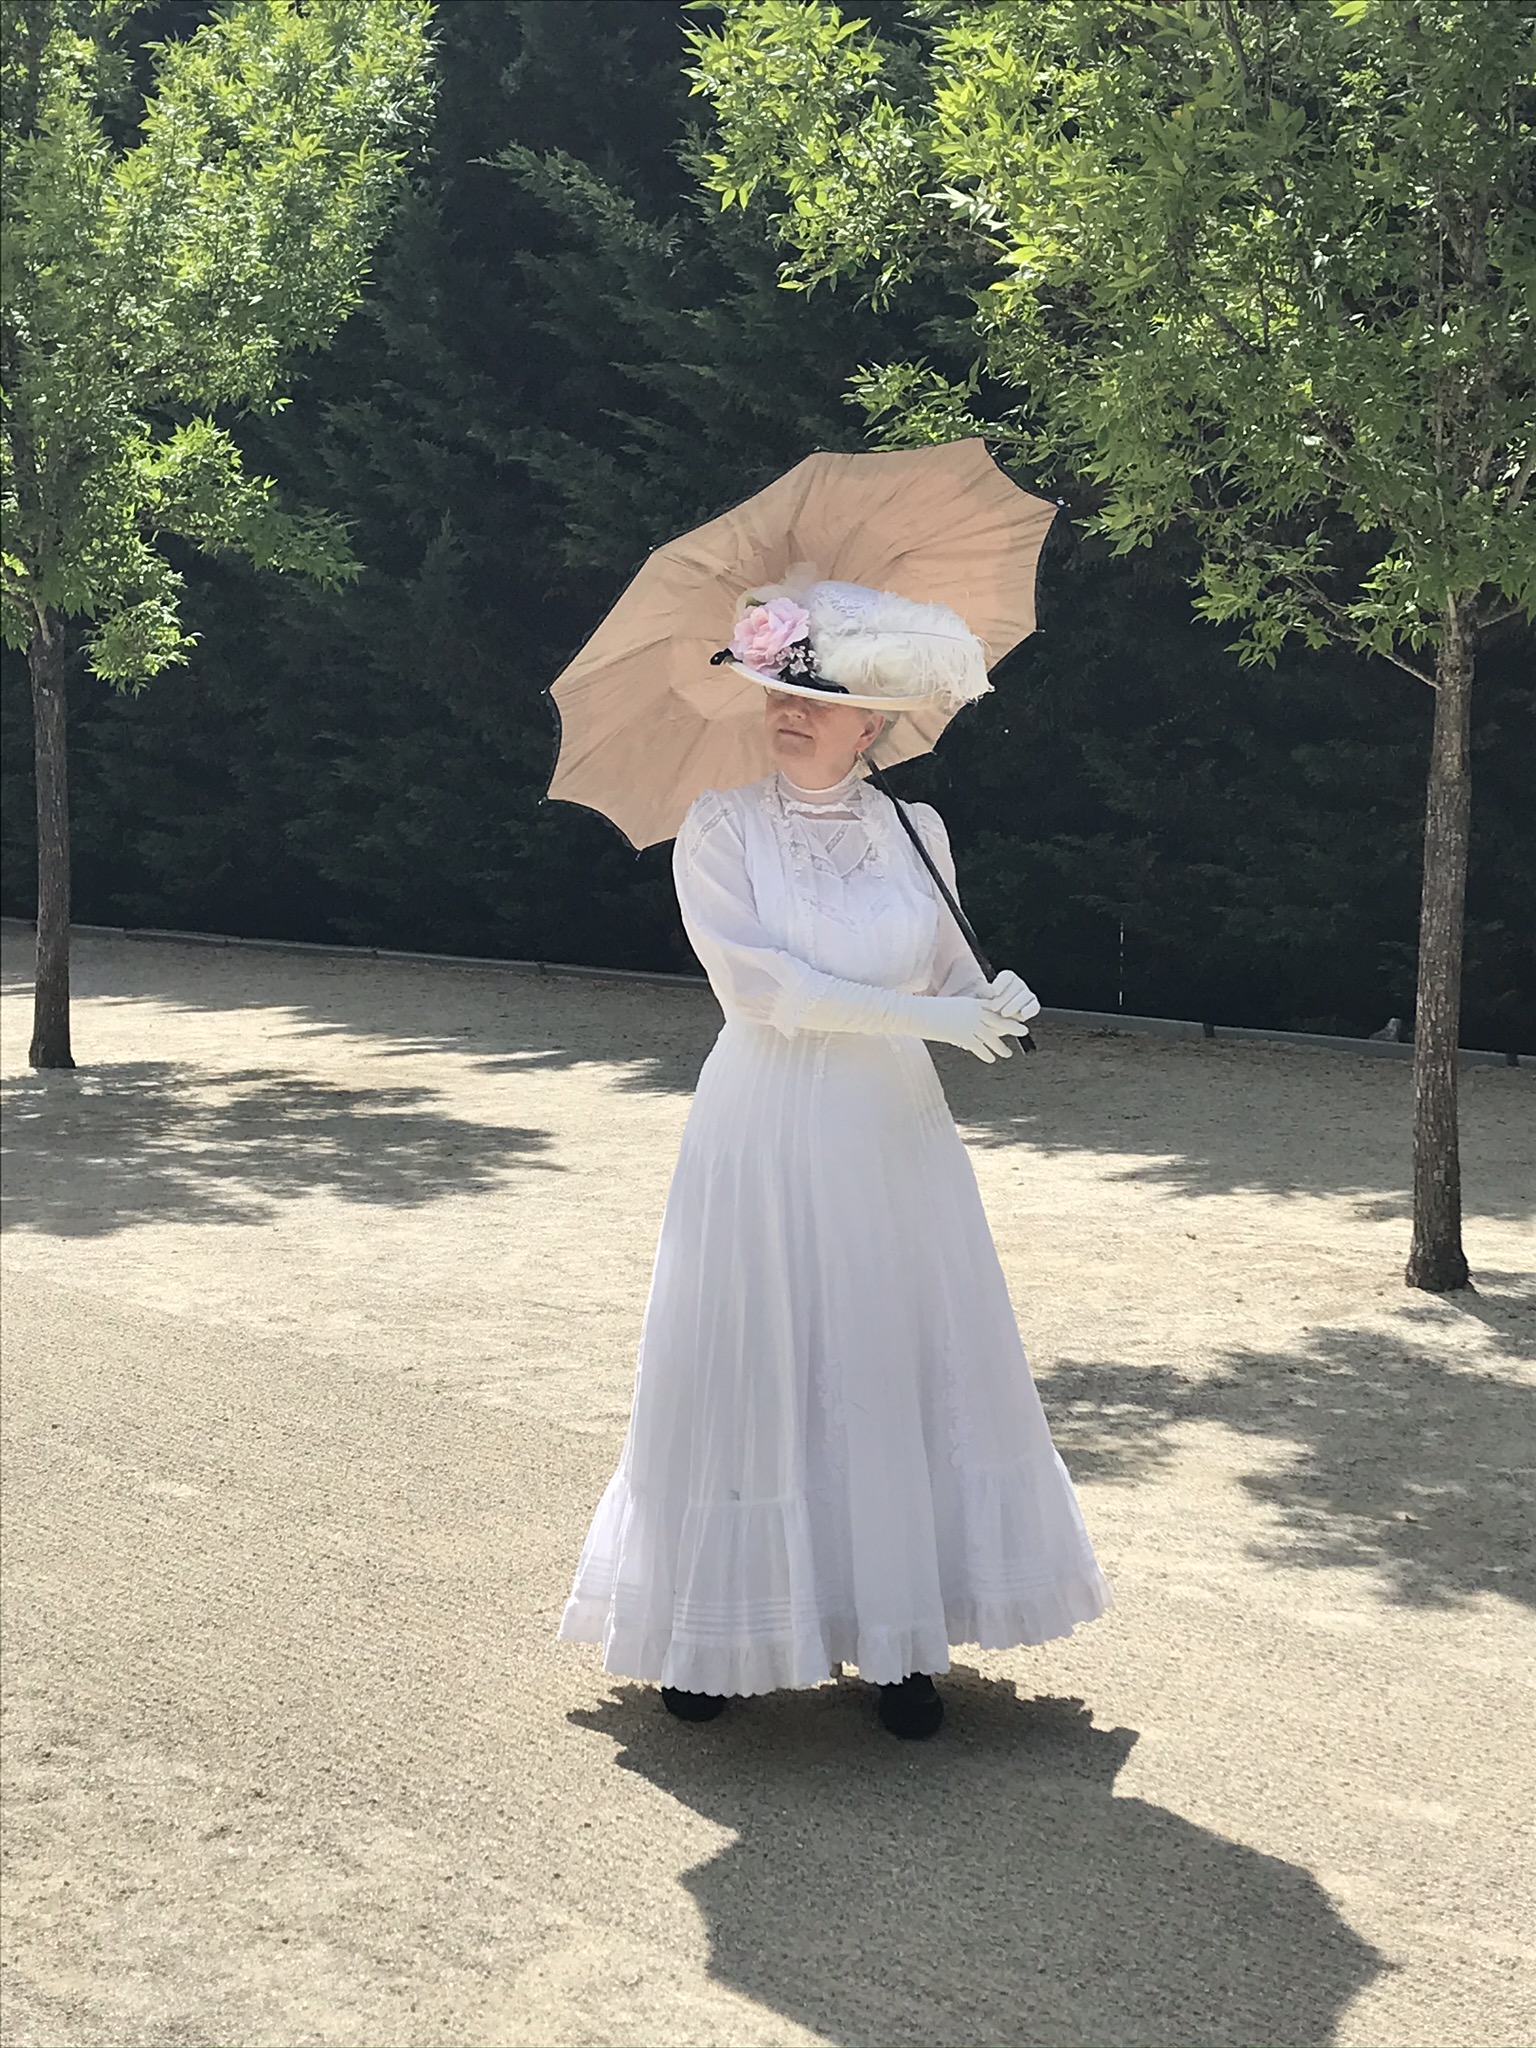
Finally, I was able to wear my new Under Waist as it was intended: underneath an afternoon dress, circa 1909. The neckline is open and cut in a square shape, which was one of the most fashionable styles in 1909.The yoke extends below the neck opening, so it gives the appearance of an attached piece.

I noticed that my elegant net and lace sleeves appear a bit short on my long arms… Just like a seamstress in 1909, I will probably rework the sleeves before the next wearing. I could add an edge of matching lace at the lower edge, or I can piece in another section of net with a band of insertion lace to conceal the join.

Which should it be?


Ecru Eyelet Dress, Part II

Our fictional character, Mrs. Maggie Lynde of Hillsboro, Oregon, wanted a new summer gown before Saturday. She planned to dress in style to meet her friends for shopping and ice cream.

Since I am Maggie Lynde’s alter ego, and I live in the 21st century, not 1909, I have a few more choices than she did. I have a machine powered by steady, reliable electricity instead of the treadle machine that Maggie would have used. I put my serger to work, finishing seams, where Maggie might have hand whipped them or else left them raw. And finally, I have a husband who tolerates my tendency to spend an entire Friday in my studio, where Maggie would have been responsible for preparing all the meals, doing all the dishes, and otherwise keeping house, in addition to her impromptu dressmaking project. It might have taken her all week to compete the summer dress, while I was able to start on Thursday night and wear it on Saturday morning!

Two Modish Summer Gowns

Patterning the Skirt

The McCall’s skirt was a seven-gore model, which would provide a smooth, graceful fit in the printed lawn. But my fabric is an embroidered eyelet, which has more texture, so all those fitted seams might not show to the same effect. Plus, I was in a hurry, and my fabric is very wide (over 50”, which was probably not available for Maggie Lynde.) At any rate, I made the decision to use five gores instead of seven. I have made so many five-gored skirts and petticoats over the years that I didn’t need to use a paper pattern. I did, however, get out my tape measure, some scratch paper, and a pencil! I wanted to be sure that my skirt would be long enough, and the body of the skirt full enough (but not unfashionably so!) to copy the silhouette of the original design.

Skirt IMG_5589

I had some coordinating (antique) insertion, but not enough to copy all the design details from McCall’s. I decided to use the insertion primarily on my vertical seams, and to allow the embroidered stripes from the fabric to serve as the remaining bands. The detail on the insertion is ½”, and there was a generous seam allowance, so I reduced my seam allowance on those skirt sections by ¼” on each panel.

Patterning the Bodice

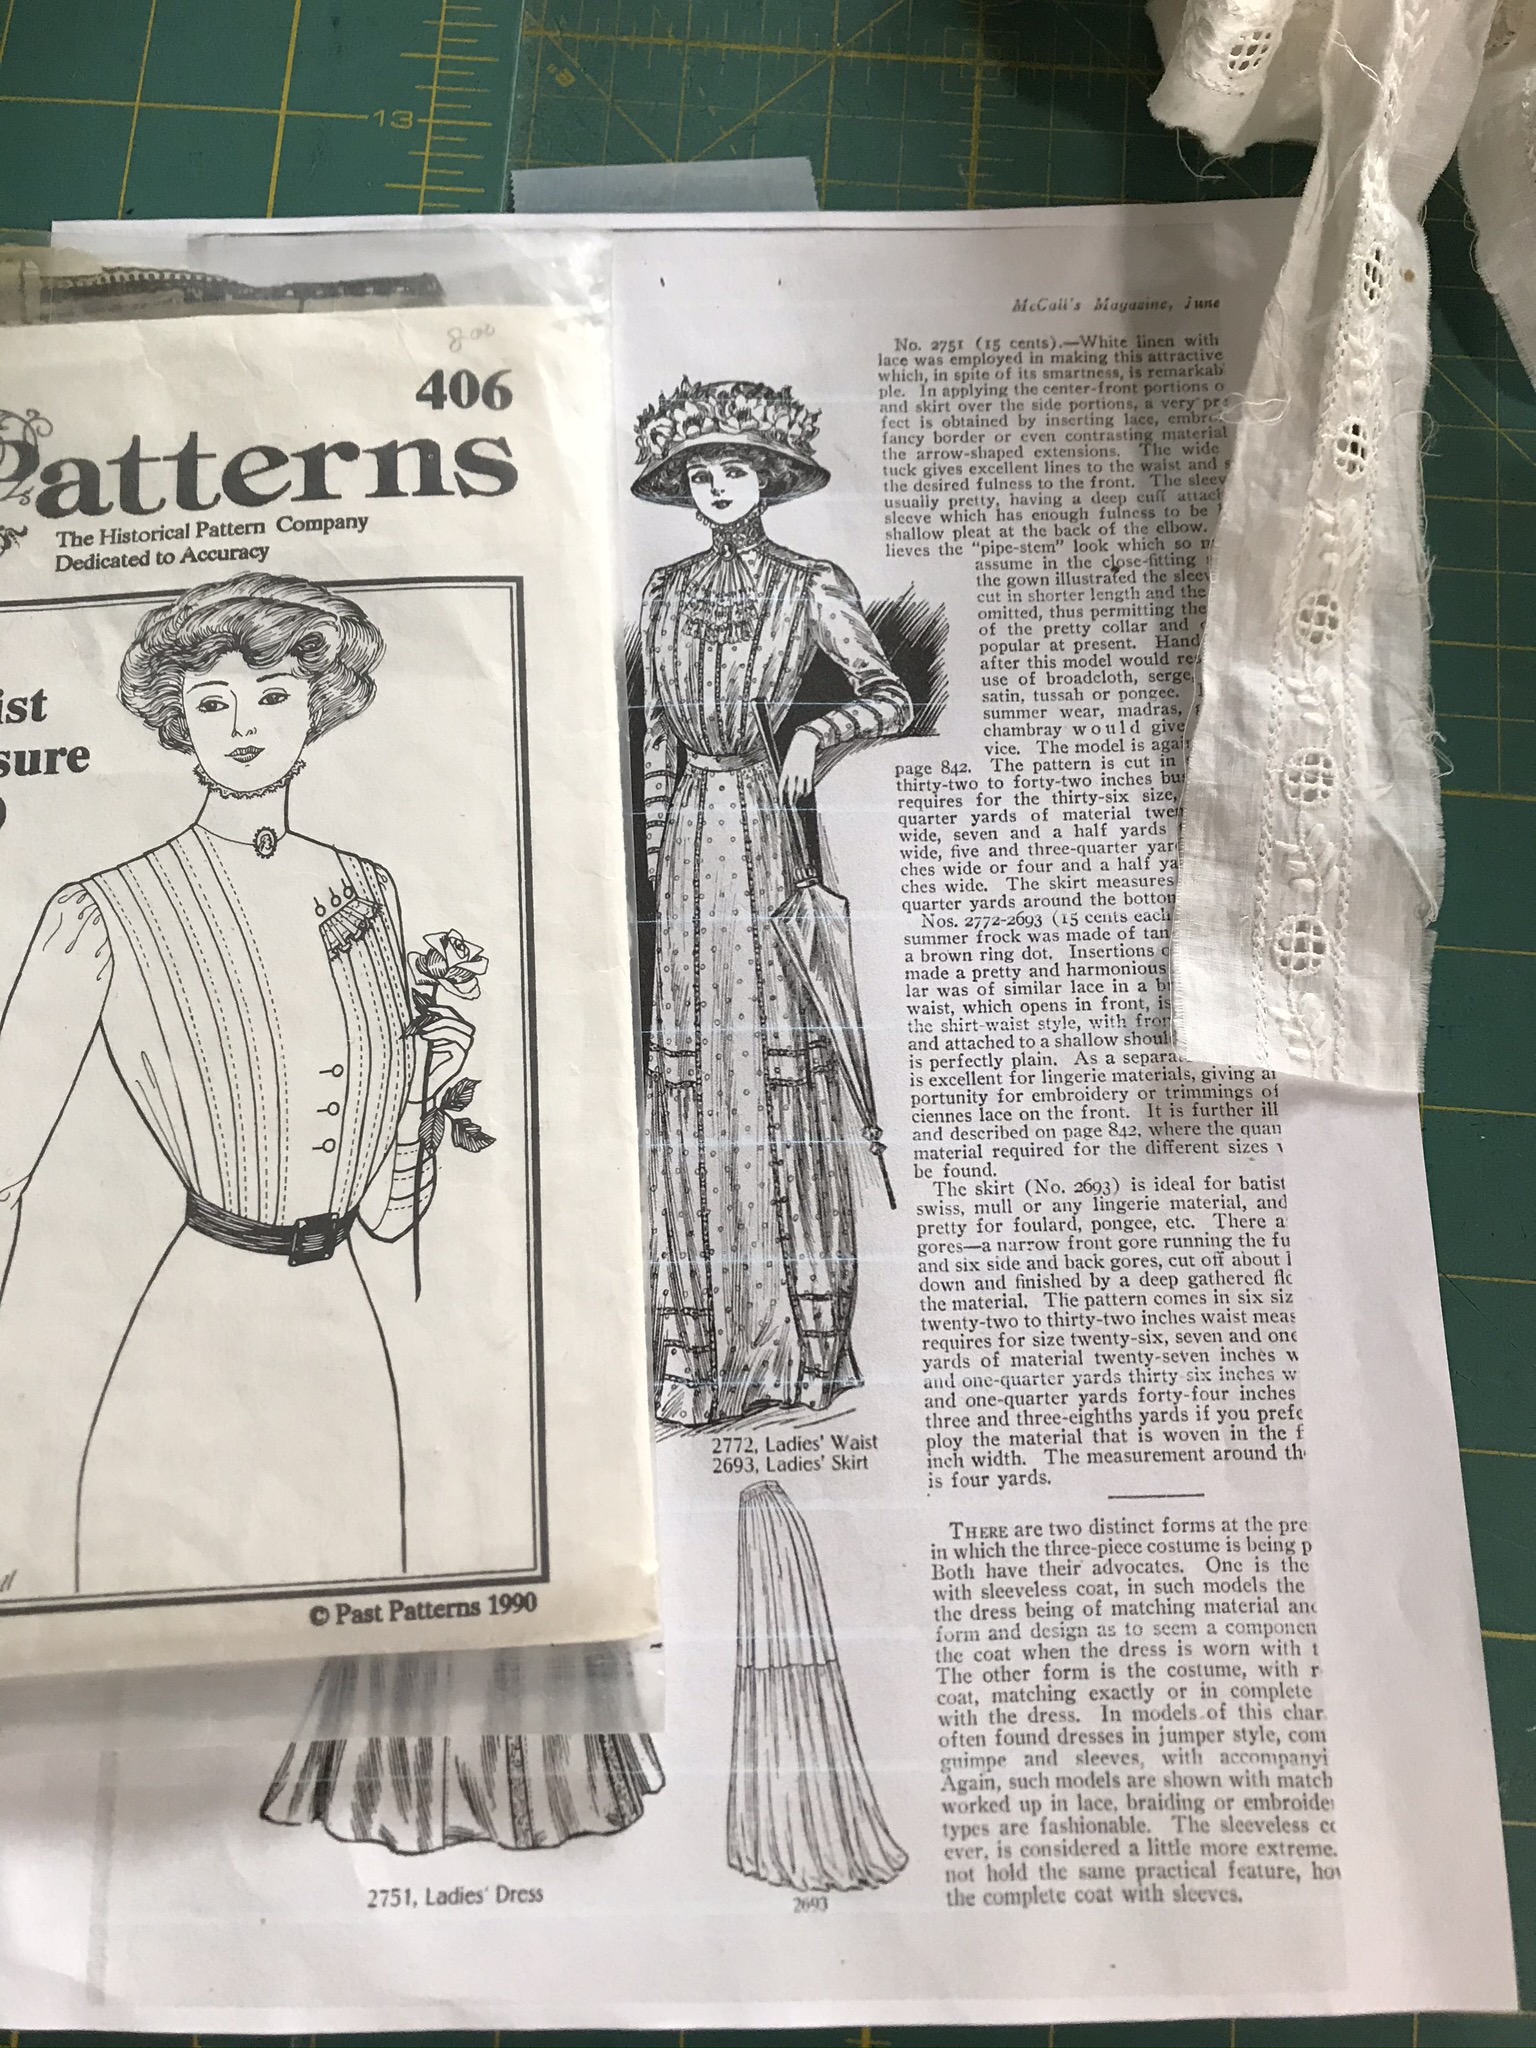
In 1909, McCall’s sold bodice and skirt patterns separately. The bodice was advertised as being suitable for a waist or the bodice of this dress, and the description didn’t mention a lining. This made me confident in choosing a waist pattern for this bodice. The closest commercial pattern I had on hand was the elegant Past Patterns number 406.  The PP design called for more tucks than I needed, and it didn’t allow for the decorative vertical seams. That was easily remedied when I folded those tucks out of the paper pattern before cutting and created the central section of horizontal bands.

Bodice pattern IMG_5593

Bodice IMG_5596

I took my time in laying out this pattern! I double checked my measurements and seam allowances before cutting. In fact, for several areas I used my marking pen to be sure of my center points. I shortened the height at the shoulder seam because I was copying the yoke detail from the original design.

At the center front line, I did quite a bit of measuring and double-checking, to be sure that I would have enough fabric to turn under. I decided to create a buttonhole placket so I would have a smooth line at the center front; I cut that piece from the edge of my fashion fabric, where there was no embroidery.

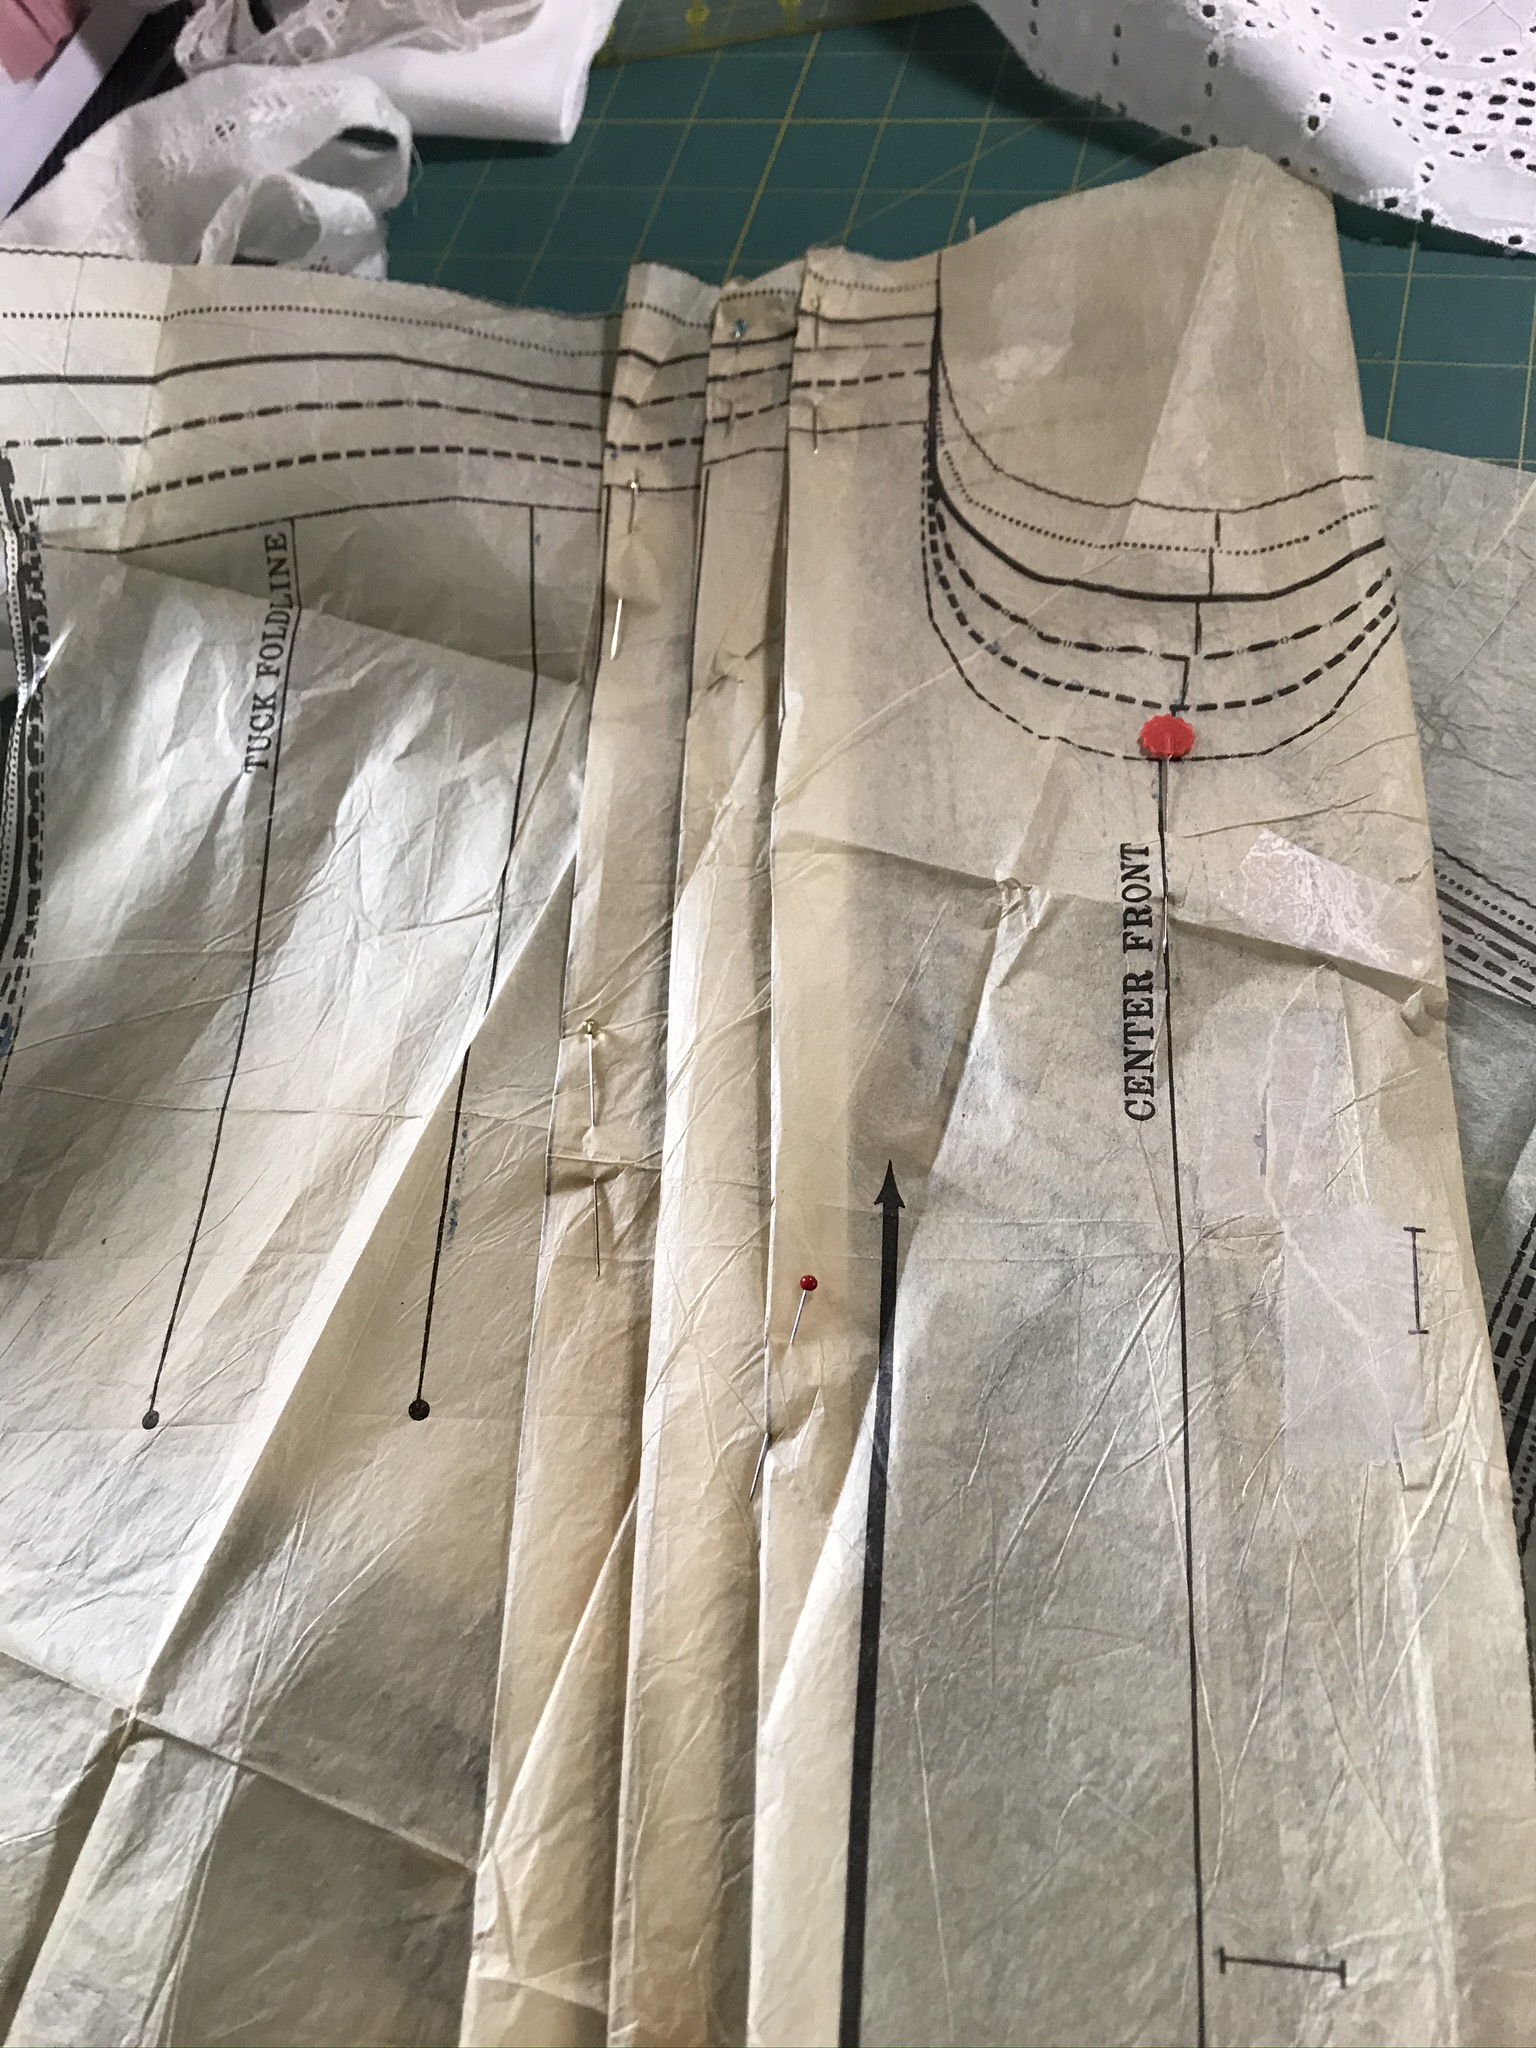
Once I had my main bodice pieces cut, but before I removed the paper pattern pieces, I made sure to mark the tucks and the center front seam.

Bodice Center Front

I had cut out the entire gown in one evening. I folded everything carefully and set it aside for the next day. I was ready to sew!

Making the dress

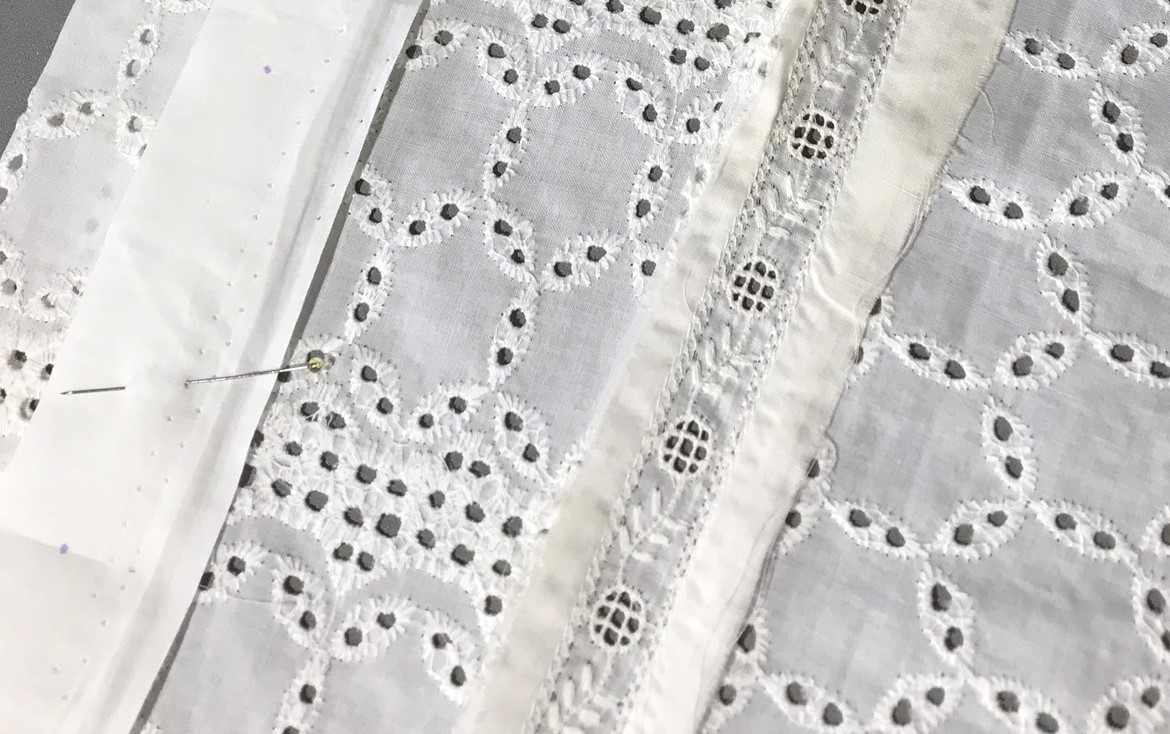
The first step on a gown like this is the fussy little details. I needed to sew the tucks in place before I could attach the sections. Here’s a picture of how I prepared the back section for those long, stylish tucks. The tops and bottom were marked in advance; the top of each tuck has a small snip in the seam allowance, while the bottoms were marked with my purple pen. The fabric was folded, right sides together, and then I pressed the entire length of each the tucks. After pressing the first side, I flipped the fabric section and pressed the other side for a perfect match. Then I was able to sew a ½” wide tuck on each side.

Bodice back pressing tucks IMG_5604

Bodice back IMG_5612

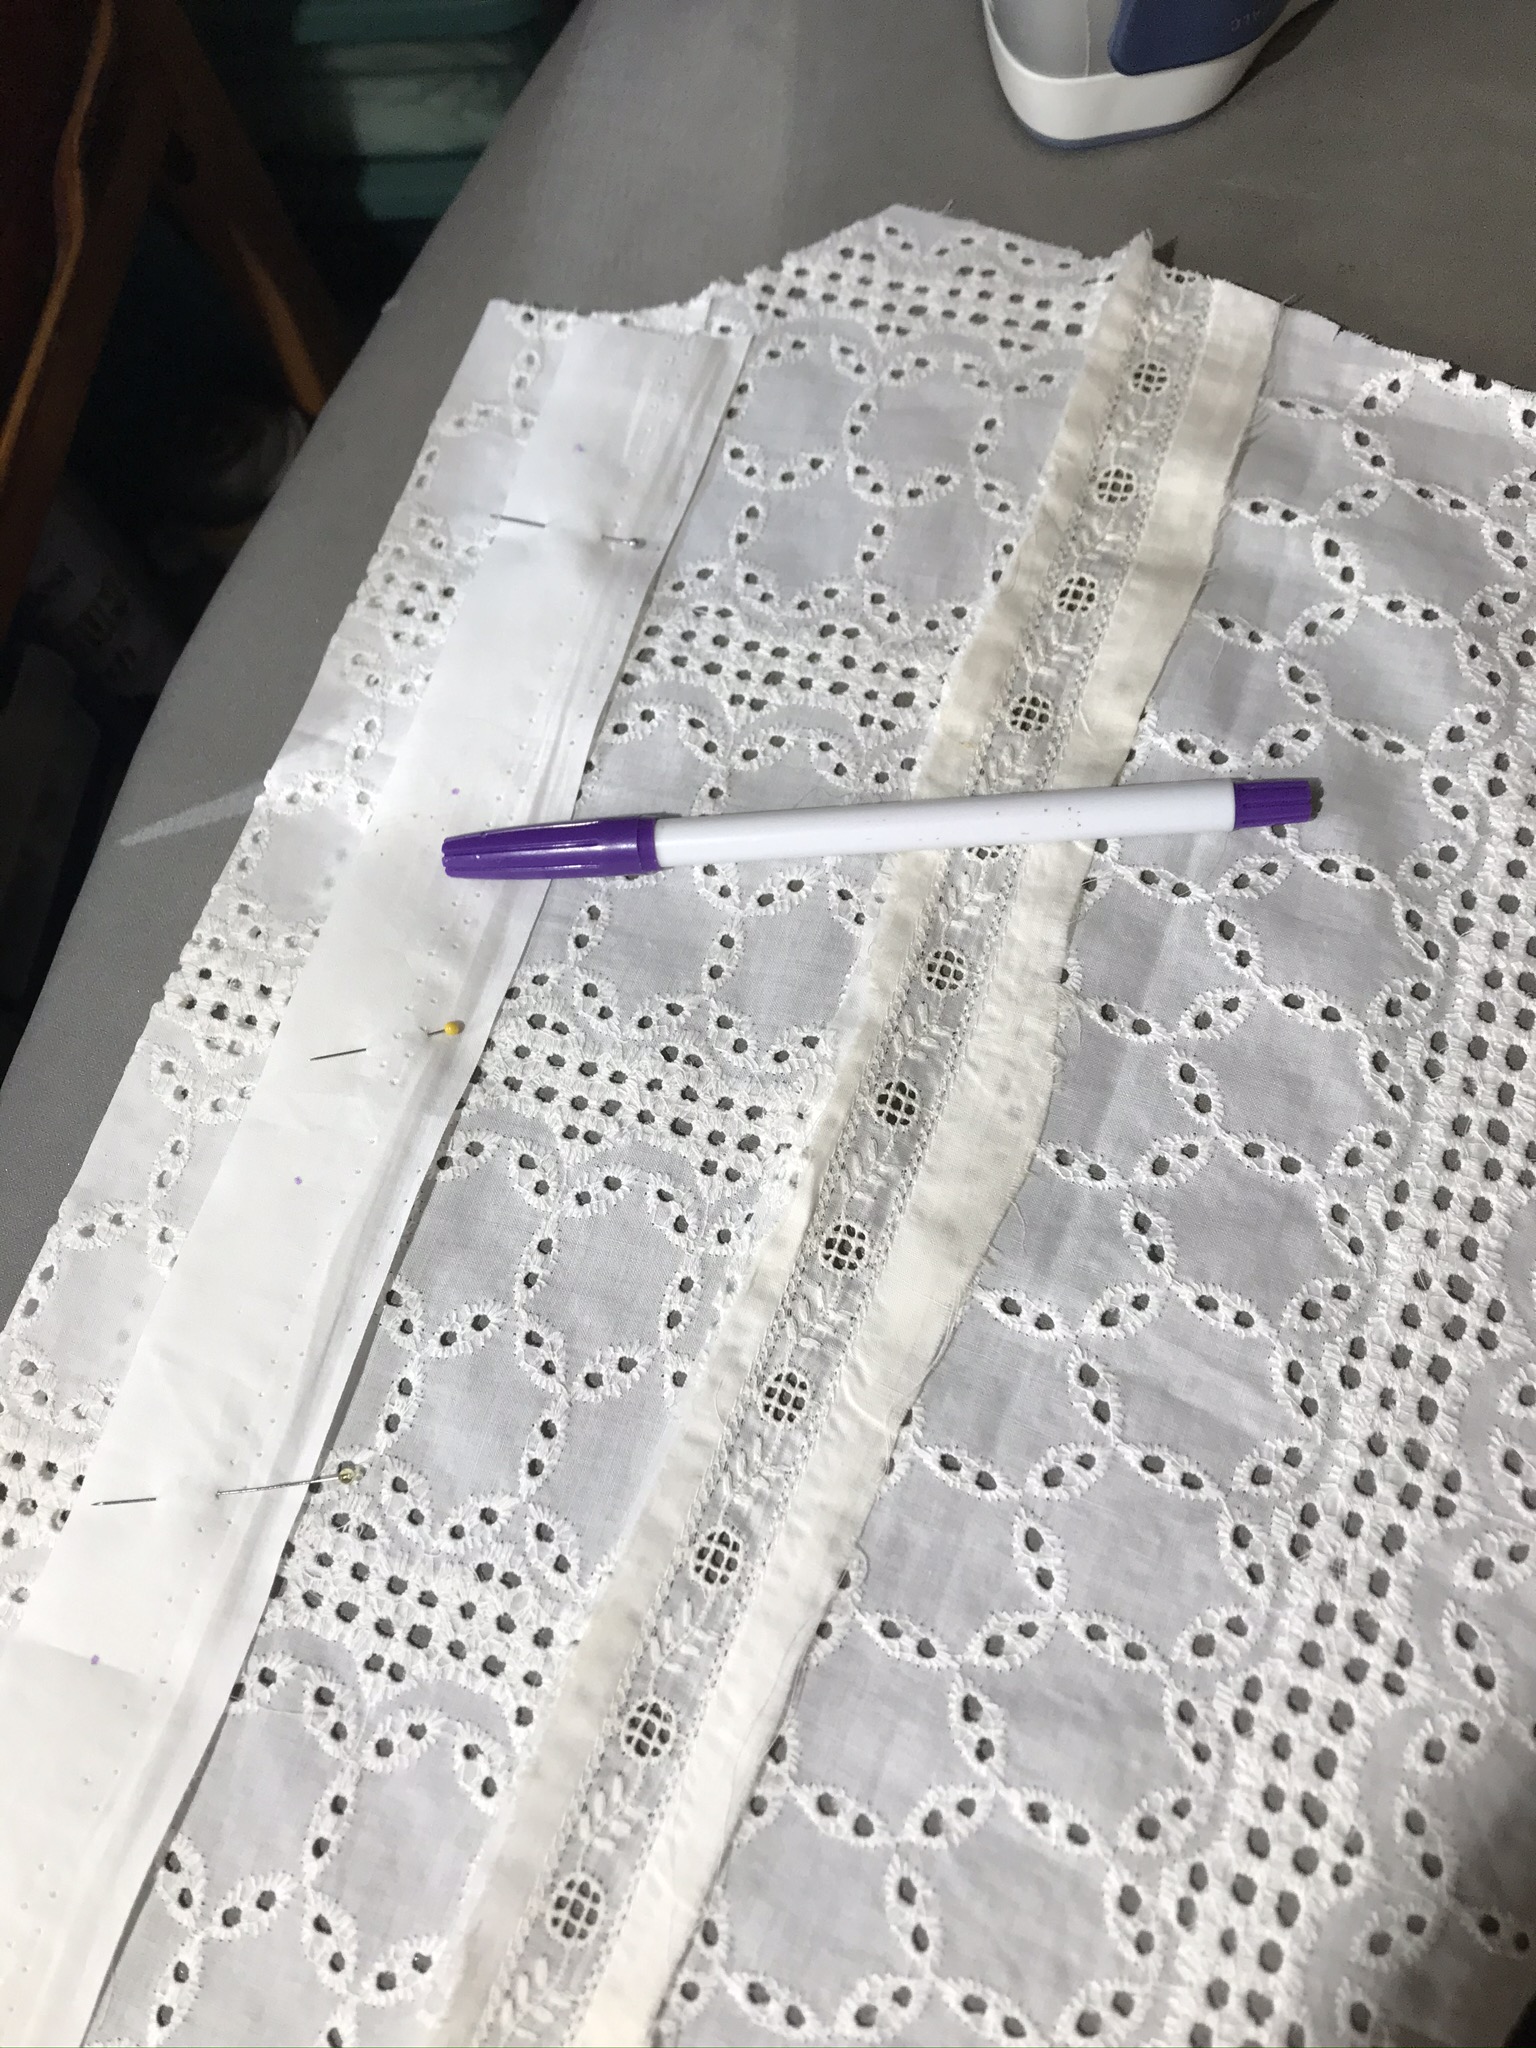
For the bodice front, I started by attaching the insertion along that vertical seam, first on one edge and then the other. I always work with the insertion on top, so I can be sure I am sewing close to the design. Once I had the insertion sewn into the seam, I pressed the seams with the insertion opened out.

Bodice front placket cropped IMG_5605

Here is where I took advantage of owning a serger. I let the machine trim the excess fabric and wrap the raw edges. This was so much faster than what our fictional lady would have done! She would trim by hand and then whip stitch those edge, or perhaps even roll the raw edges under and fell them down.

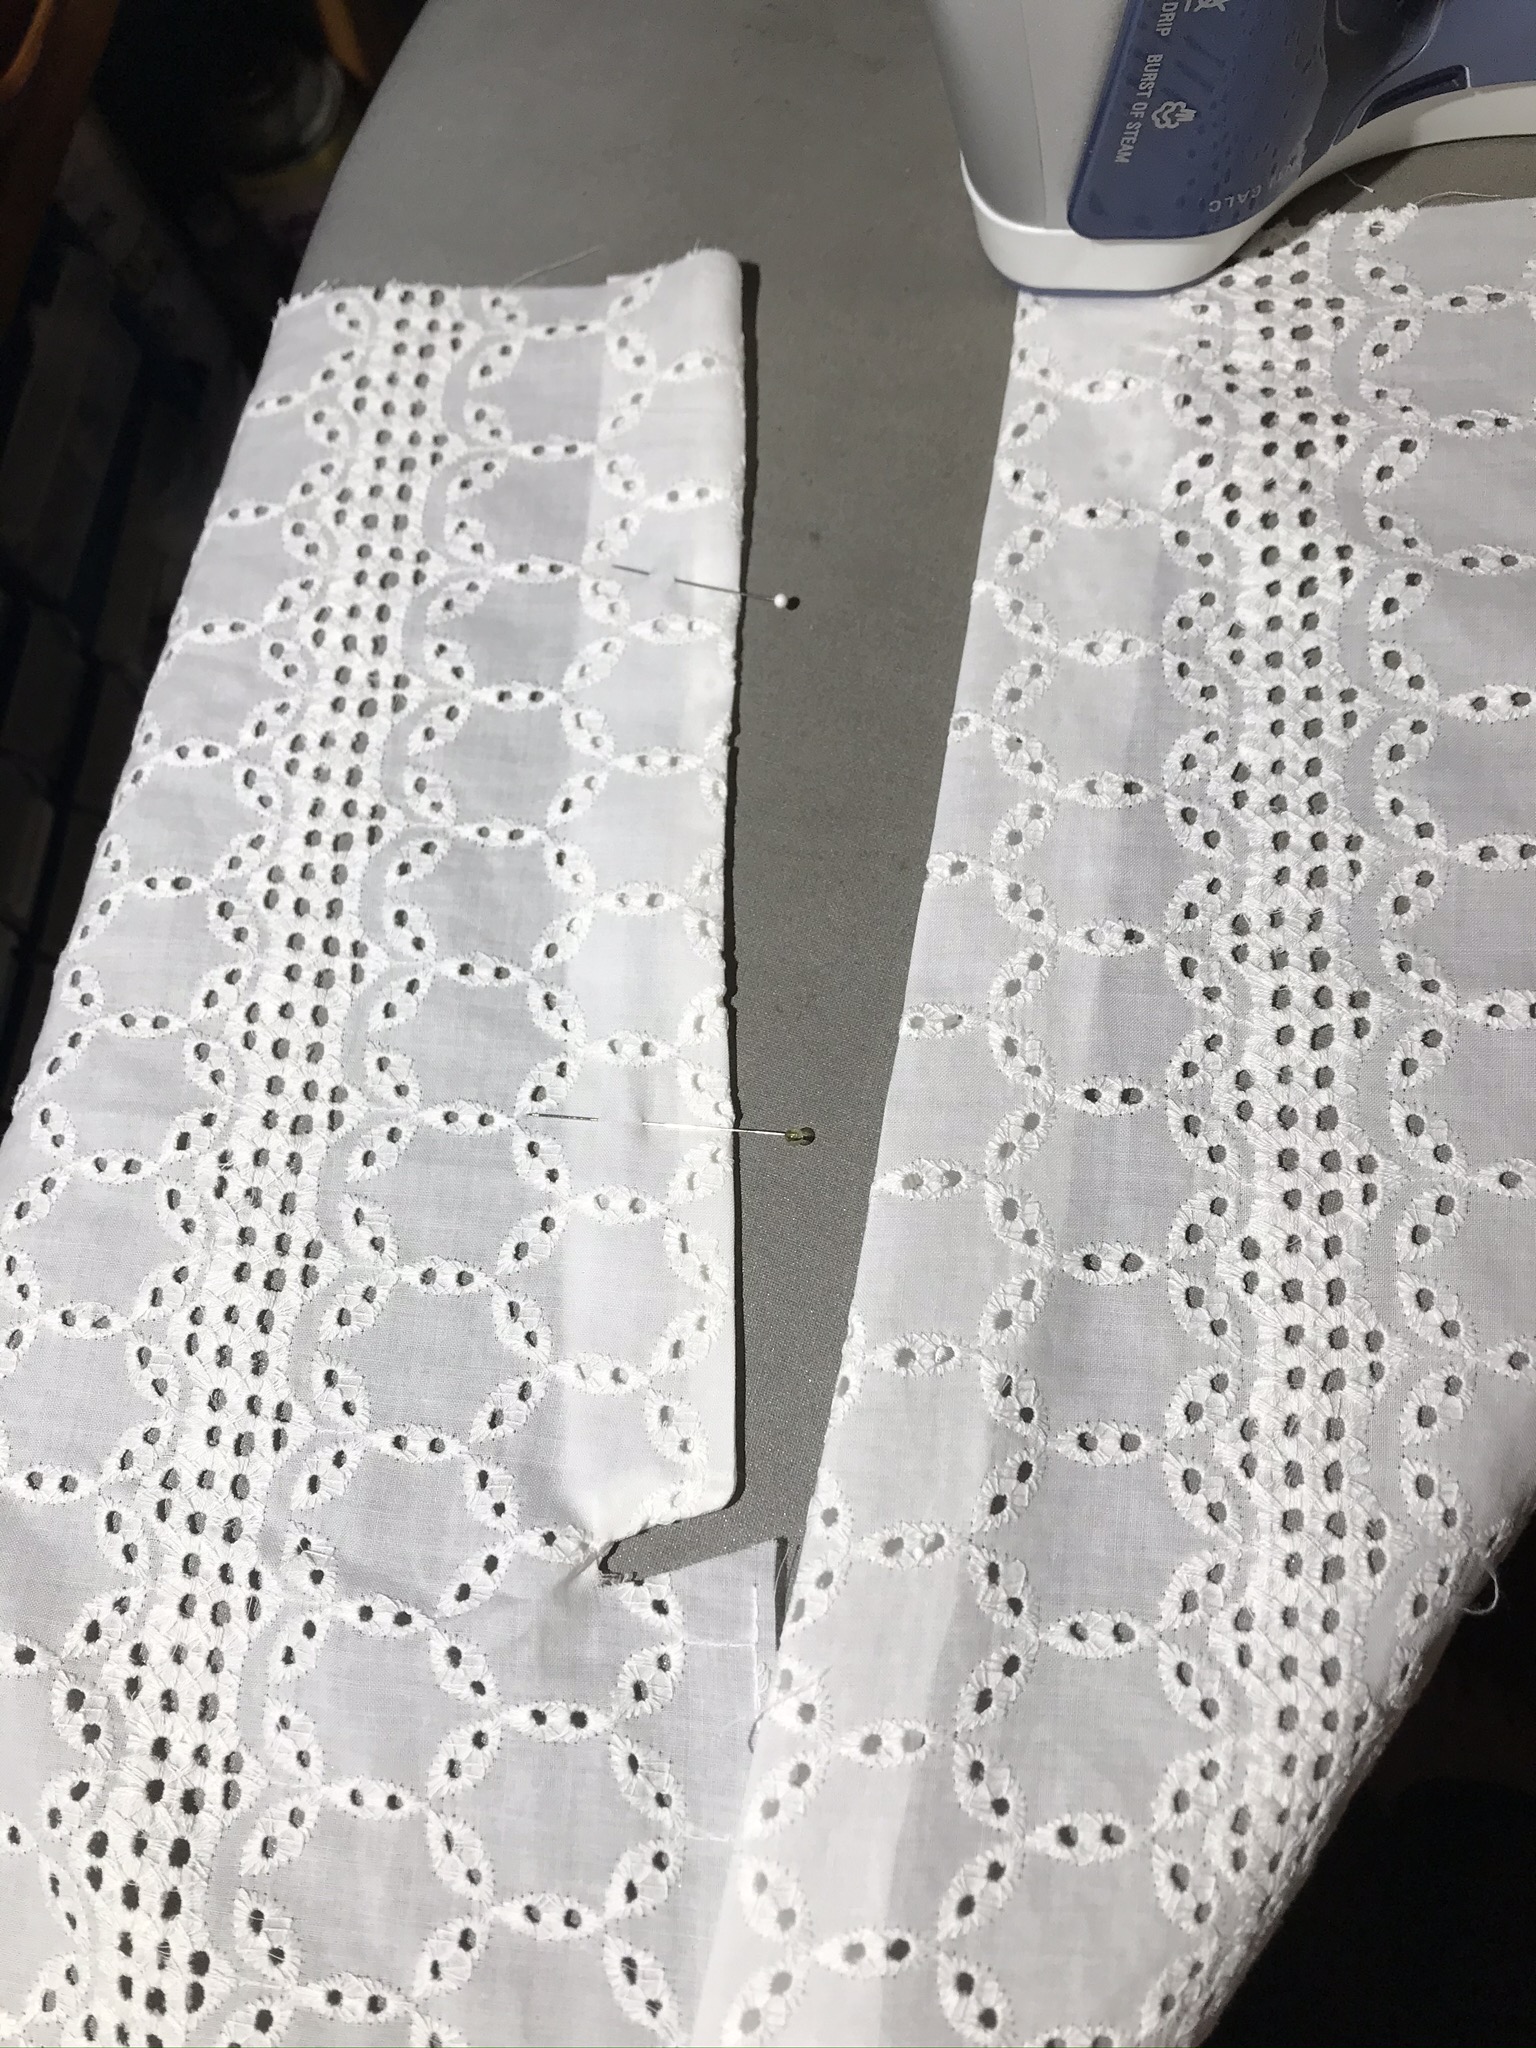
I made the front placket section by pressing the long, smooth fabric together (with cotton organdy, prewashed, inside for interfacing) and then making my buttonholes. After that it was simple to position the buttonhole placket and stitch it down.

Bodice front placket IMG_5605

I followed a similar process for the skirt: I sewed the insertion in place first, then pressed those sections and serged them for a clean finish. Once I had the four main gores assembled, I added the band of eyelet along the lower edge. (I did take a few very tiny tucks at the top edge of that band so that it would continue the flared lines of the skirt. Otherwise there might have been a “drop-off” at that area!) Before I added the front panel, I sewed the insertion along its outer edge. Finally, the skirt was mostly assembled, and I was able to create my center back closure. I took advantage of a very wide seam allowance (the part of the fabric that was plain) and turned it back to create the underlap for my placket. Then I was able to finish the two edges (one an extension and one turned back to the center back line). I sewed the center back seam up to that point and topstitched the placket into position across the bottom of the opening.

Skirt IMG_5616

Details

There were still a few details to finish before I could wear the gown! I used a bit of beige silk, cut on the bias, to bind the neck edge. This was a typical method of finishing in 1909.

Bodice neck IMG_5624


I made the collar from the fashion fabric, lined with the beige silk and interlined with a piece of tulle. I created small channels inside the silk where I inserted modern, clear collar stays. (It’s so unfashionable when your collar won’t stay up!)

Collar IMG_5601

I attached the collar to the bodice with hand stitches along the inside, with the closure at the center back.

I saved the last few bits of sewing for Saturday morning. When I got dressed, I went ahead and put on my Edwardian underpinnings, in preparation for the new gown. Finally, after attaching the waistband, sewing on the buttons, and a few other details, the gown was ready!

Wearing the new gown

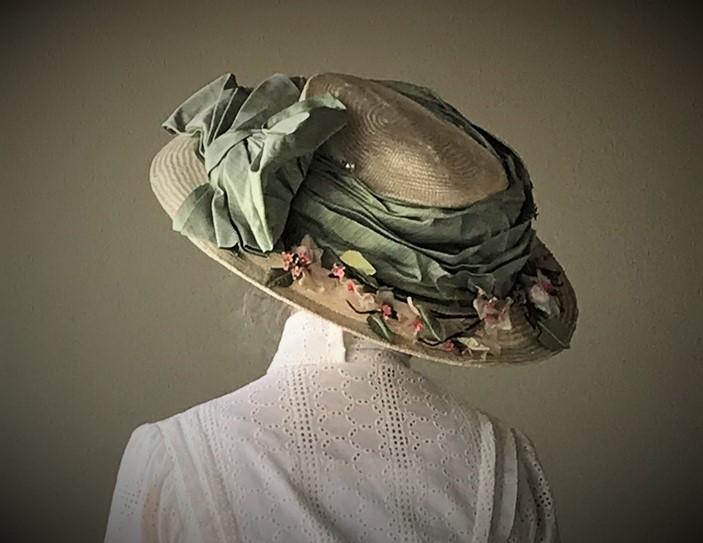
I had a marvelous, oversized Edwardian hat that I made two years ago. (This is a wonderful thing about making a period wardrobe; your clothing won’t go out of style!) I had trimmed it in a soft green silk that would go with most of my clothing, and I added a wreath of pink flowers with leaves in a similar green. The flowers can be removed later, if I decide to change my color scheme or use ostrich feathers instead.

Hat IMG_5656 close up

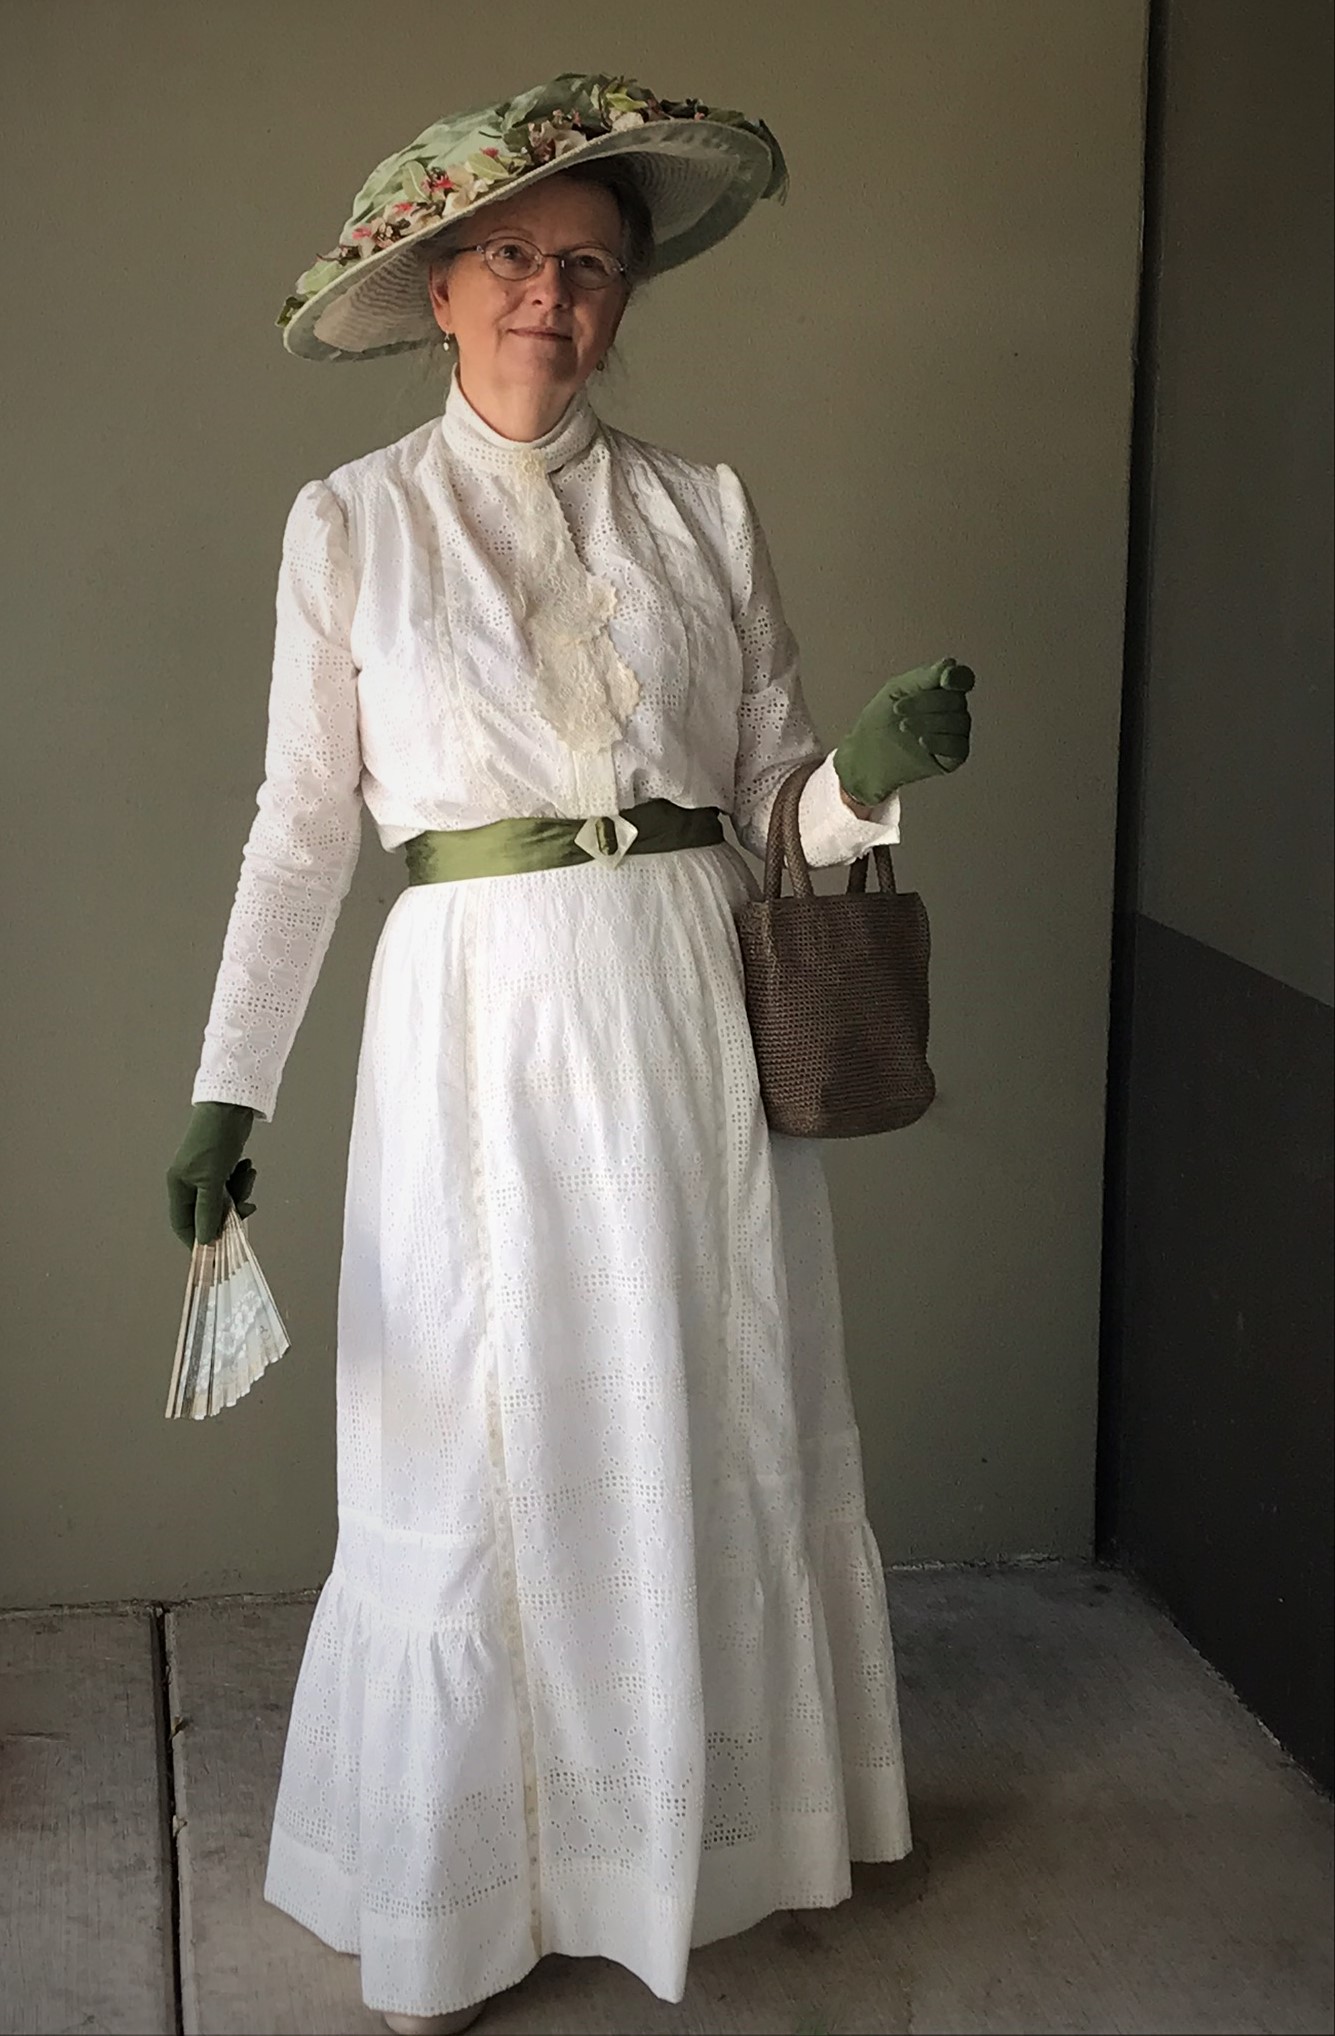
Because there was green in my hat, I chose green silk for a quick fabric sash. I used a vintage white mother of pearl buckle from my “stash”, and I whipped it up quickly on Saturday morning. Fortunately, I already had some green gloves to match and even a small antique fan in a soft green color, a gift from a friend. I added an antique lace neck trim. I chose modern beige shoes with a low heel and beige stockings to match. All in all, I felt quite stylish!

Front IMG_5644

The big day

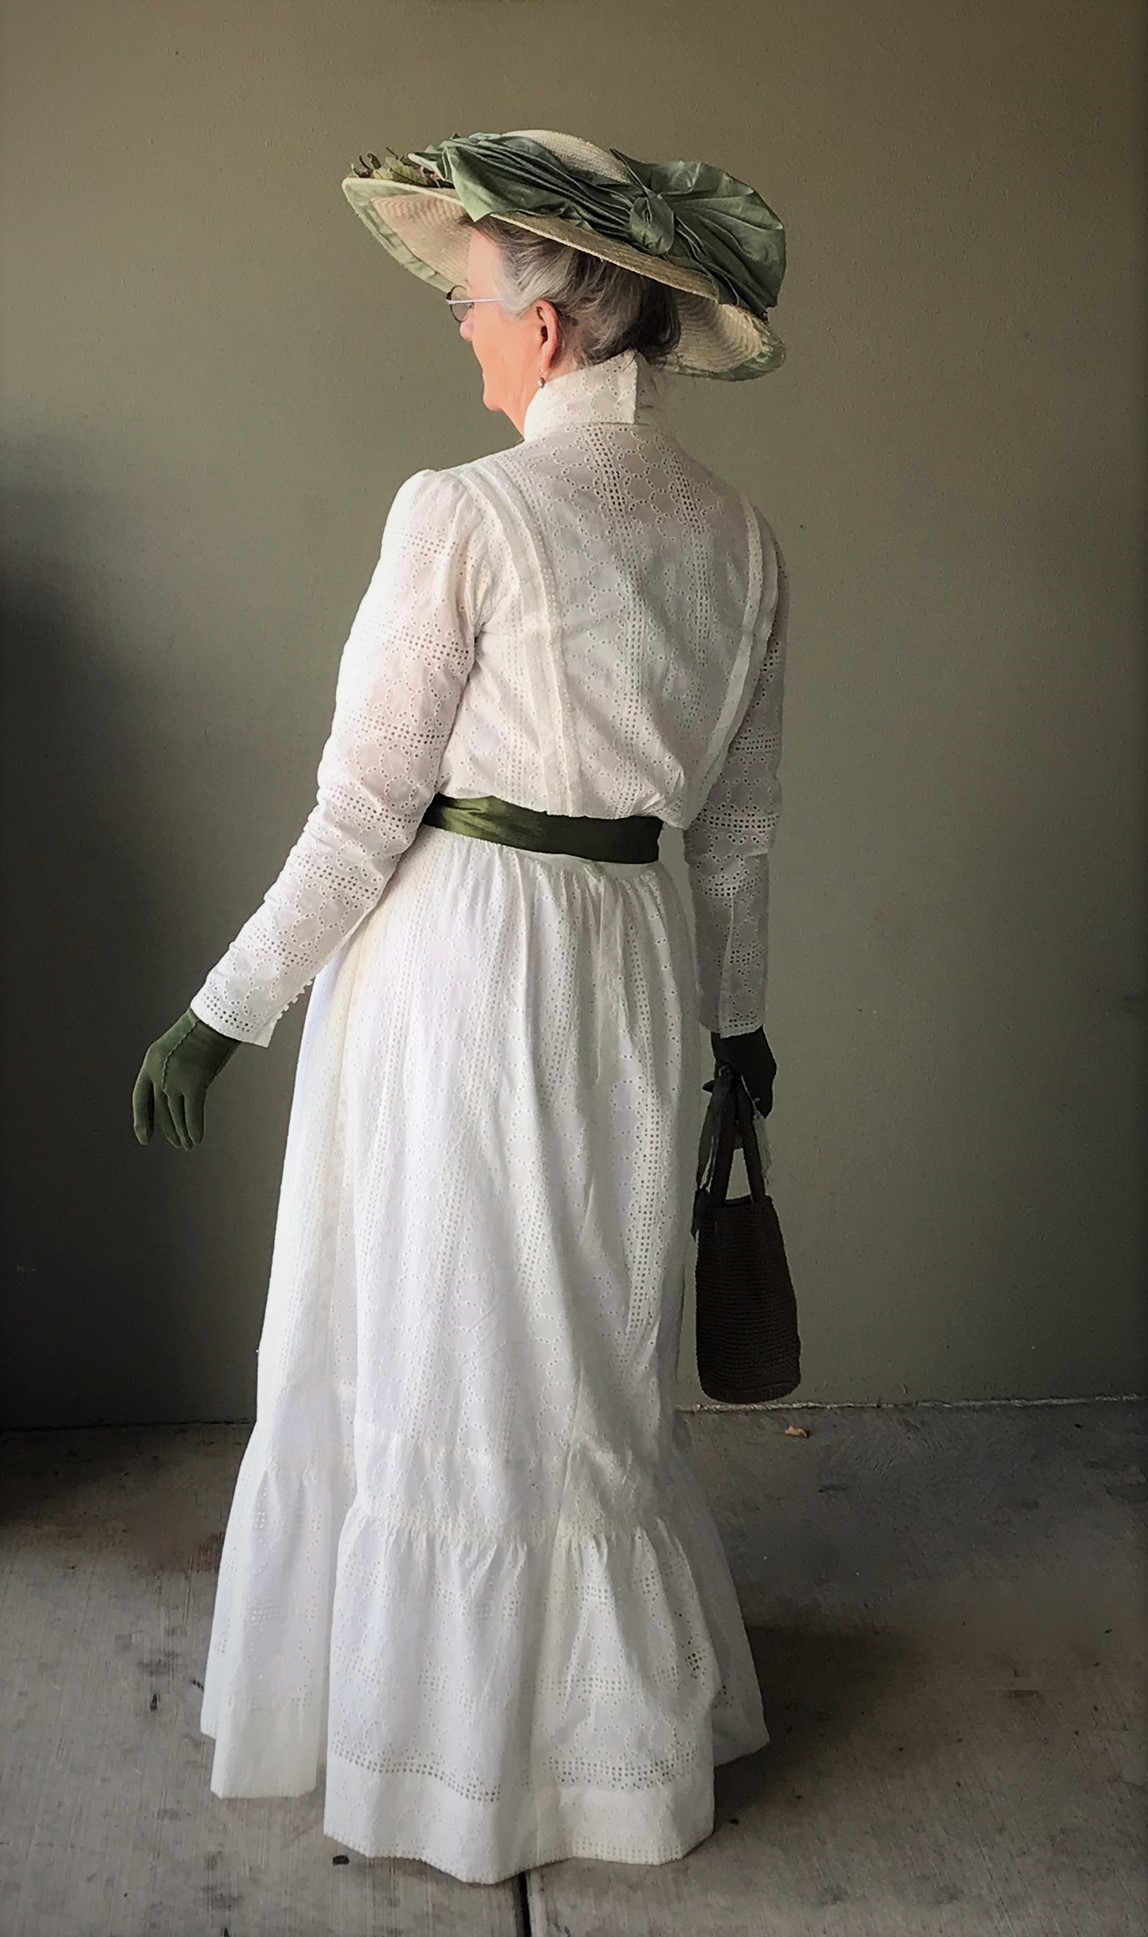
The weather was beautiful; the antique store was spacious and friendly, with everyone wearing masks and staying somewhat distant. (There IS a pandemic, after all.) But shopping was a joy, and I found several treasures to bring home. Back view IMG_5659

My dear friend Lisa took photos of me in my new ensemble. Our Mrs. Maggie Lynde would have been proud to appear before her friends in such a stylish 1909 gown!

Ice Cream IMG_5678

Ecru Eyelet Dress, Part I

The Invitation

Imagine that it’s 1909, summertime, and that you are tired of everything in your closet! Like our fictional character, Maggie Lynde, you have some very definite plans for your new wardrobe. You have come into a bit of money recently, and you have already begun shopping for new fabrics! Maggie has walked to all the shops in her little town, and even made a trip to Portland on the Red Electric Line in search of the exact colors for her fabrics and trims. She knows that she will need a new summer “costume” for church and shopping trips, and she has grand plans for a nice at-home dress and later, a silk gown. In the fall, she will want a wool dress in the new princess style, plus a lightweight woolen jacket to wear outdoors on cooler days.

summer 2020 cropped

Then, an invitation arrives; her friends will be meeting on Saturday for shopping and ice cream! How perfectly delightful! But what will she wear? She feels a bit shabby in her linen jacket, even with the new lace trims. She wore it recently to meet those same friends for a picnic in the park. The white “muslin” is lovely, of course, but she has worn it every summer since 1907. And oh, how she would love a new frock!
heavy lace collar detail

The linen jacket with its new lace collar

IMG_5210(1)

White dress with linen jacket

IMG_5259(1) IMG_5299

White dress alone

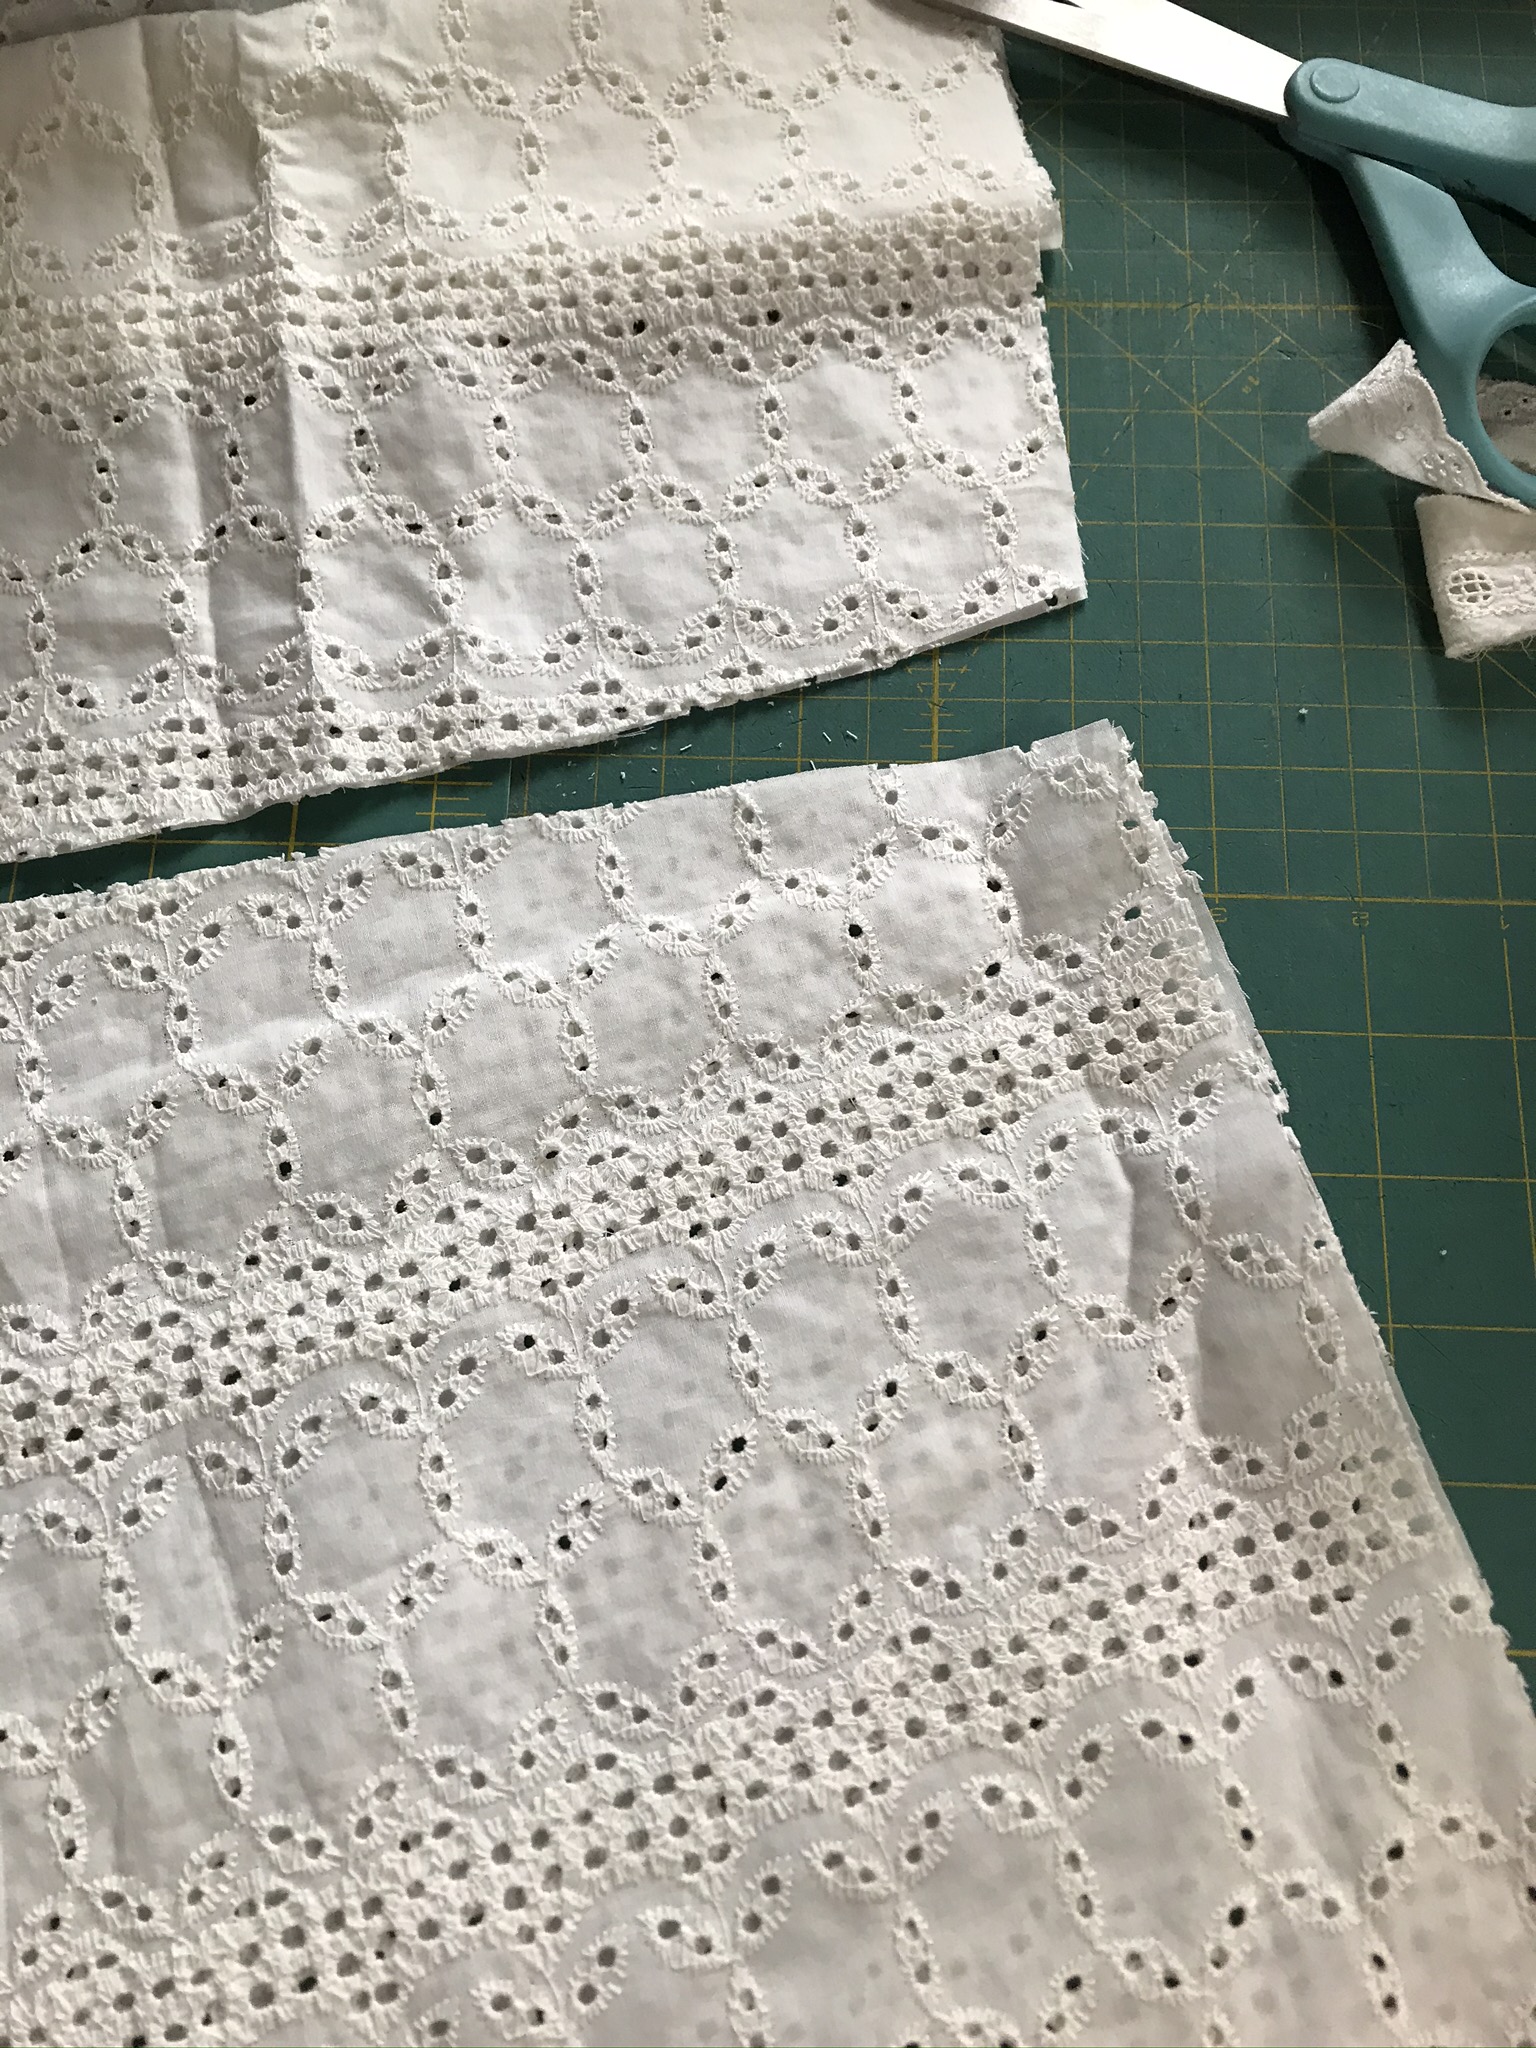
Maggie Lynde has always been interested in the new fashions, even when she had very little in the way of funds to buy them. She subscribes to McCall’s Magazine, which offers entertaining articles and new dress designs in every issue. So, she pulls out the June issue and begins a search. What new design could she make before Saturday, using fabrics that she already has on hand? She is particularly interested in using the ecru eyelet fabric. It is so cool and summery, and it will be easier to make up since the fabric is already embroidered.

eyelet

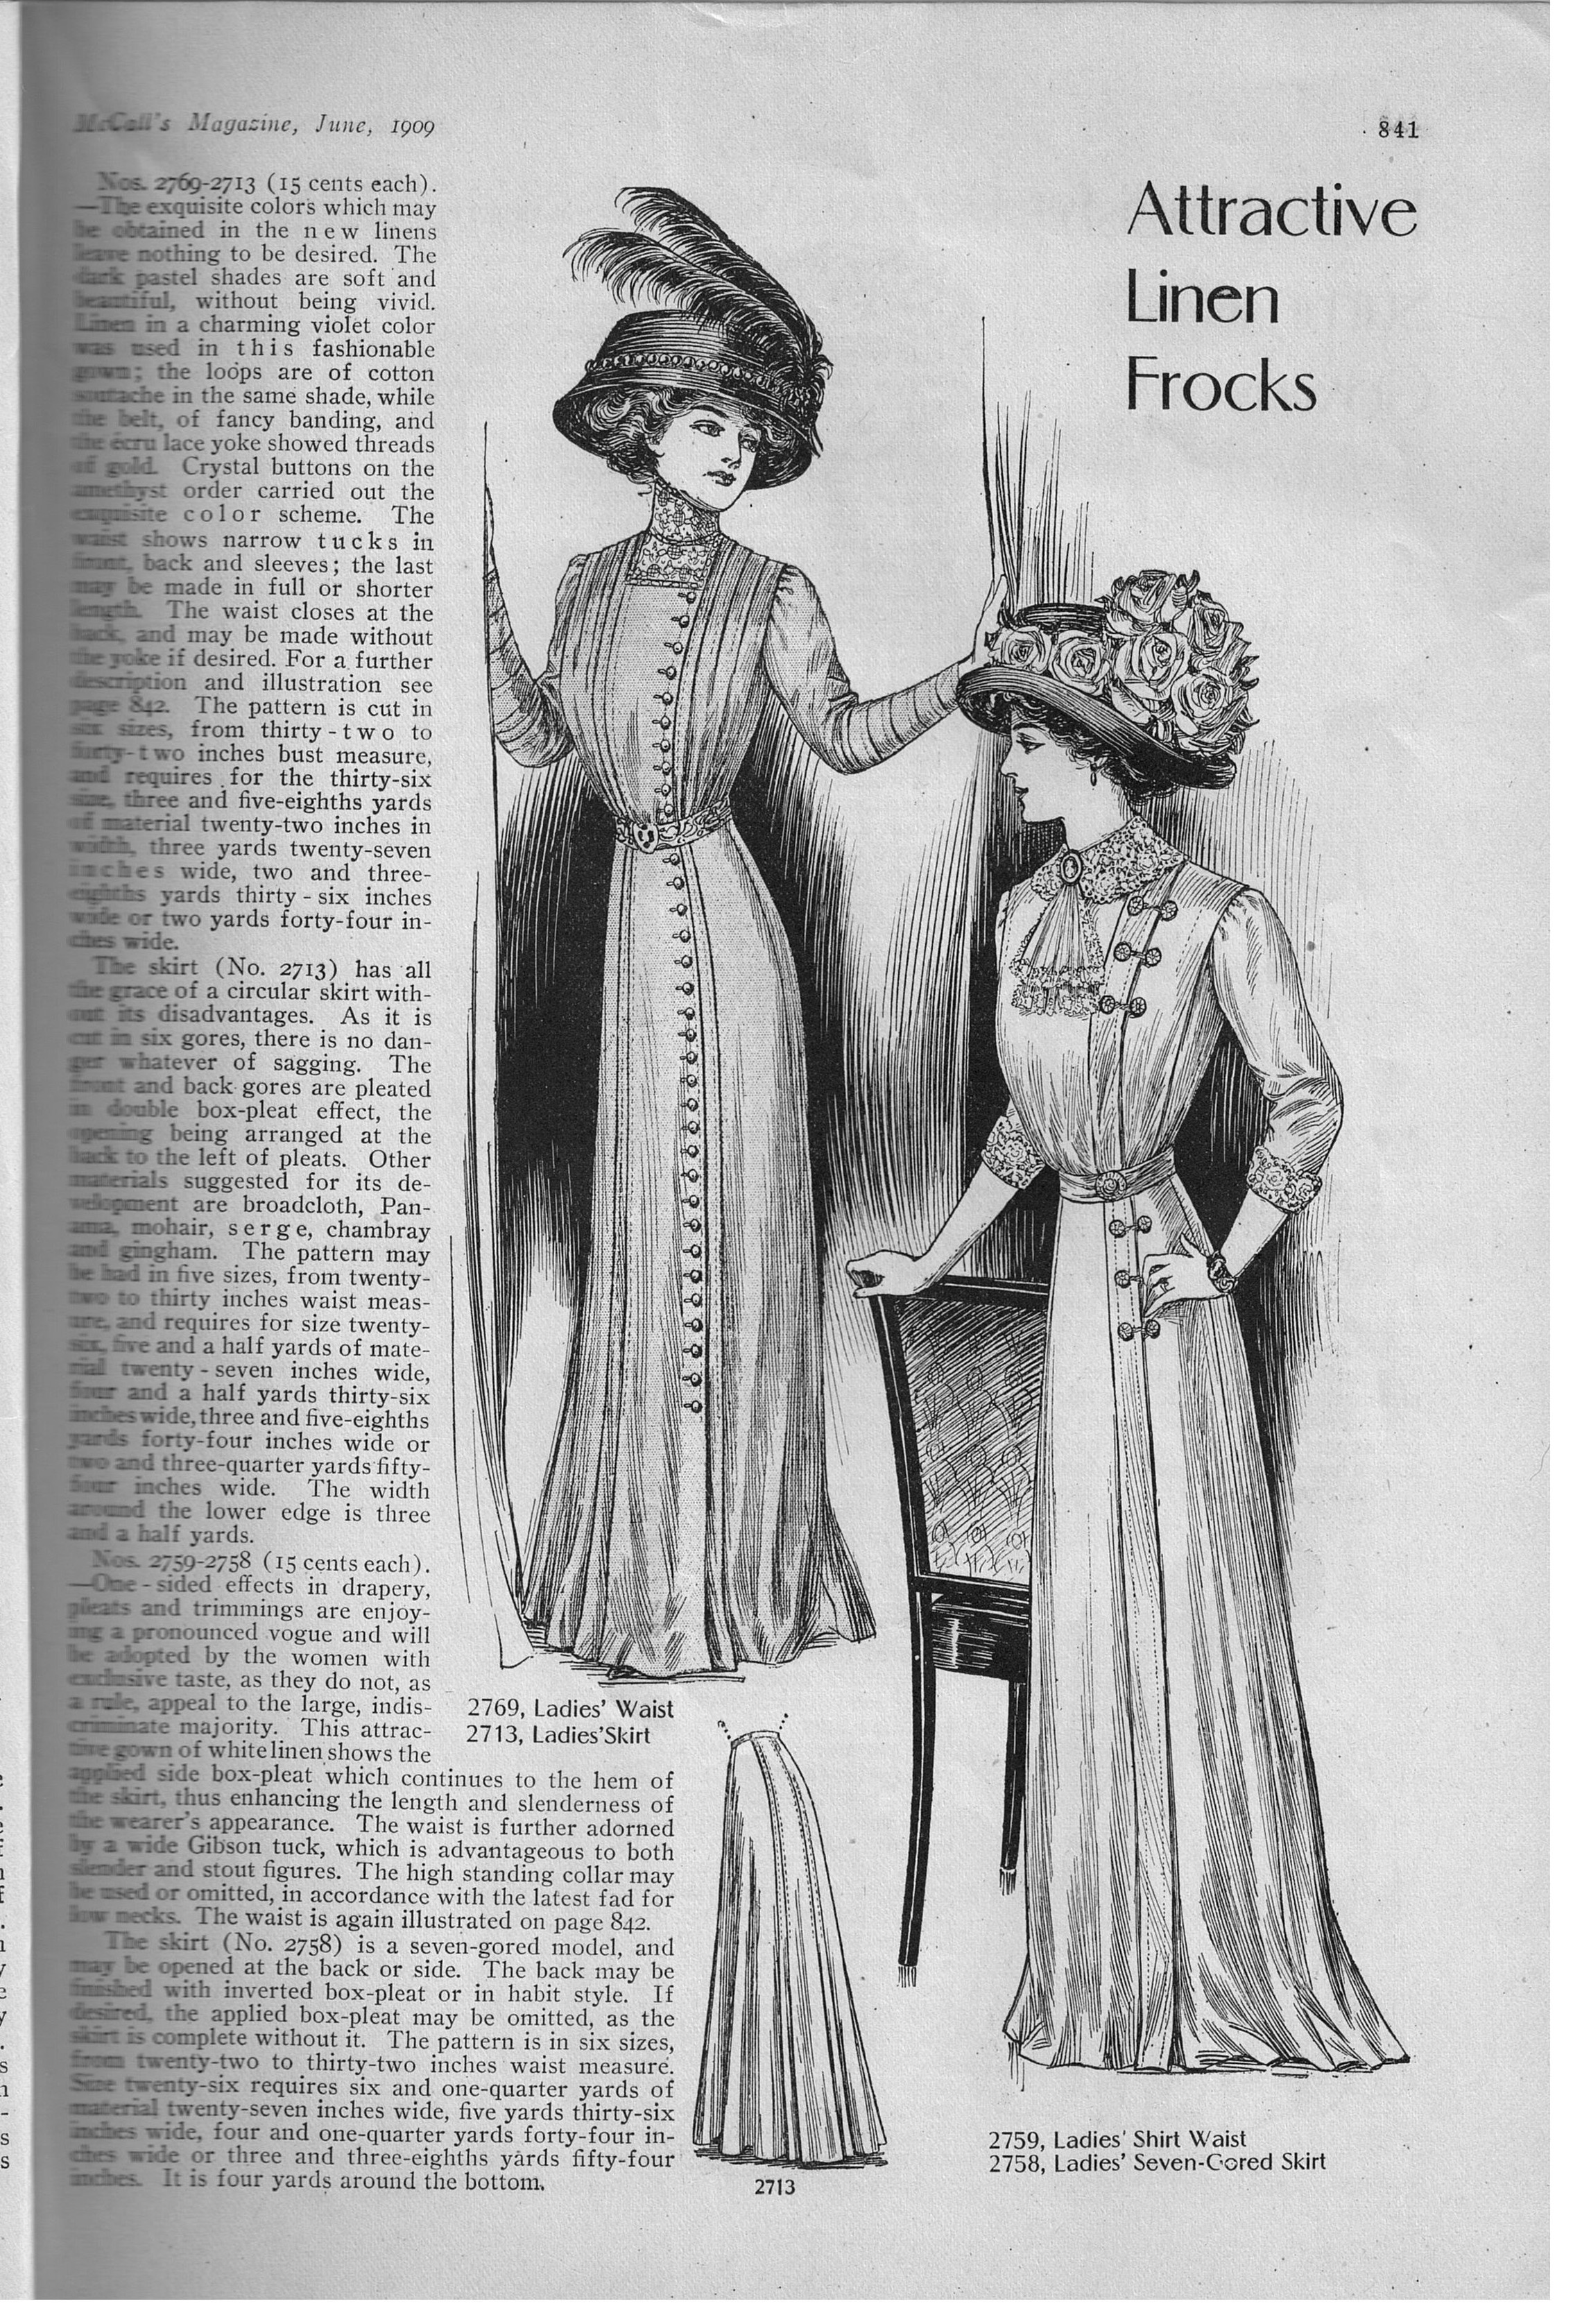
Here is a page showing Attractive Linen Frocks. The descriptions are so intriguing! That top one is described as a particular shade of violet linen, with soutache buttonholes in the same color. Even the buttons complete the scheme, being an amethyst crystal. She can imagine wearing this frock… but oh, dear! She doesn’t own any lavender linen; she doesn’t have time to search out the matching soutache braid or the buttons, or to make all those precise tucks – all before the shopping trip on Saturday! The other frock is shown in white linen, but somehow Maggie can’t imagine herself wearing a “one-sided effect” in drapery and tucks.

Attractive Linen Frocks

Attractive Linen Frocks

She studies a page showing New Designs in Princess Frocks. Those are quite lovely. She is sure that the long, flowing lines would be flattering on her matronly figure. But each of these would require many hours of applying trim. She would probably not be finished by Saturday, and then she would still be wearing her white lawn gown again! But here is something interesting: that grand hat! Since dress lines are slimmer this year, an overlarge hat seems to balance the figure somehow. Perhaps she should visit the milliner down the street to see what new styles might be found.

New Designs in Princess Costumes

New Designs in Princess Costumes

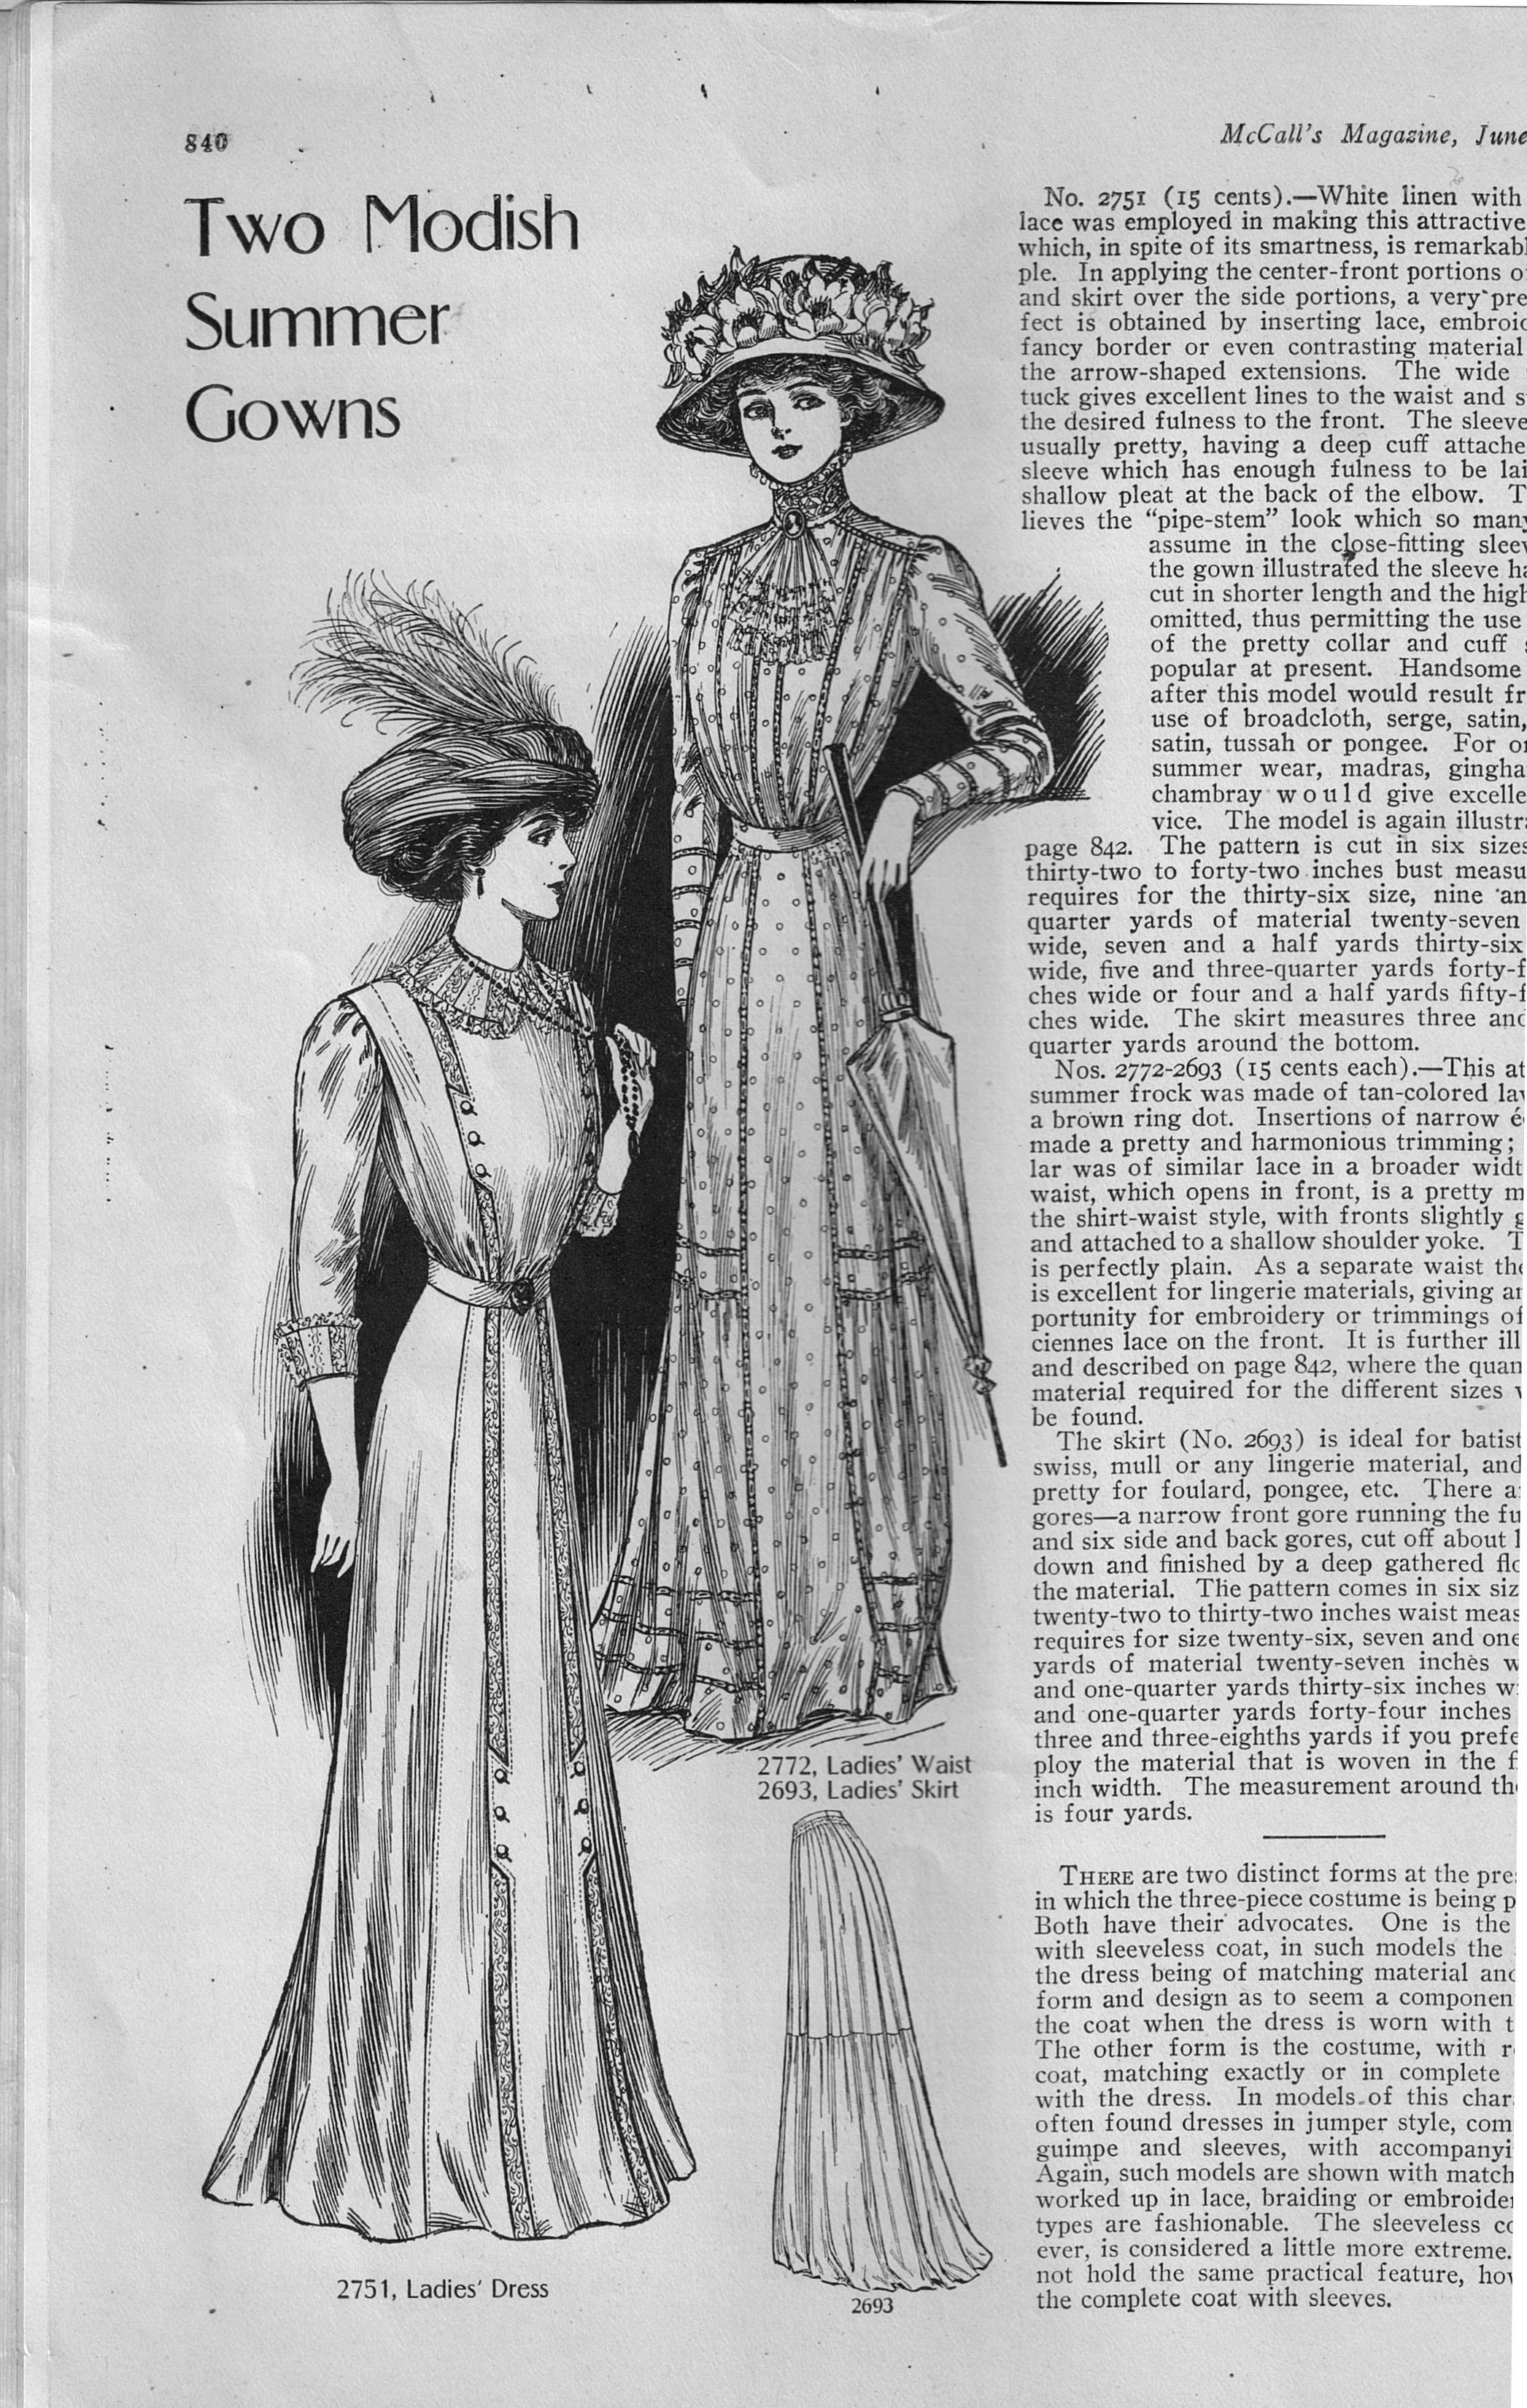
But then she takes a good look at Two Modish Summer Gowns. That first one, with its long front panel and sections of trim, plus the Gibson Tucks on the shoulders, would be very flattering. Perhaps she should purchase the pattern and keep it on hand. It isn’t exactly the thing for an ice cream outing, though. That choice would be the “attractive summer frock” with “insertions of entree-deux.” The description says that the original was a print of brown circles on tan-colored lawn, but it doesn’t take much imagination to picture it in Maggie’s ecru embroidered eyelet. Best of all, since her fabric has long, repeating bands of the eyelet motifs, Maggie will save some time and skip some of the insertion! Yes, this is the frock.

Two Modish Summer Gowns

Two Modish Summer Gowns

Maggie decides that she won’t need to buy this pattern. The design is remarkably like several others she has on hand. She will save the fifteen cents she would have paid and use it for that stylish princess frock pattern instead.

Part II will show you how I made Maggie’s new 1909 summer frock!